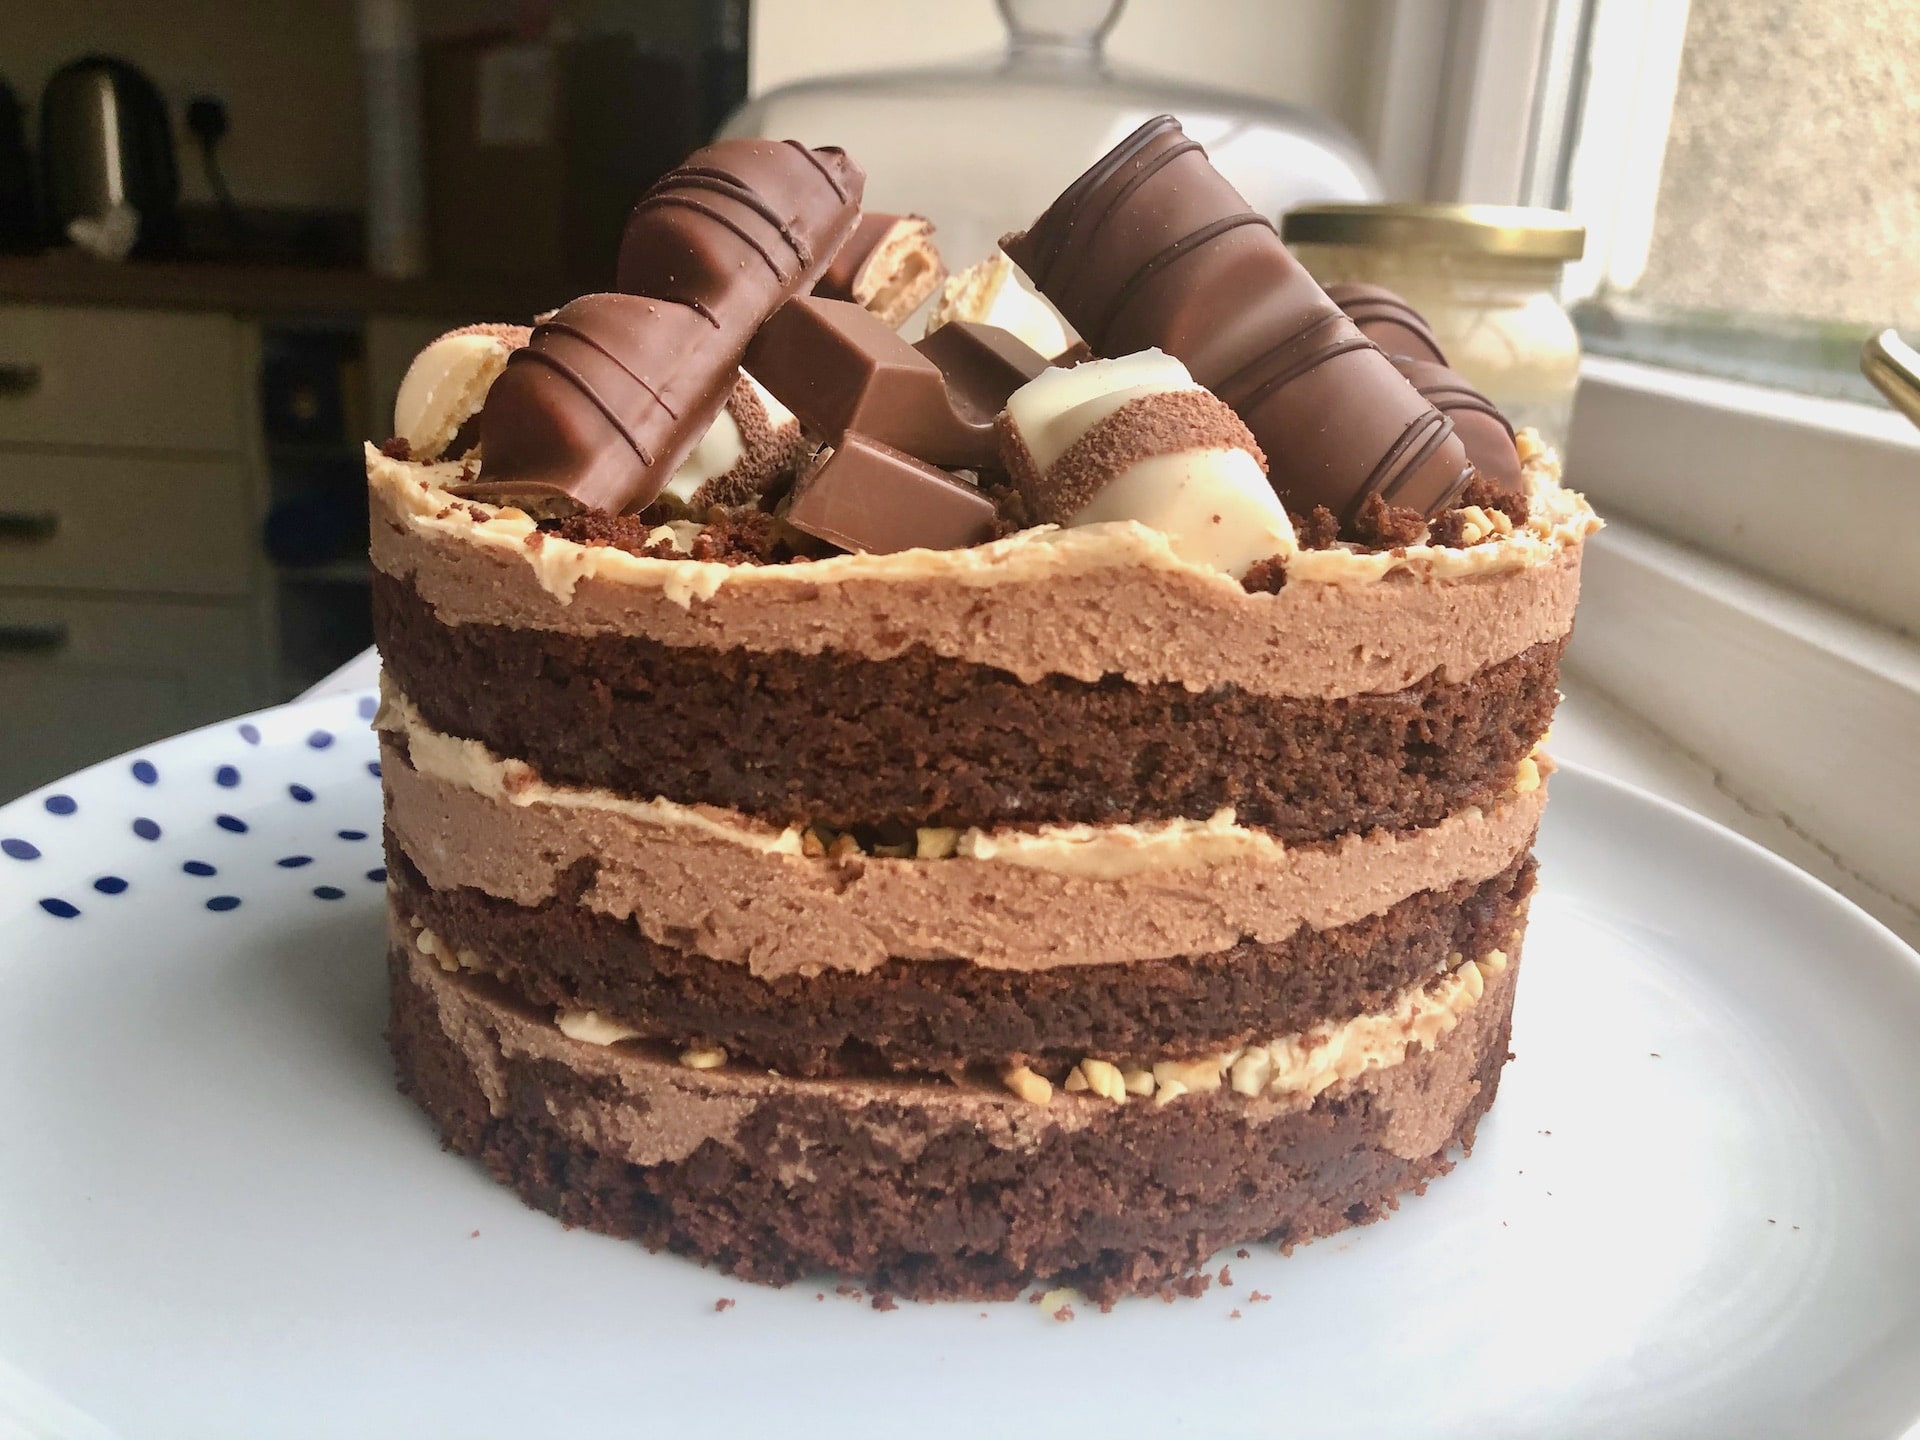
Kinder Bueno Cake; layers of moist buttermilk chocolate cake, whipped chocolate frosting, Kinder Bueno cream and toasted hazelnuts.
Whenever I’m asked what my ultimate chocolate bar is, I rarely hesitate to say, “Kinder Bueno.”
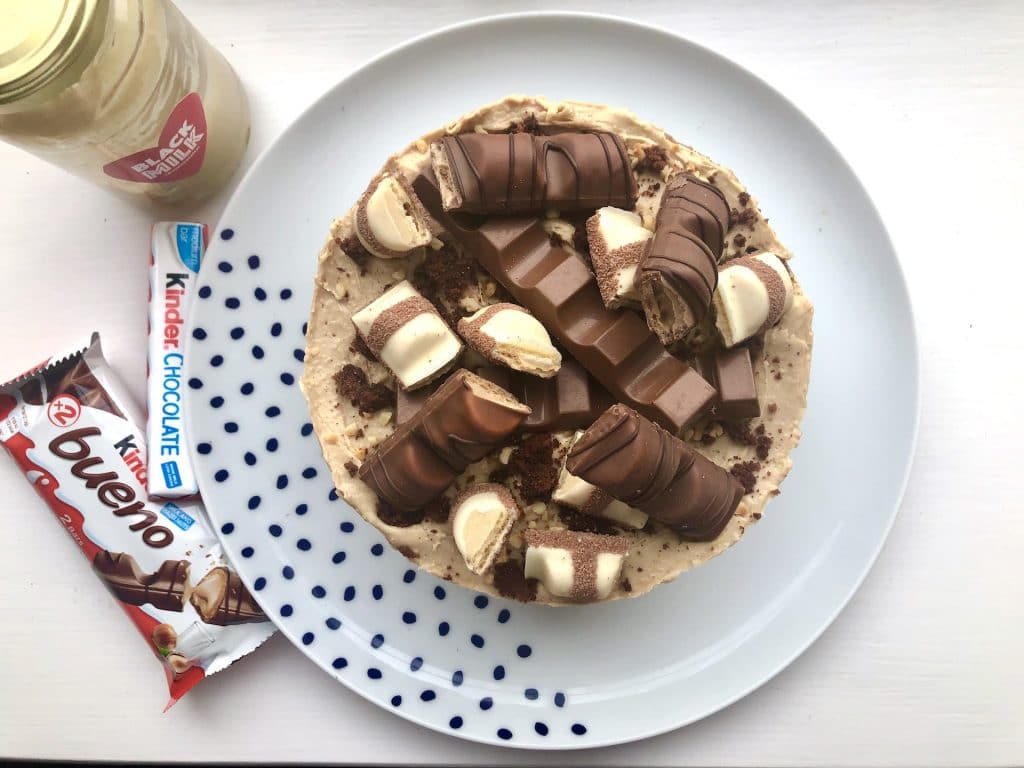
There are few other treats that tick every satisfaction box.
It’s chocolatey without being too rich. Sweet without being sickly. Offers crunchy and creamy. And the filling? The closest thing to heaven on this dismal planet.
Therefore, when Instagram presented to me the opportunity to purchase a whole jar of Kinder Bueno filling, who was I to resist?
Black Milk are based in Manchester. They sell jars of “Kinderella” hazelnut cream in varying sizes and it’s identical to the filling of my favourite chocolate bar. This post is in no way affiliated or sponsored, I just feel like more people need to know about this stuff!
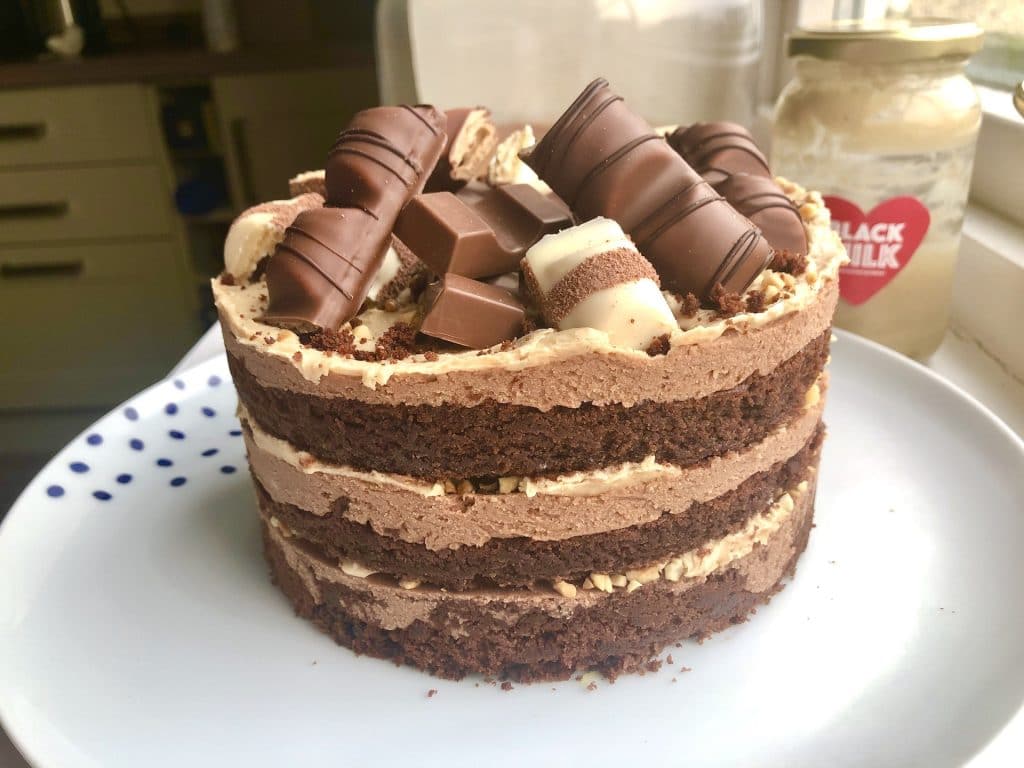
I can confirm this Kinder Bueno spread is perfect to eat with just about anything. However, it felt like a waste not to make at least one baked item with it, considering my side hustle is the running of the baking blog you are currently reading.
The only answer is a Kinder Bueno Cake.
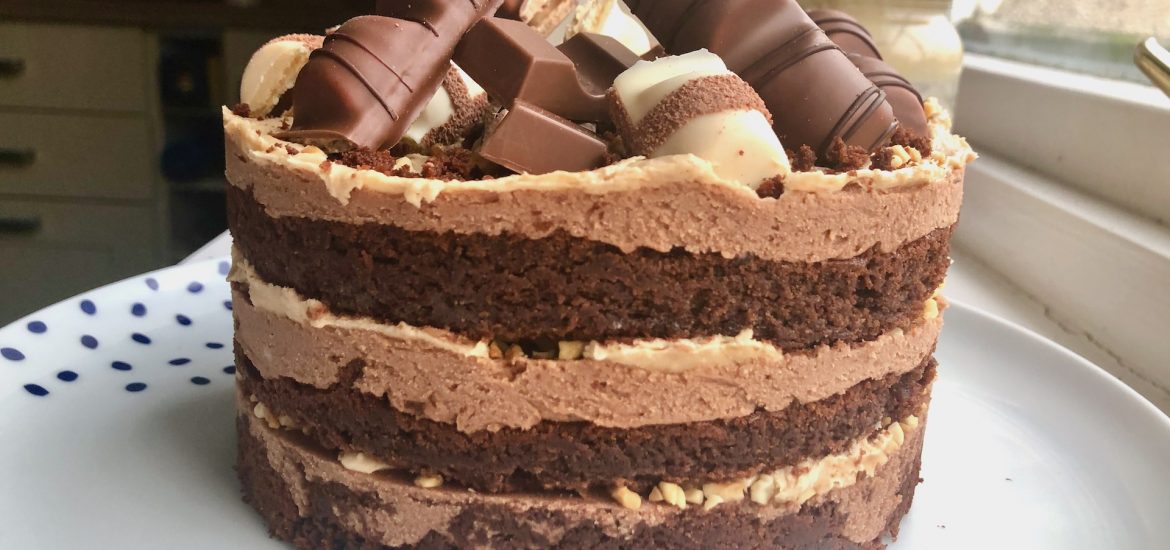
Three rich layers of moist buttermilk chocolate cake. Whipped milk chocolate frosting. Generous dollops of Kinder Bueno cream. Scatterings of chopped, toasted hazelnuts.
If you love the flavour and textures of Kinder Bueno, or Ferrero Rocher, Baci or even just simple Nutella, you need to try this Kinder Bueno Cake.
This cake is an unashamedly decadent celebration of all things chocolate-and-hazelnut. Its shades of brown perfectly mirror that of a Kinder Bueno bar. It’s layers are both lightly fluffy and satisfyingly rich at the same time.
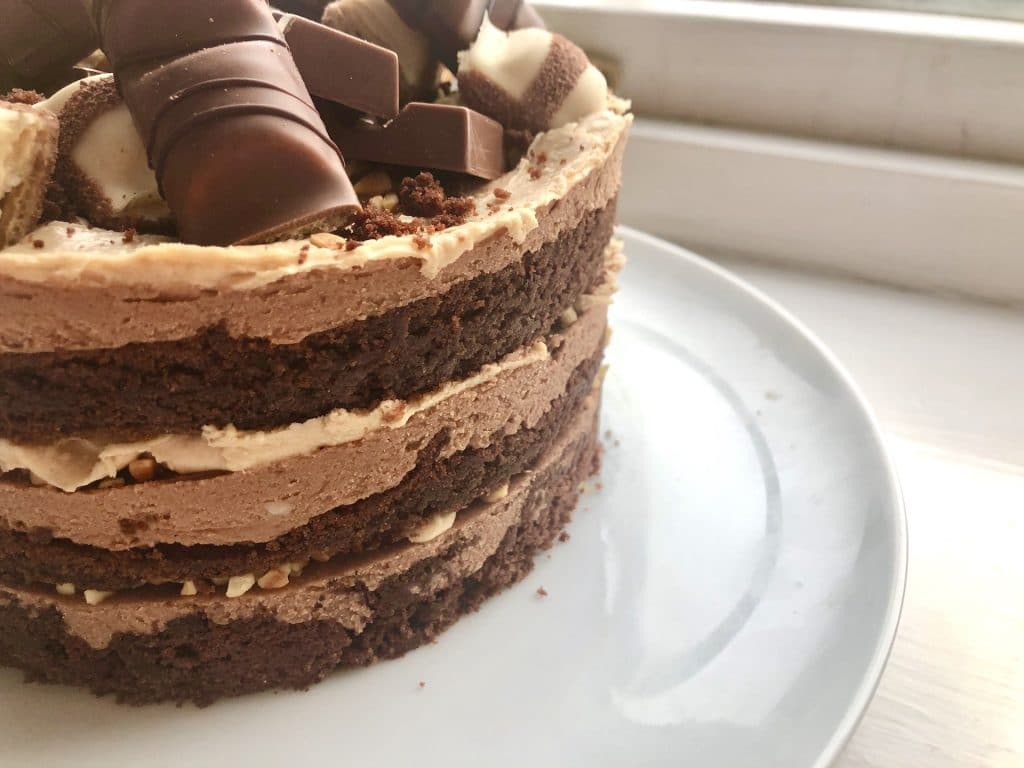
The Kinder Bueno Cake you see pictured is baked and assembled like a Momofufu Milk Bar cake.
If you want a visual idea of how to layer it up, check out this video from my YouTube channel!
However, if you do not have a cake ring and acetate (two things I would recommend any baker invest in), it can easily be made into a regular 6 inch layer cake.
To make this unbelievably addictive Kinder Bueno Cake, simply follow the recipe below!
Kinder Bueno Cake
Kinder Bueno Cake; layers of moist buttermilk chocolate cake, whipped chocolate frosting, Kinder Bueno cream and toasted hazelnuts.
Notes
BE A MAVERICK: if you don’t have a cake ring or acetate, simply bake the cake mix in two 6-inch cake tins for the same amount of time, and decorate with the frosting etc as you like!
Ingredients
For the buttermilk chocolate cake:
- 200g soft butter or margarine
- 200g soft brown sugar
- 2 large eggs
- 1 egg yolk
- 150ml buttermilk
- 1 tsp vanilla extract or vanilla bean paste
- 150g self-raising flour
- 50g cocoa powder
- 1/2 tsp baking powder
- Pinch of salt
For the whipped milk chocolate frosting:
- 200g soft butter
- 300g icing sugar
- 150g milk chocolate
- 1 tsp vanilla extract or vanilla bean paste
- Pinch of salt
To assemble:
- Chopped toasted hazelnuts
- Kinderella cream spread (or Nutella)
Instructions
For the buttermilk chocolate cake:
- Preheat your oven - 180 C / 160 C fan / 350 F / gas mark 4.
- Grease and line a 25cm x 31cm (10in x 12in) baking tray or roasting tin.
- In a large bowl, beat together the butter/margarine and sugar for 2 minutes until fluffy.
- Add the eggs (and yolk) one at a time, beating well between each.
- Add the buttermilk and vanilla and beat for a further 4 minutes. If it looks a little curdled, don’t worry, it should be fine once you add the flour!
- Gently stir in the flour, cocoa, baking powder, and salt until just combined into a smooth dark cake mix.
- Pour the cake mix into your prepared tray and scatter over the remaining sprinkles.
- Bake for 20–30 minutes until risen and firm to the touch. A skewer inserted into the centre of the cake should be removed cleanly once it is baked.
- Remove from the oven and allow to cool completely.
For the whipped milk chocolate frosting:
- Melt the chocolate in a heatproof bowl, either in the microwave in 30-second blasts or set over a pan of simmering water, until smooth.
- Beat together the butter and icing sugar vigorously (and/or with the help of machinery) for 2–5 minutes until pale and fluffy.
- Beat the melted chocolate vigorously, along with the vanilla and salt, into the butter mixture until you have a fluffy chocolate frosting.
- Set aside, ready for assembly.
To assemble:
- Use your cake ring (adjusted to 15cm if it is adjustable) to cut out two circles of cooled cake. Gather up the scraps as this will form the bottom layer of your cake.
- Clean and dry the cake ring and place it either on the plate you want to serve the cake on.
- Line the ring with a strip of 7.5cm x 50cm acetate. Clingfilm may also work, but will not provide as smooth a result.
- Put the cake scraps inside the ring and use your hand to press them down into a flat even layer.
- Spread one-third of your frosting on top.
- Scatter over a handful of hazelnuts, pressing them down gently into the frosting.
- Blob a few generous dollops of your Kinderella/Nutella over the frosting and hazelnuts.
- Repeat the entire assembly process again for the second and third layer. You should have used up all of your cake, and frosting.
- Place the cake in the fridge to chill for 1–2 hours until the frosting is firm.
- Gently remove the cake ring and peel off the acetate.
- Slice up and enjoy!


Needed to double the mixture as not enough to cover the tin size you suggested cake batter tasted good and the cake was light and had good flavour.
Hello is there a youtube chanel I would to see it in a video, thanks for sharing the recipe!!
Just wanted to note that your instructions don’t say when to add the cocoa powder… I suppose it could be assumed but I almost completely forgot and ruined the cake.
Hi Alex, you’re absolutely right! Thanks for pointing that out, I’ll amend right now.