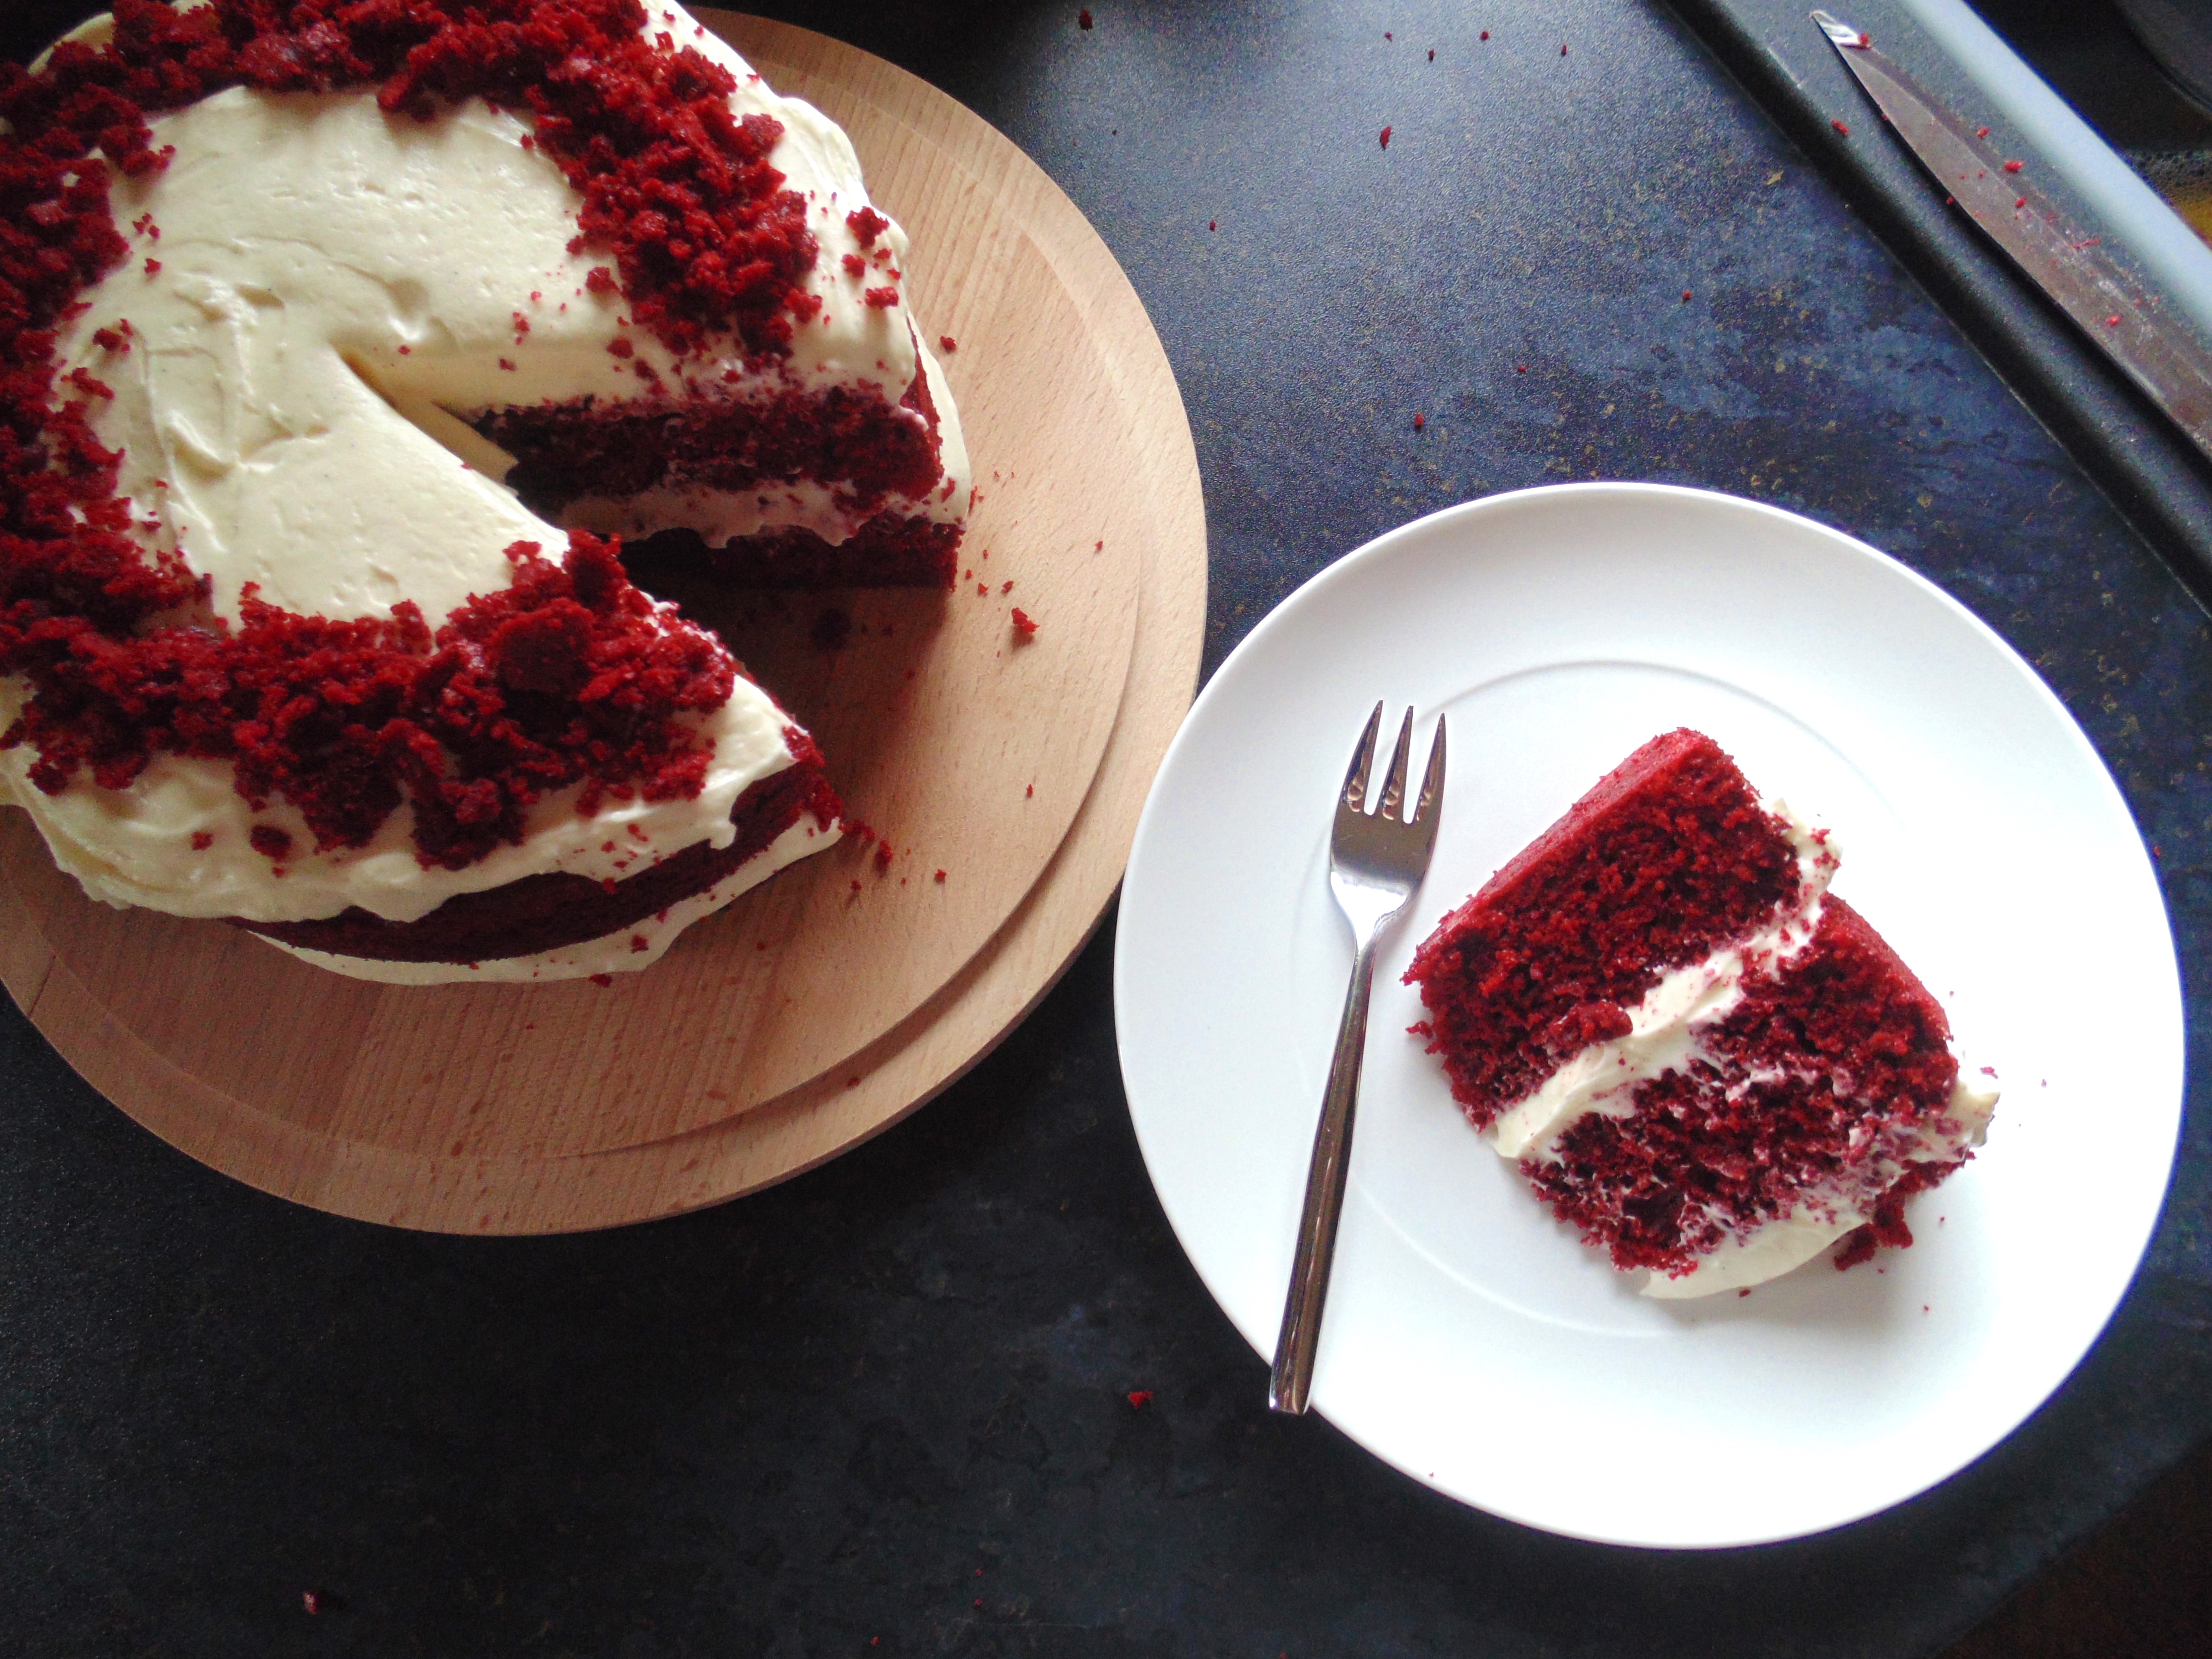
Best Ever Red Velvet Cake; simply the best recipe for the most moist and fluffy ruby red light chocolate cake with sweet cream cheese icing!
Ok everyone, I love this cake so much I want to shout about it.
Don’t worry, I’m not going to shout, I’m just going to type instead.
This beautiful cake has had many lives, many forms and many taste-tests but I finally feel ready to say that this red velvet cake is perfect.
So many red velvet recipes that I’ve tried, from cake shops, books, the internet and the crevices of my own scattered mind, have been disappointing. Too dry, too dense, too sweet, too brown, you name it, I’ve tasted it in red velvet cake form. However, by removing some fiddly steps and getting the qualities of ingredients right (something I’m known to play with a lot!), this is genuinely the best ever red velvet cake. In my family’s opinion at least.
I learned recently that red velvet cake originated when the chemical compounds found in old-fashioned American cocoa powder reacted with cake raising agents, causing a rosy hue when baked. Interesting, eh? Nowadays it comes from wonderfully artificial food colouring paste, but who’s complaining? It’s a delicious classic either way!
(BTW, this is the BEST food colouring paste for your red velvet cake!)
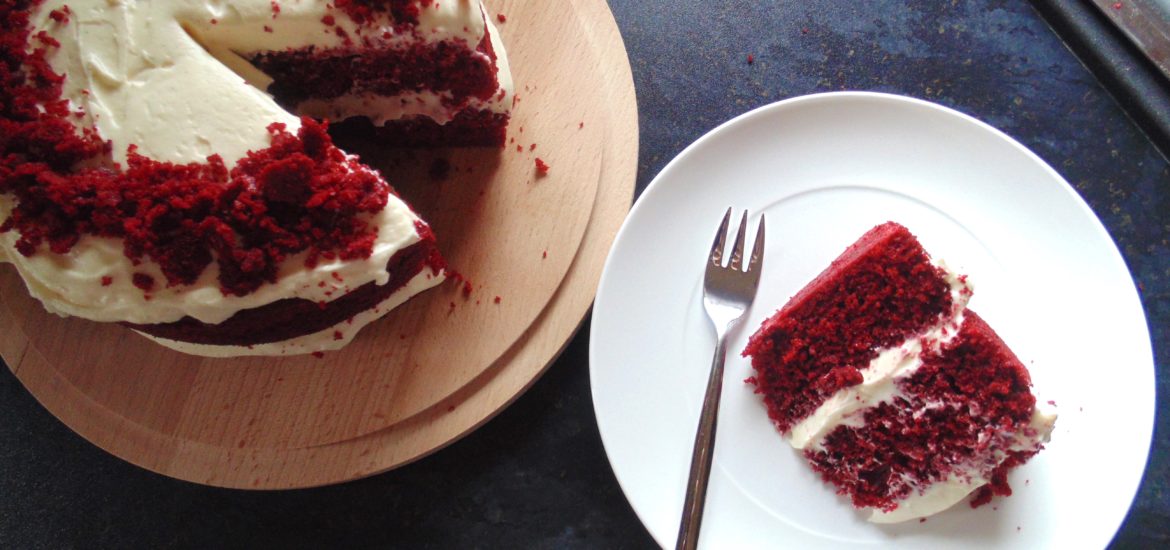
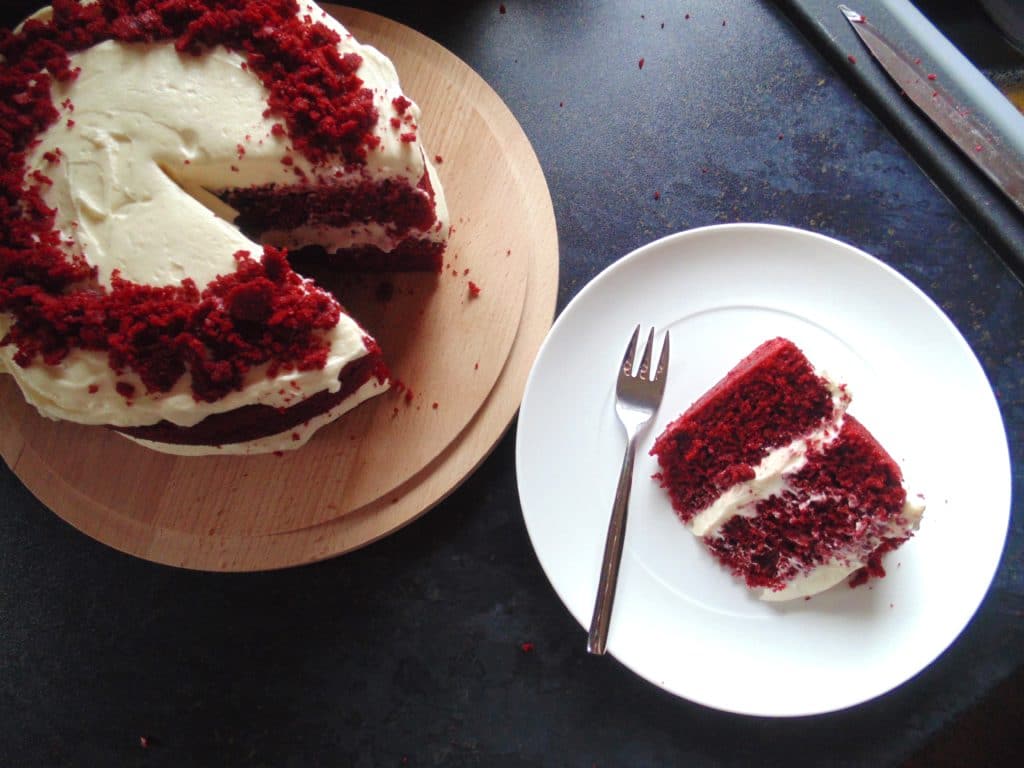
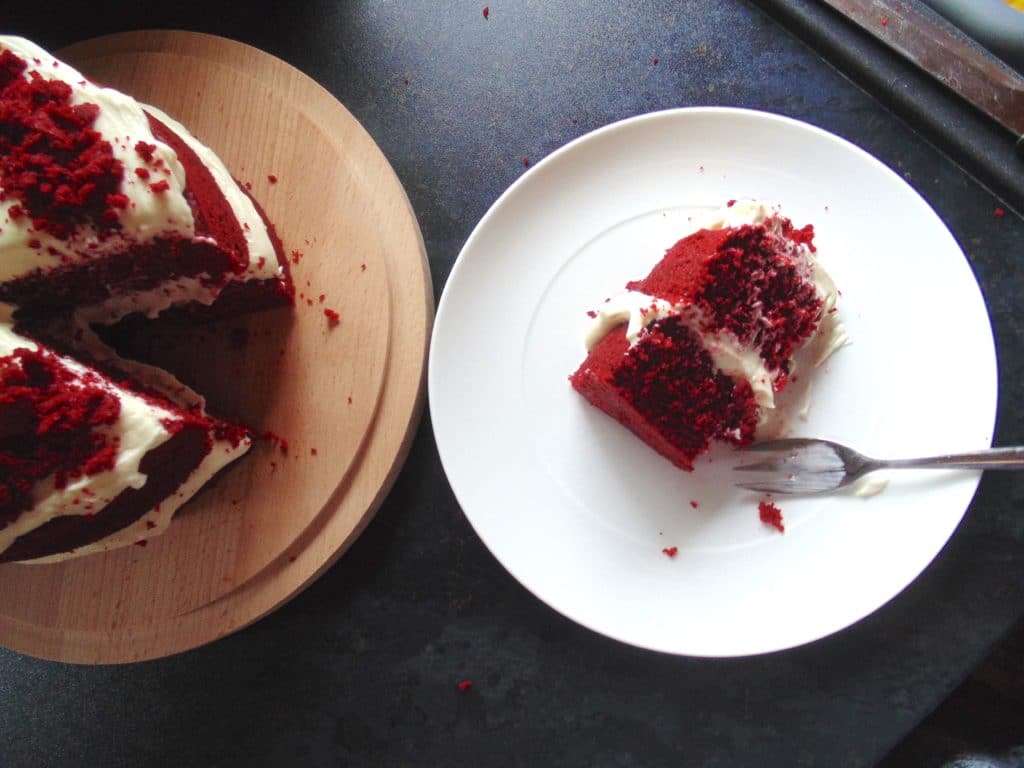
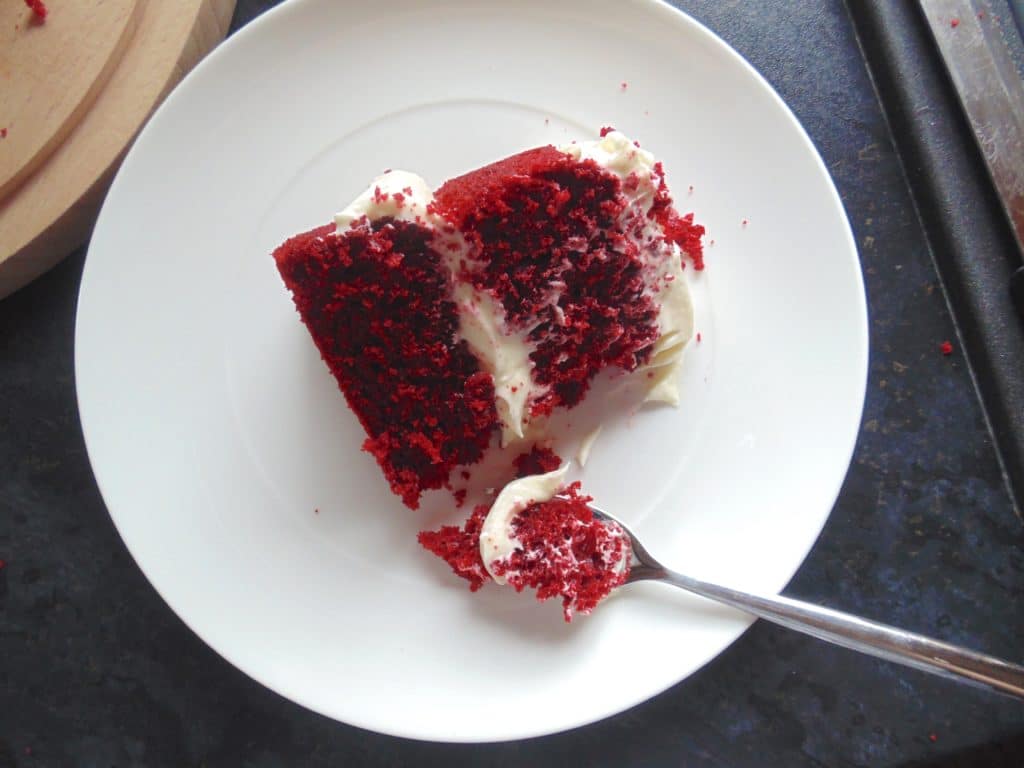
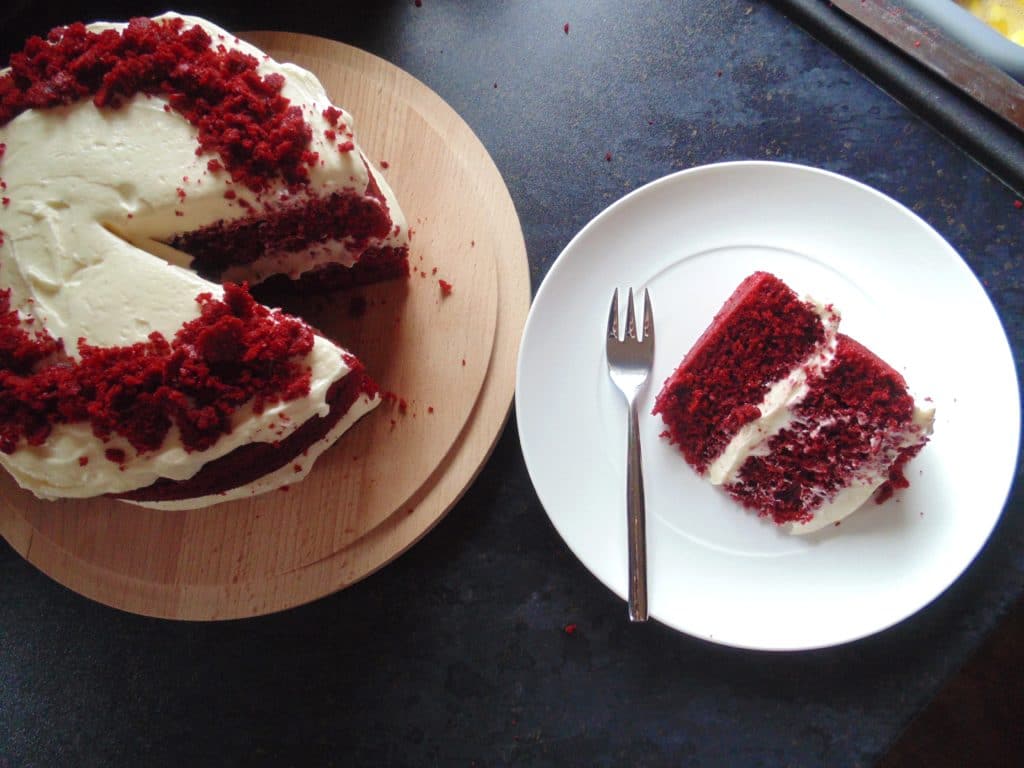
This best ever red velvet cake is light, moist, fluffy, with just a hint of cocoa and vanilla, and is sandwiched and swirled with sweet and tangy cream cheese icing. Yeah, just get me a slice now pls. Oh, and it’s easy to make too!
To whip up this best ever red velvet cake, you’ll first need to preheat your oven and grease/line two sandwich cake tins.
Place some butter, sugar and vanilla into a large bowl and beat with a mixer or by hand until light and fluffy.
Add two eggs one at a time, beating between each addition until fully combined.
Add your food colouring until the mixture reaches a vivid ruby-red. Oooooh pretty…
Sift some flour, cocoa, raising agents and salt and mix together in a separate bowl.
Tip half of this into your butter-sugar-egg mixture and mix together.
Follow this with the buttermilk, followed by the rest of the flour mixture and the vinegar, and mix gently until fully combined into a gloriously thick red cake batter.
Scoop all the batter into the two prepared cake tins and smooth out the top as best you can.
Bake the cakes until firm and a skewer inserted into the centre can be pulled out cleanly. Allow the cakes to cool for at least 15 minutes before removing them from the tin to cool completely.
Meanwhile, make the addictively sweet and tangy cream cheese icing.
Beat together some butter, vanilla and icing sugar until combined.
Add some more icing sugar, cream cheese and lemon juice and beat vigorously until fully incorporated and pale in colour. It may be slightly too soft to use at this stage, if so, chilling it in the fridge for 30-40 minutes should bring it right!
Once the cake is completely cool and your icing is your preferred consistency, level off the top of the cake with a sharp knife so that it is nice and flat.
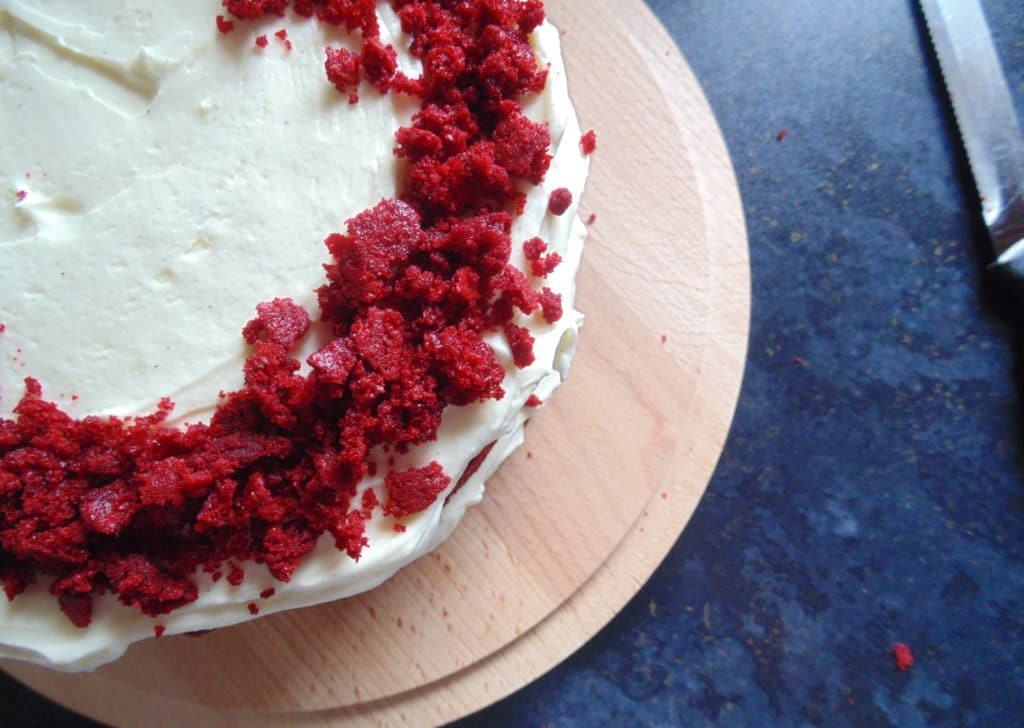
Use your fingers to mush the cake cuttings up into ruby-red velvet crumbs.
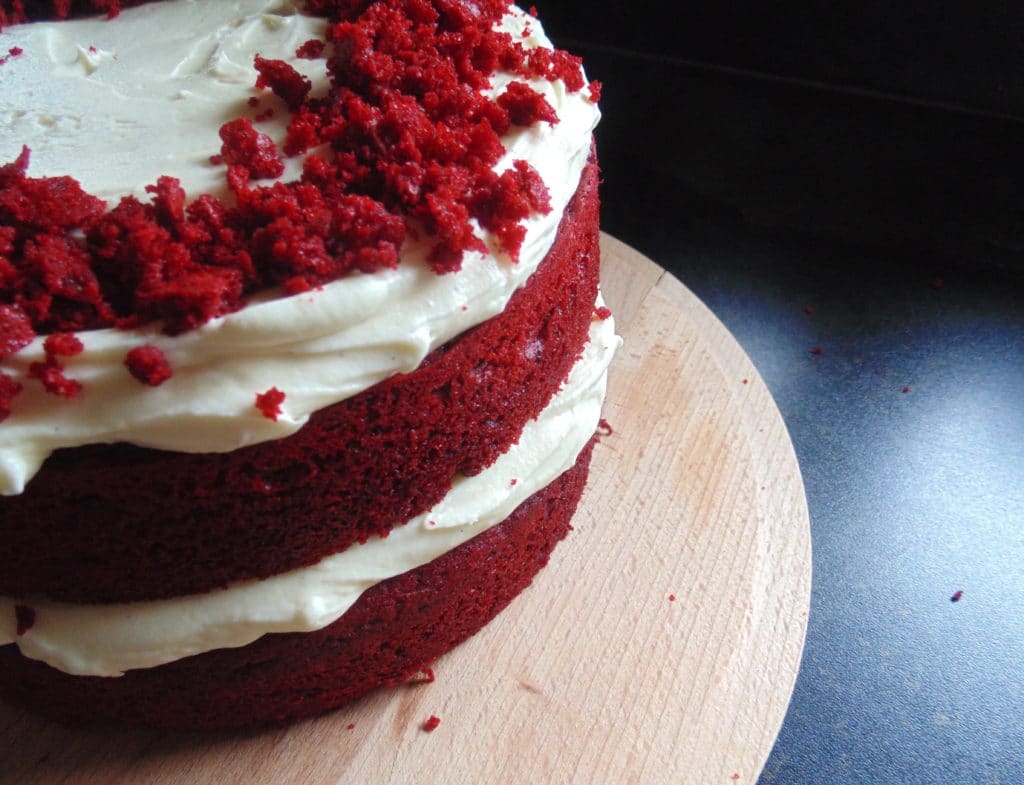
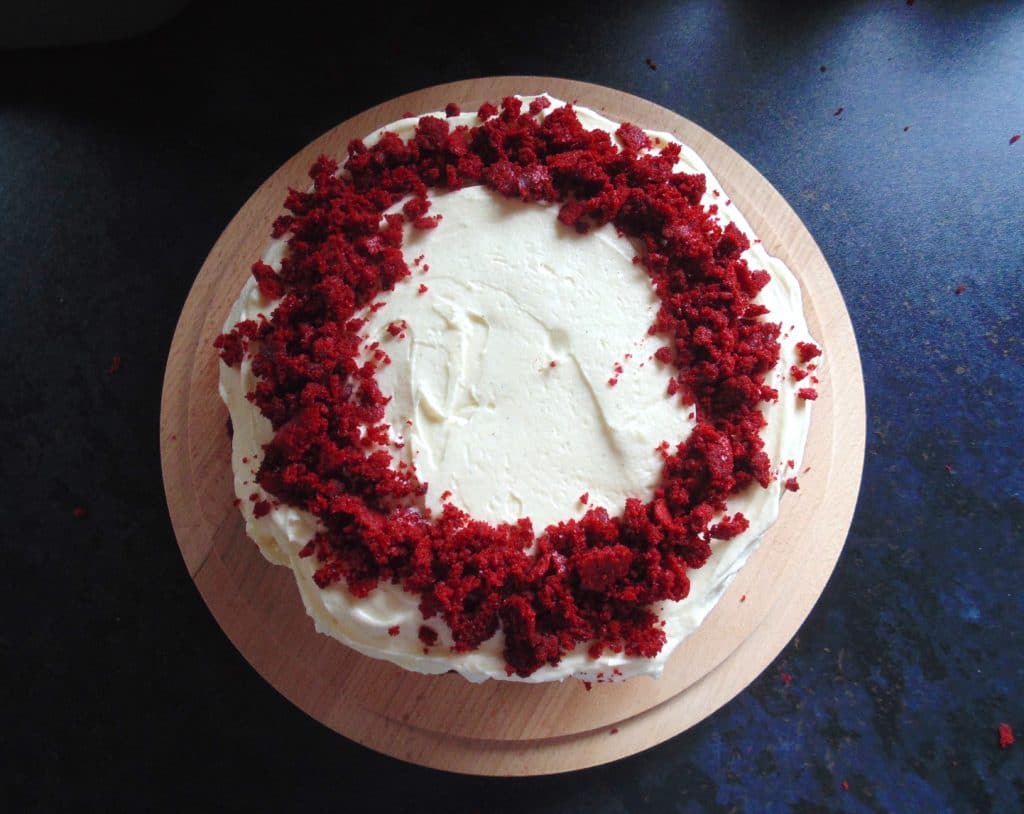
Spread the top of both sponges thickly with the cream cheese icing and place one atop the other, sprinkling the reserved crumbs around the edge of the top layer.
This recipe makes enough icing to coat the whole cake in it if you’d prefer to decorate it like that. I’m much more of a “cake person” than an “icing person” so I prefer two billowing clouds of icing between the thick layers of cake rather than it coating everything, but it’s completely up to you how you decorate it!
Now just slice it up and enjoy!
Scroll down for the full recipe to make the best ever red velvet cake.
Thanks as always for reading, hope to see you again soon!
Best Ever Red Velvet Cake
Simply the best recipe for the most moist and fluffy ruby red velvet cake with sweet cream cheese icing!
Notes
BE A MAVERICK: Why stick to RED velvet? If you're feeling creative, try out any other food colouring you like, blue or purple would be fun!
This best ever red velvet cake keeps well in an airtight container or on a covered cake stand for up to 4 days!
Ingredients
For the red velvet cake:
- 100g (6 ½ tbsp) softened butter/margarine
- 200g (1 cup) caster sugar
- 1 tbsp vanilla extract
- 2 large eggs
- 2-3 tsp red food colouring paste
- 250g (2 cups) plain flour
- 2 tbsp cocoa powder
- 1 tsp baking powder
- 1 tsp bicarbonate of soda
- Pinch of salt
- 150ml (½ cup) buttermilk, sour cream or creme fraiche
- 1 tsp vinegar
For the cream cheese icing:
- 150g (10 tbsp) softened butter
- 300g (1 ½ cups) icing sugar
- 1 tsp vanilla extract
- 150g (5 oz) cream cheese
- Juice of half a lemon (2 tsp)
Instructions
For the red velvet cake:
- Preheat your oven - 170 C / 150 C fan / 325 F / gas mark 3 - and grease/line two 20-25cm (7-9inch) sandwich cake tins.
- Place your butter, sugar and vanilla into a large bowl and beat with a mixer or by hand until light and fluffy.
- Add your eggs one at a time, beating between each addition until fully combined.
- Add your food colouring until the mixture reaches a vivid ruby-red.
- Sift your flour, cocoa, raising agents and salt and mix together in a separate bowl.
- Tip half of this into your butter-sugar-egg mixture and mix together.
- Follow this with the buttermilk, followed by the rest of the flour mixture and the vinegar, and mix gently until fully combined into a gloriously thick red cake batter.
- Scoop all the batter into the two prepared cake tins and smooth out the top as best you can.
- Bake the cakes for 25-30 minutes, until firm and a skewer inserted into the centre can be pulled out cleanly.
- Allow the cakes to cool for at least 15 minutes before removing them from the tin to cool completely.
- Meanwhile, make the cream cheese icing.
For the cream cheese icing:
- Beat together the butter, the vanilla and half the icing sugar until combined.
- Add the remaining sugar, cream cheese and the lemon juice and beat vigorously until fully incorporated and pale in colour. (It may be slightly too soft at this stage, if so, chilling it in the fridge for 30-40 minutes should bring it right!)
- Once the cake is completely cool and your icing is your preferred consistency, level off the top of the cake with a sharp knife so that it is nice and flat.
- Use your fingers to mush the cake cuttings up into ruby-red crumbs.
- Spread the top of both sponges thickly and place one atop the other, sprinkling the reserved crumbs around the edge of the top layer. (Or decorate/ice it however you like!)
- Now just slice and enjoy!
You may also like:
[THIS POST CONTAINS AFFILIATE LINKS]


Can this quantity be used in an 6” tin?
My cakes aren’t red! I used an entire bottle of red colouring and they are just brown. Disappointed much
Hi Susan, I’m sorry to hear that. Did you use paste colouring as suggested, or did you use liquid?
I used liquid, didn’t realise it would matter?!
Please tell me how the liquid and paste differ in the making of this cake
Hi again Susan. Yes, I’m afraid the liquid kind isn’t particularly strong and it’s fairly diluted, as well as adding extra unwanted moisture to the cake. It’s best to use a colouring paste as the recipe suggests as they are more potent and take a lot less product to get a good result. I’ve had good results with this one, it’s slightly pricier but lasts for years: https://amzn.to/2PebsZR
WOW!! Yum. I am definitely making this at the weekend. Have you ever tried to make a Red Velvet Cheesecake? If so I would love a copy of the recipe!!
Yay, you should! I haven’t actually, but it sounds like a delicious idea!
I would like to be put on your mailing list – everything looks delicious. – Yvonne
Aw thank you Yvonne!
If you just type your name into the little box on the bar on the right hand side (or towards the bottom if you’re on mobile) of the screen that says “Subscribe” you’ll get an email every time I post something new! Thanks x