Cherry scones; quick and simple buttery cherry scones that are guaranteed to disappear fast, smother them in butter and jam and enjoy!
I love Scotland.
We’re nowhere near perfect and our climate is something even penguins would complain about but I always feel a kinship with our grumbly ruggedness.
We’re certainly not an island known for our exotic flavours or fine cuisine, however there is one constant that has run through for a very long time. Good old buttery scones. No posh English clotted cream, no fancy American glaze, just a perfectly old-fashioned buttery scone studded with some retro fruit.
Of course, if you do prefer fresh cherries to the vivid red glacé cherries, please feel free to use them!
Proper scones (that’s pronounced sc-on for the record, not sc-own!) possess a crumbliness that is hard to resist, and slathering them in butter and jam while they’re fresh from the oven is a tough treat to follow. Plus, Grannies love them, so even if you don’t make them for your own greedy self, send some her way!
Most excellent of all, these scones can be thrown together and baked in less than 25 minutes, meaning you can surprise any irritating unexpected guests, family or generally whinging hungry folks in your house in no time at all. Just make sure you have butter and jam in the kitchen first though. Please.
I write this post with a rumbling stomach, so I shall press on and share with you this wonderfully cheap, quick and easy way to shut people up…
First, preheat your oven and line a flat baking sheet with some greaseproof paper or tin foil.
In a large bowl or food processor, rub the butter into the flour until there are no little lumps remaining, the mixture should look nice and crumbly.
Add the beaten egg, honey/syrup, baking powder, salt and halved cherries and use a table knife to stir the mixture into a rough dough.
You may need to add the milk at this point to help bring the dough together. It should be firm without being too sticky or too dry.
Sprinkle a little flour onto a work surface and flatten the dough with your hands into a circle at least 2 inches thick. You can use a rolling pin, but I like to work them as little as possible to keep that light, crumbly texture!
Use a round or fluted cutter to cut out 5-8 scones from the dough, trying not to twist the cutter (this can cause them to rise all wonky) and re-rolling and flattening the dough where necessary.
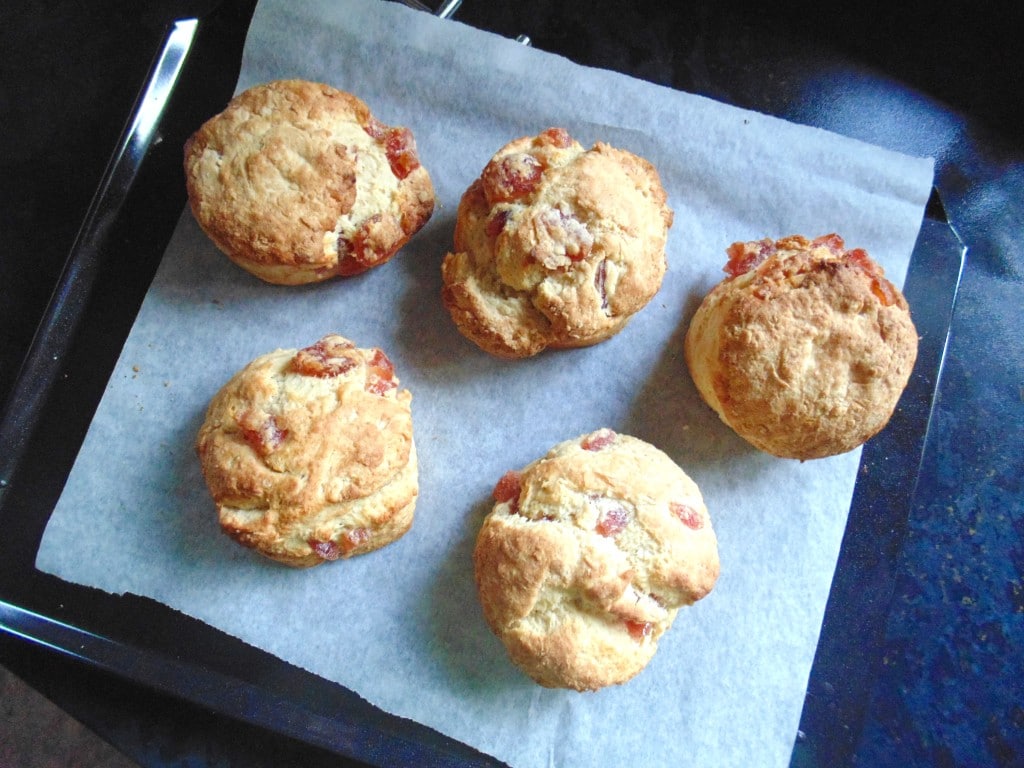
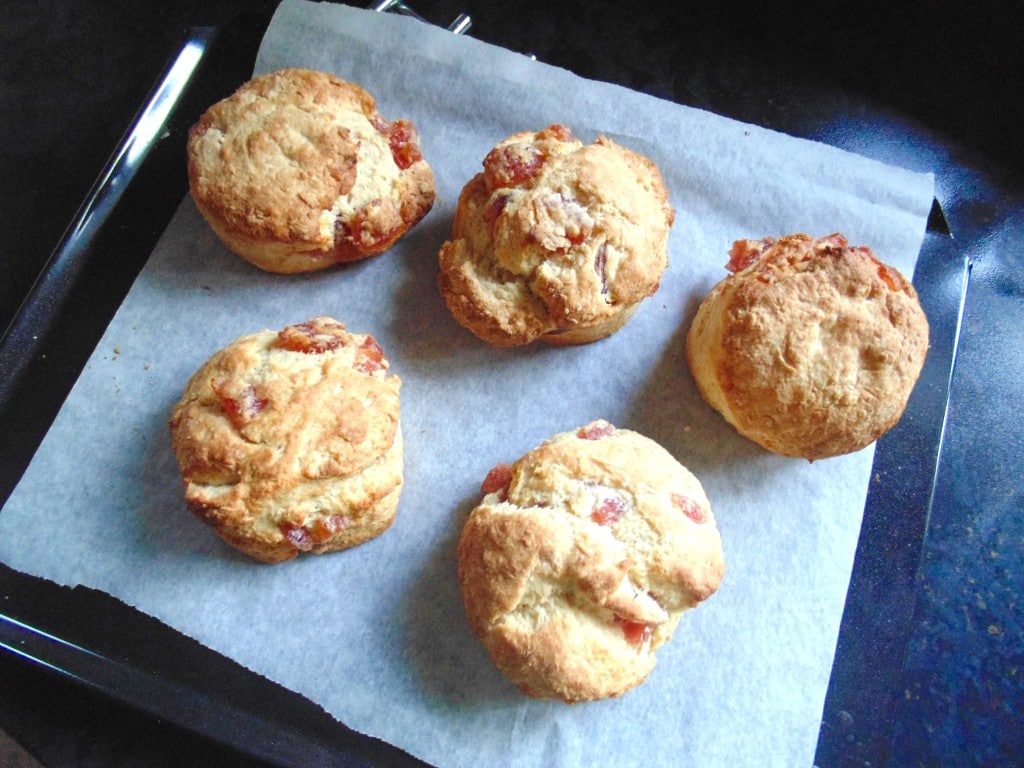
Once you have formed all of the dough into scones, place them on the prepared baking sheet and bake until risen, golden and firm underneath.
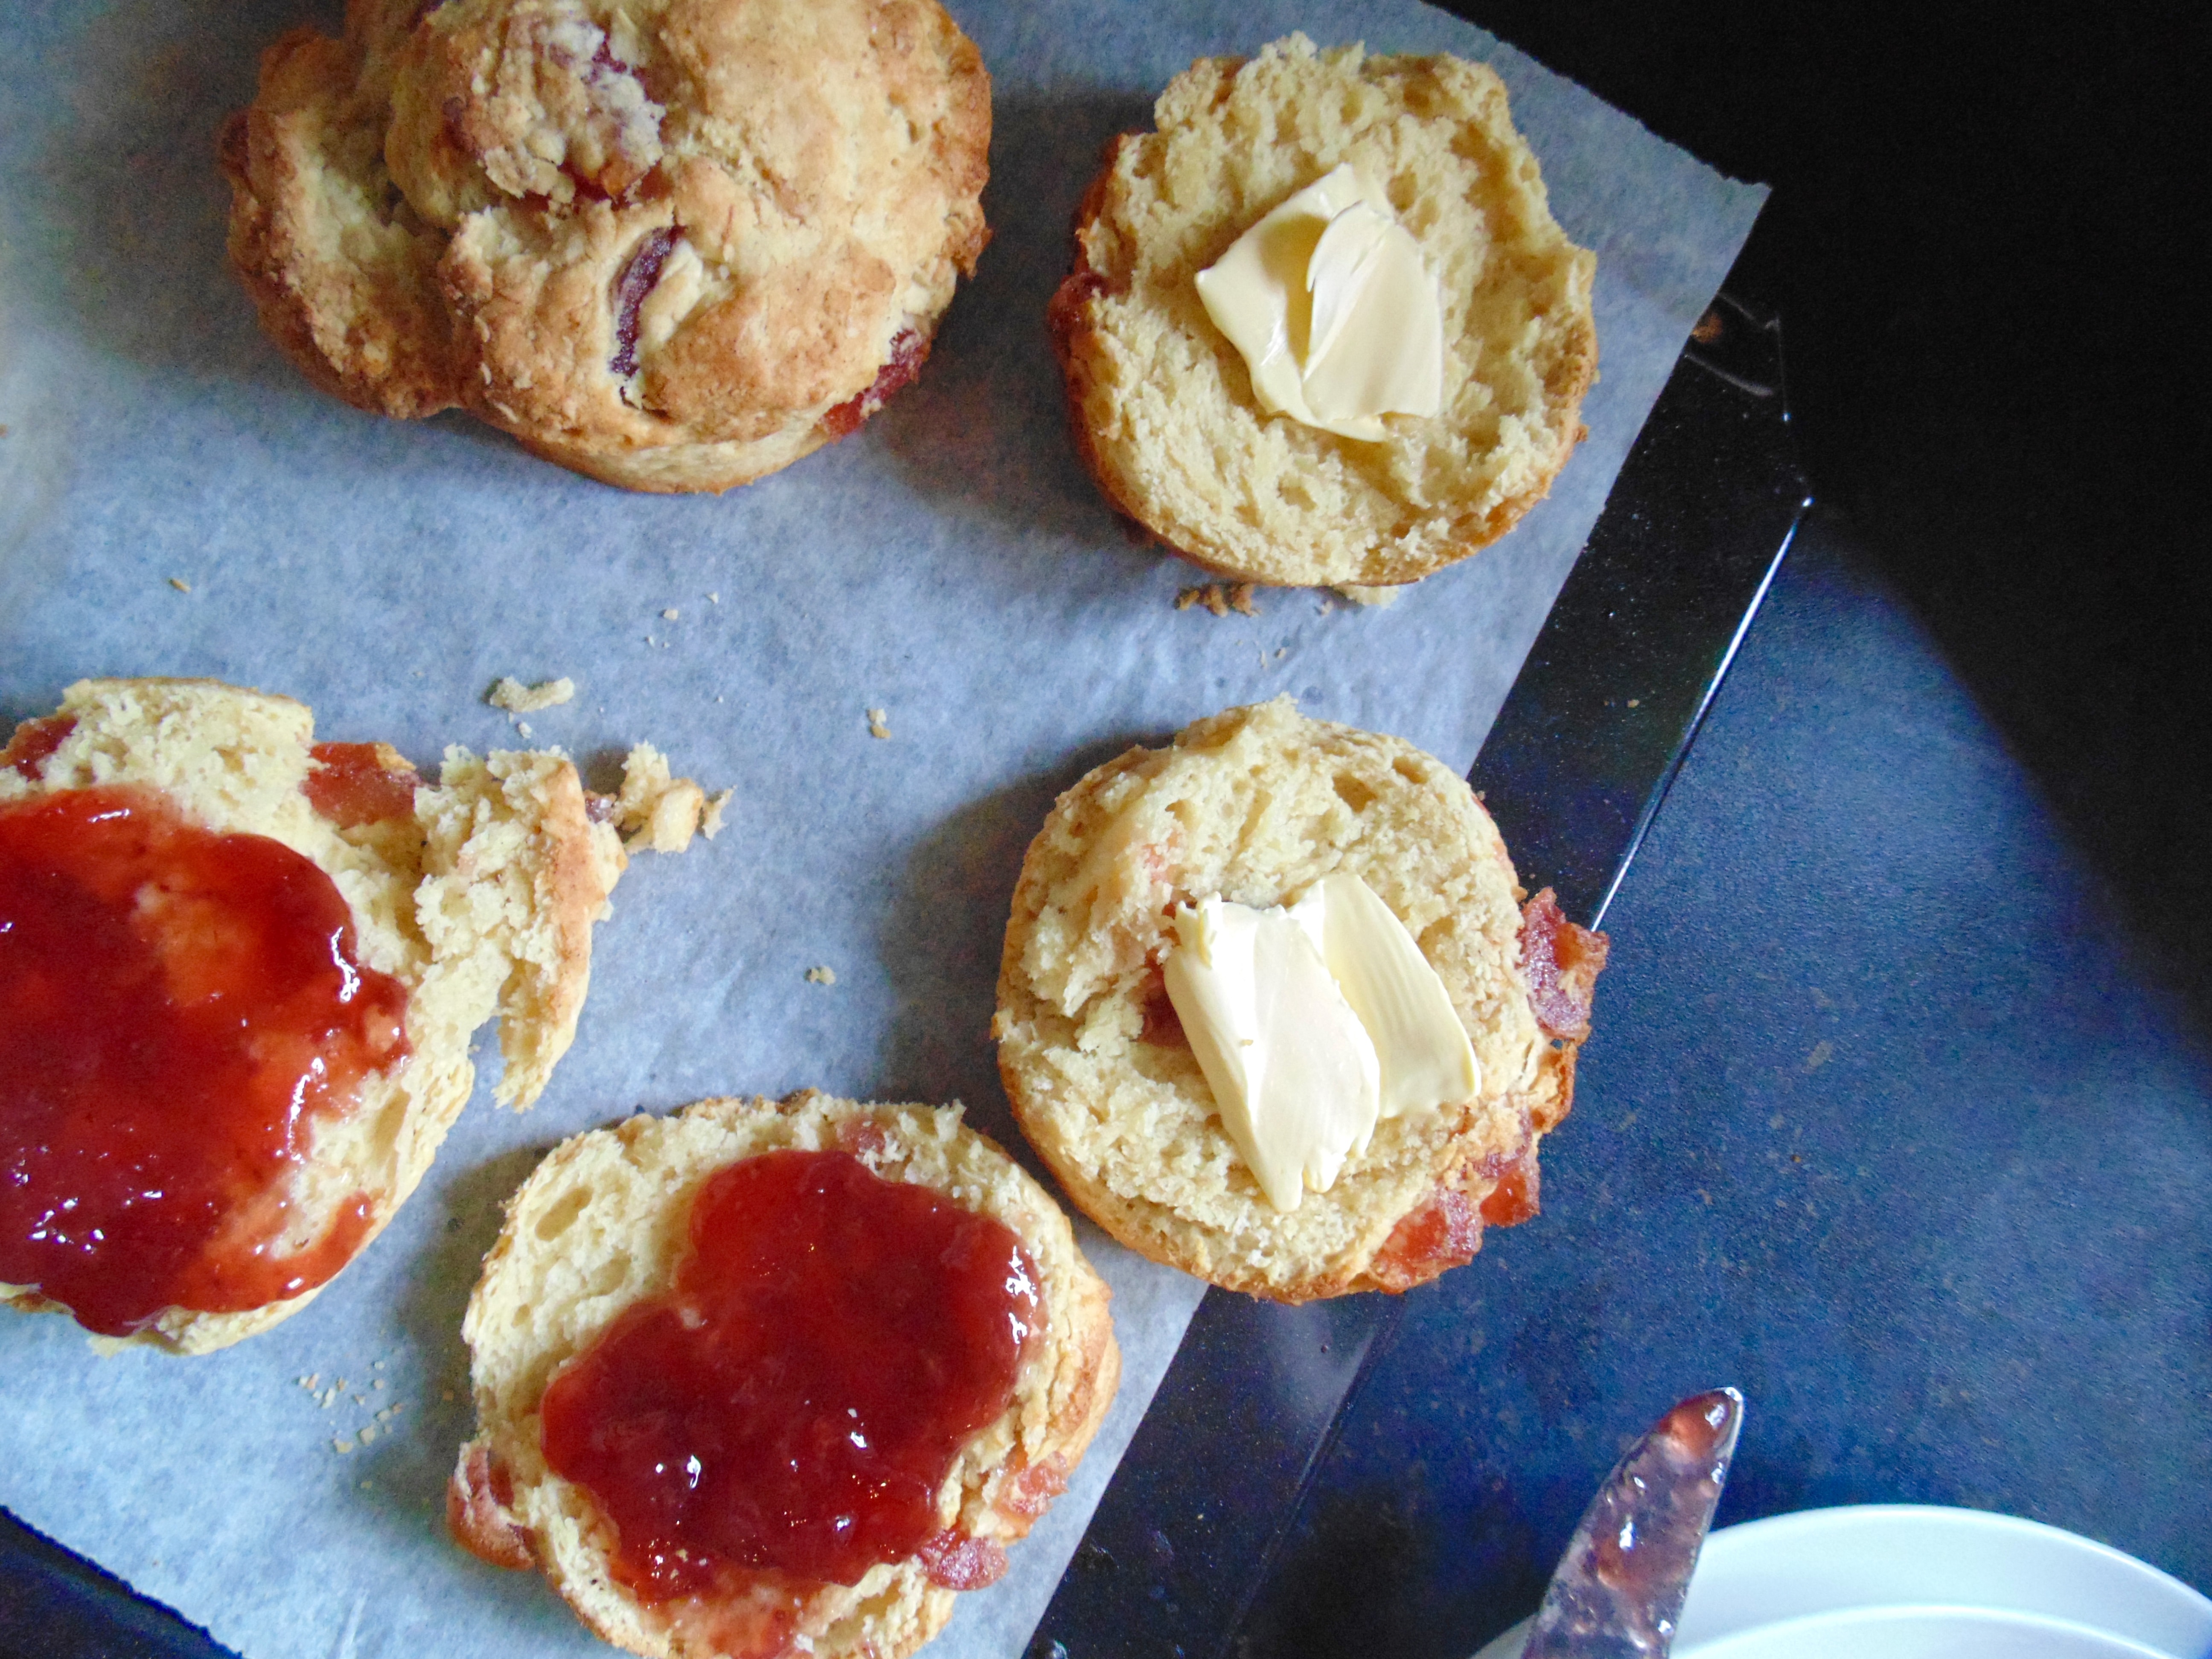
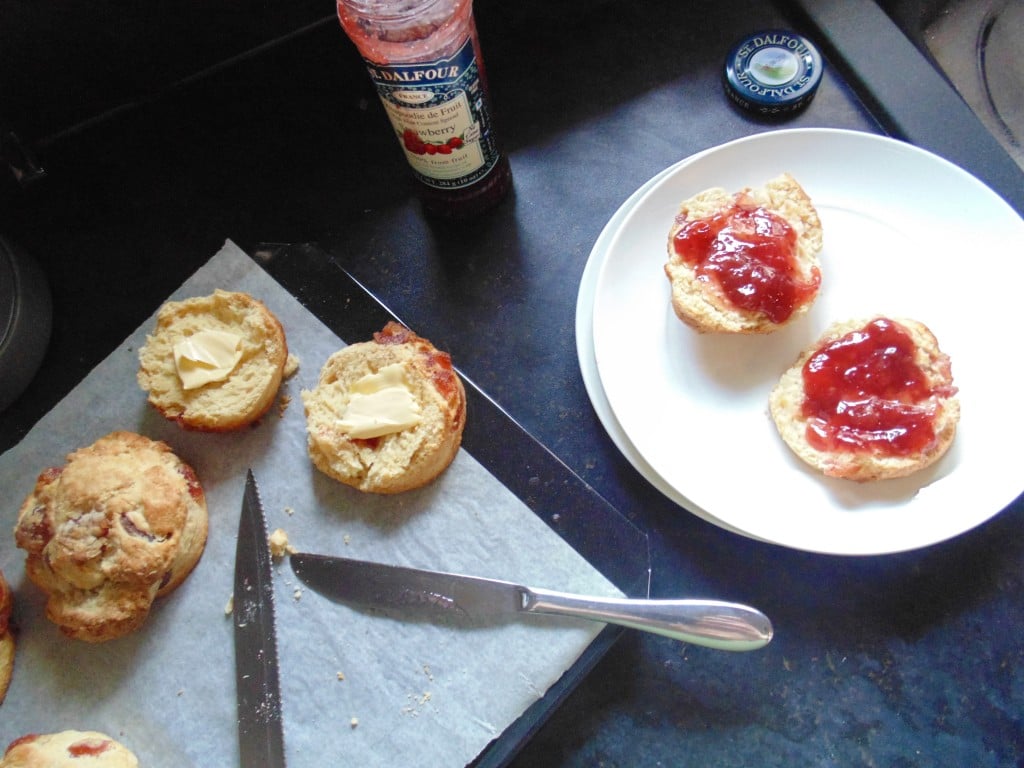
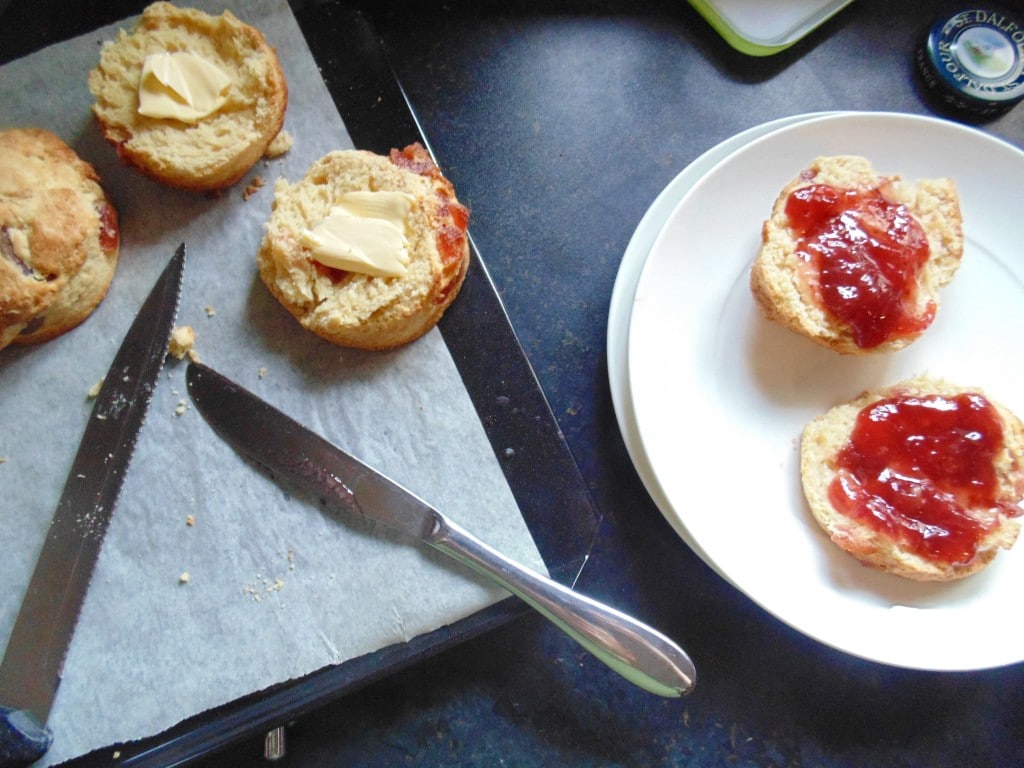
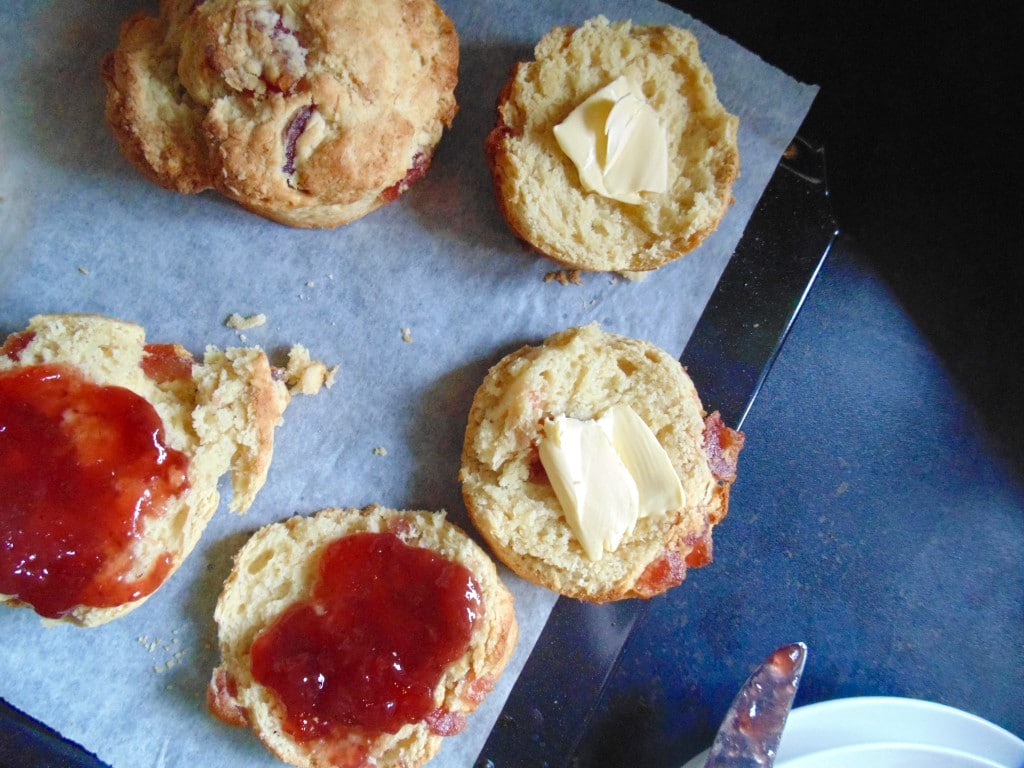
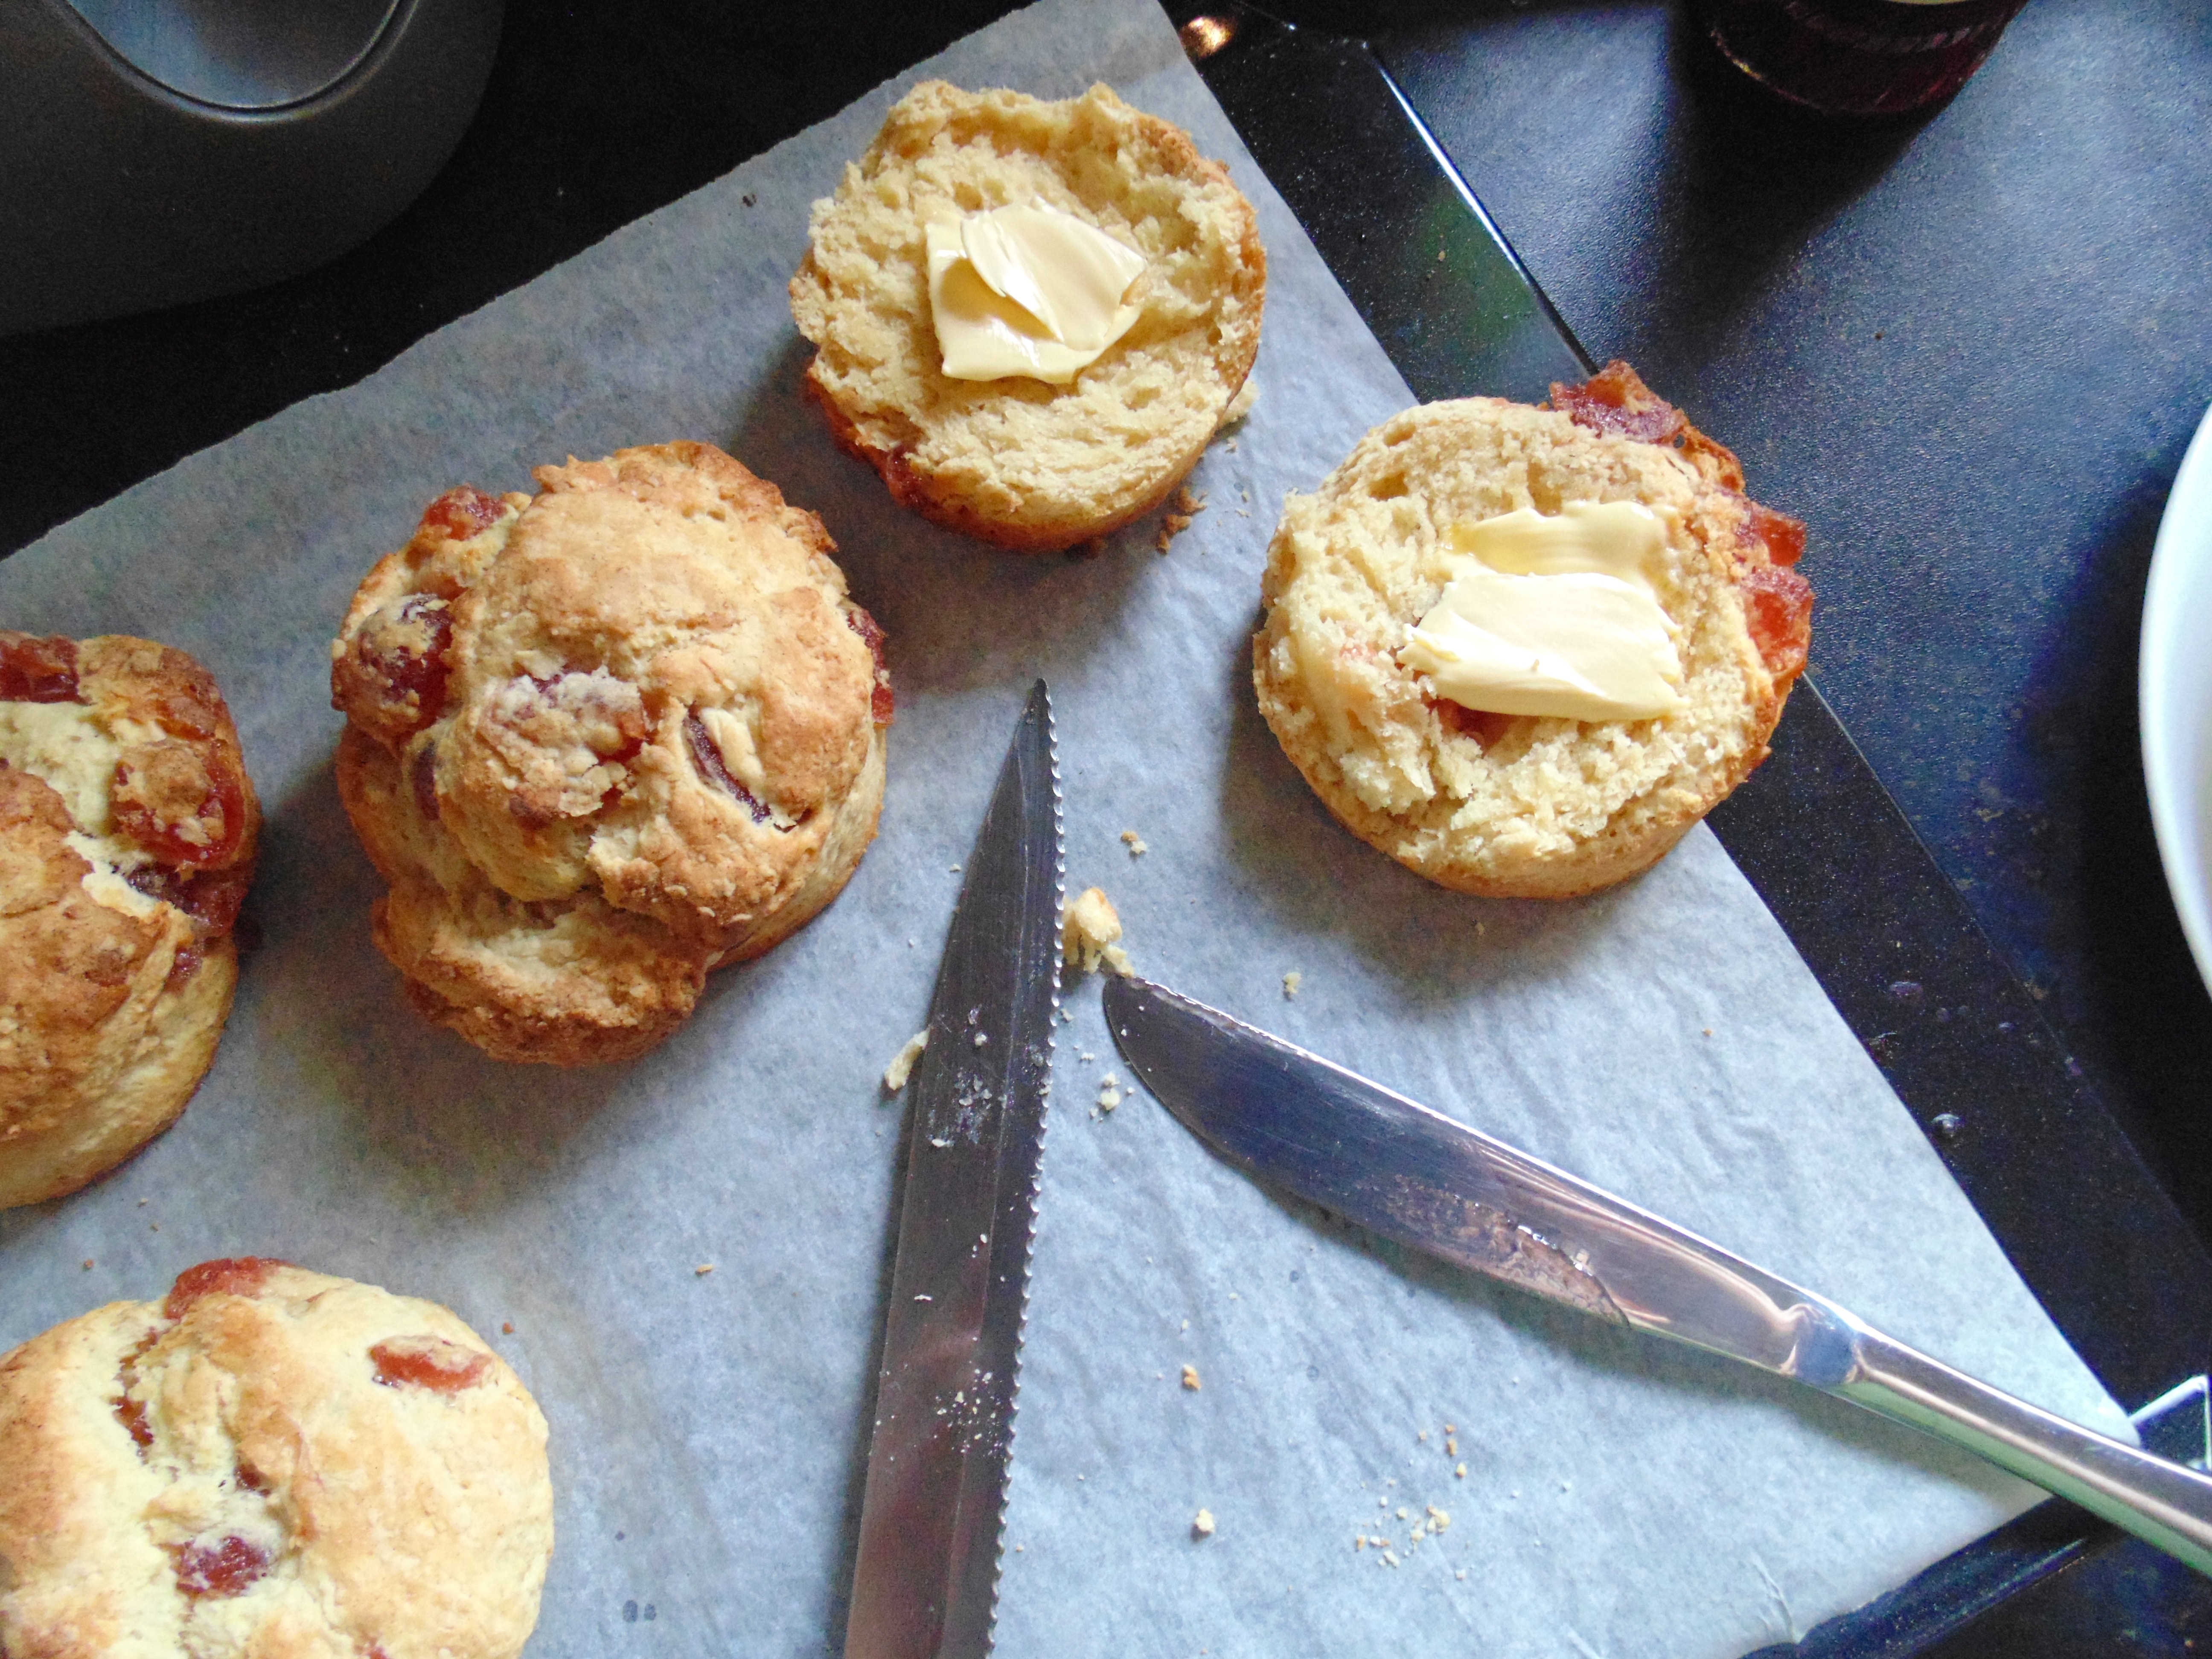
Allow the cherry scones to cool slightly before slicing in half and spreading liberally with whatever you like!
I really hope you give these cherry scones a try, they’re so simple to make and are very rewarding. Your cup of tea looks so lonely without one…
To make these Cherry Scones, simply follow the recipe below!
Cherry Scones
Really quick and simple buttery cherry scones that are guaranteed to disappear fast!
Notes
BE A MAVERICK: replace the glacé cherries with fresh ones, or change them for any fruit you like! If you're feeling fancy, adding some desiccated coconut to these scones before baking makes them extra yummy!
These cherry scones are best eaten on the day they're made but will last up to 3 days in an airtight container or on a covered cake stand.
Ingredients
- 225g (1 ¾ cups) self-raising flour
- 75g (5 tbsp) cold butter
- 1 beaten egg
- 3 tbsp honey, maple syrup or golden syrup
- ½ tsp baking powder
- Pinch of salt
- 1 tub of glacé cherries or some fresh cherries, halved (use as many as you like)
- 1-2 tbsp milk (optional)
Instructions
- First, preheat your oven - 220 C / 200 C fan / 425 F / gas mark 7 - and line a flat baking sheet with some greaseproof paper or tin foil.
- In a large bowl or food processor, rub the butter into the flour until there are no little lumps remaining.
- Add the beaten egg, honey/syrup, baking powder, salt and halved cherries and use a table knife to stir the mixture into a rough dough.
- You may need to add the milk at this point to help bring the dough together. It should be firm but not sticky or too dry.
- Sprinkle a little flour onto a work surface and flatten the dough with your hands into a circle at least 2 inches thick.
- Use a round or fluted cutter to cut out 5-8 scones from the dough, trying not to twist the cutter (this can cause them to rise poorly) and re-rolling and flattening the dough where necessary.
- Once you have formed all of the dough into scones, place them on the prepared baking sheet and bake for 13-15 minutes until risen, golden and firm underneath.
- Allow the scones to cool slightly before slicing in half and spreading liberally with whatever you like.
- Enjoy!
[THIS POST CONTAINS AFFILIATE LINKS]






Just made these and I’ve already eaten two!!! Simply divine and so easy. I used syrup which I think is a really clever idea. Next time I’ll try adding the coconut. 5⭐️⭐️⭐️⭐️⭐️👌
Aw Deb I’m so happy to hear you enjoyed! Thank you!