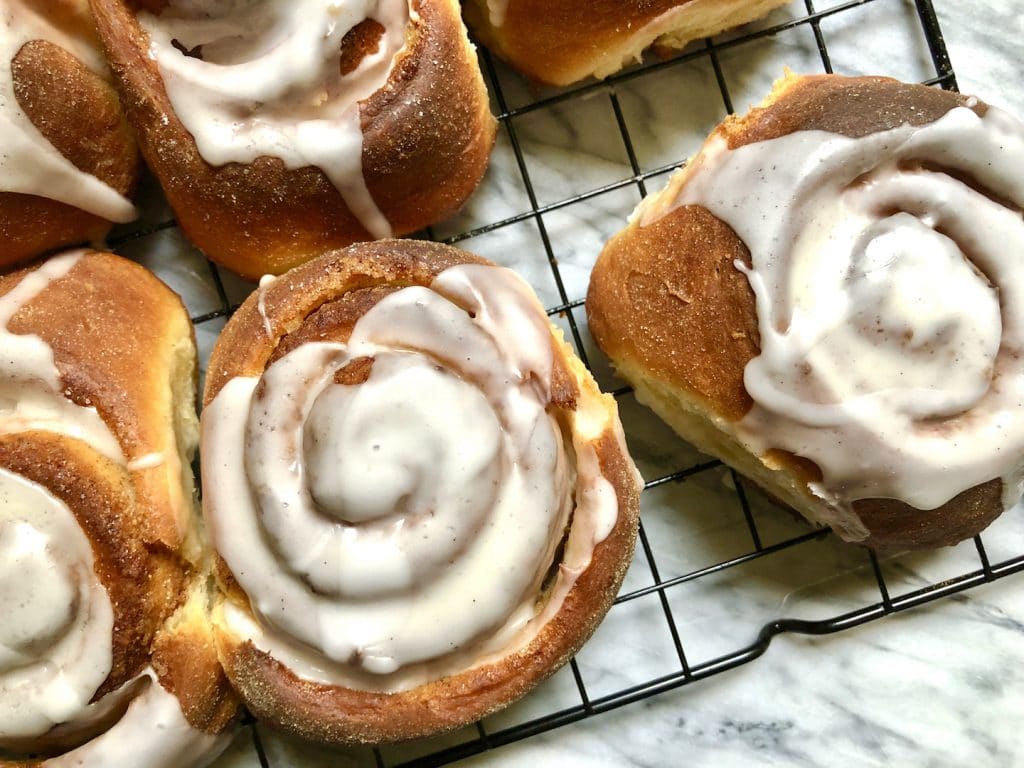
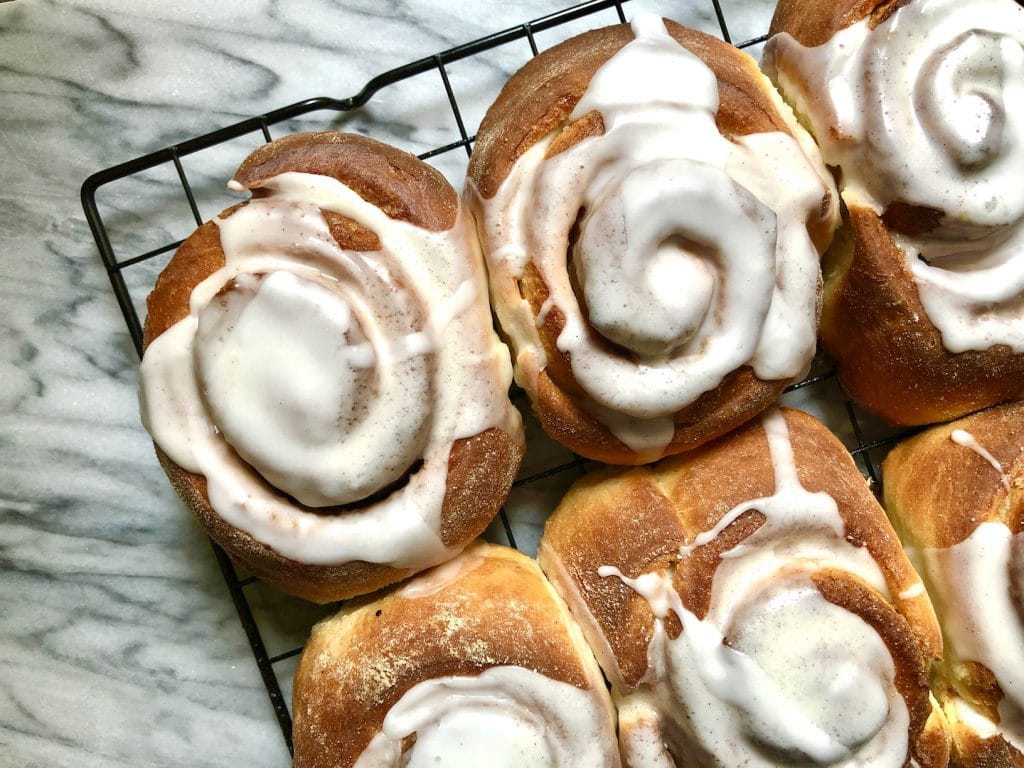
Lazy Girl Cinnamon Rolls; fluffy enriched bread swirls with a sweet and buttery cinnamon filling and maple vanilla glaze, minimal effort for maximum reward!
There aren’t many pleasures in life more simple than bread and butter. Of the white and salted varieties respectively, of course.
A horrendously unfashionable food nowadays, with the rise of gluten and dairy free foods and those rich people who tell us not to eat grains for reasons unknown, bread and butter is both luxury and a staple.
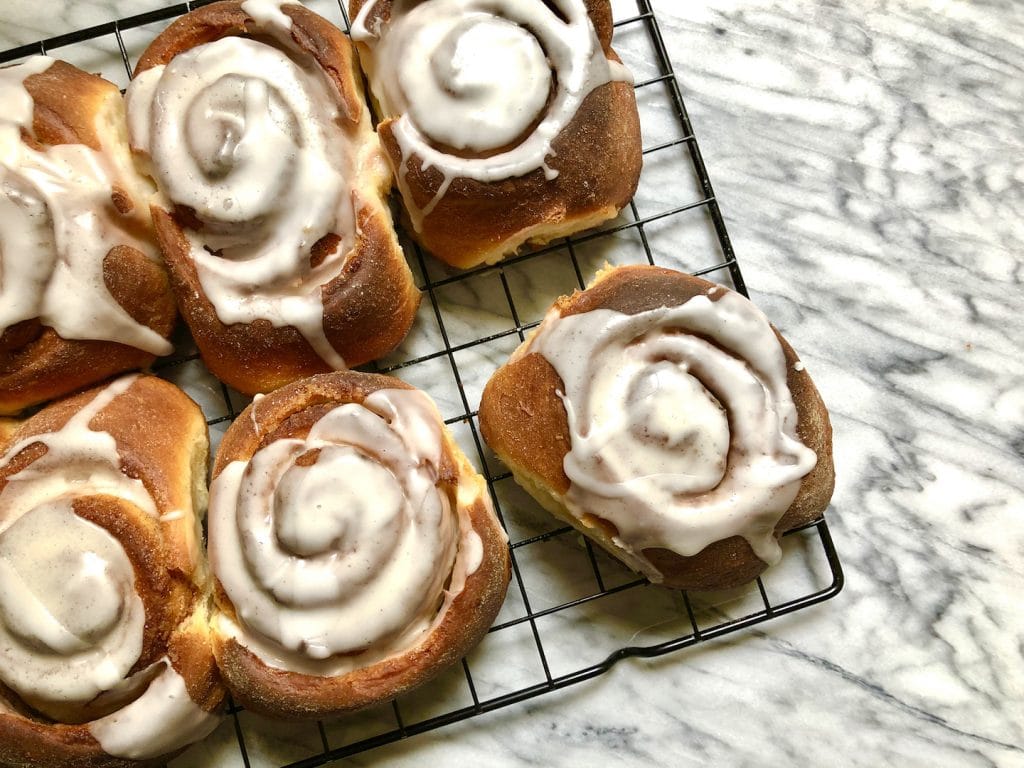
The cinnamon roll is essentially a glorious reworking of this classically delicious pairing. Hugely popular across Europe and North America, it comes in many forms, each of which is as wonderful as the other. In Denmark, Germany, and most of the United Kingdom (who stole it from Denmark, because let’s be honest, most of our food culture is appropriated from other places) a cinnamon roll or Kanelsnegl or Franzbrotchen is a pastry, buttery and flaky with cinnamon sugar between its layers. In Norway, Sweden and latterly, North America, the cinnamon roll or kanelbulle or skillingsbole is closer to a bread product, with pillow soft dough and sticky cinnamon filling. A swirl of wheat-based dough with a butter and cinnamon sugar filling is clearly popular, no matter what form or name it takes. Eaten at all times of day, whether for breakfast, afternoon snacks or dessert, they are basically a perfect foodstuff.
Love cinnamon? Why not try out this Banana Gingerbread!
Unfortunately, not all of us have the treat of living near a bakery, or at least one that has a steady supply of such sweet, spiced goodness. The closest thing I have is a Gregg’s, and you’d best believe that even if they did sell great cinnamon rolls, nothing in there will ever tempt me away from the Yum-Yums.
For us poor unfortunate souls who so many miles away from such delights, the best option is to make our own. Many recipes found in the first pages of Google require a lot of effort though, including 10-12 minutes of thorough kneading to give the gluten in the dough (and our weak arms) a workout. I might be a baker, but I am a lazy baker, and this blog isn’t called Maverick Baking for nothing. Welcome to this recipe for Lazy Girl Cinnamon Rolls.
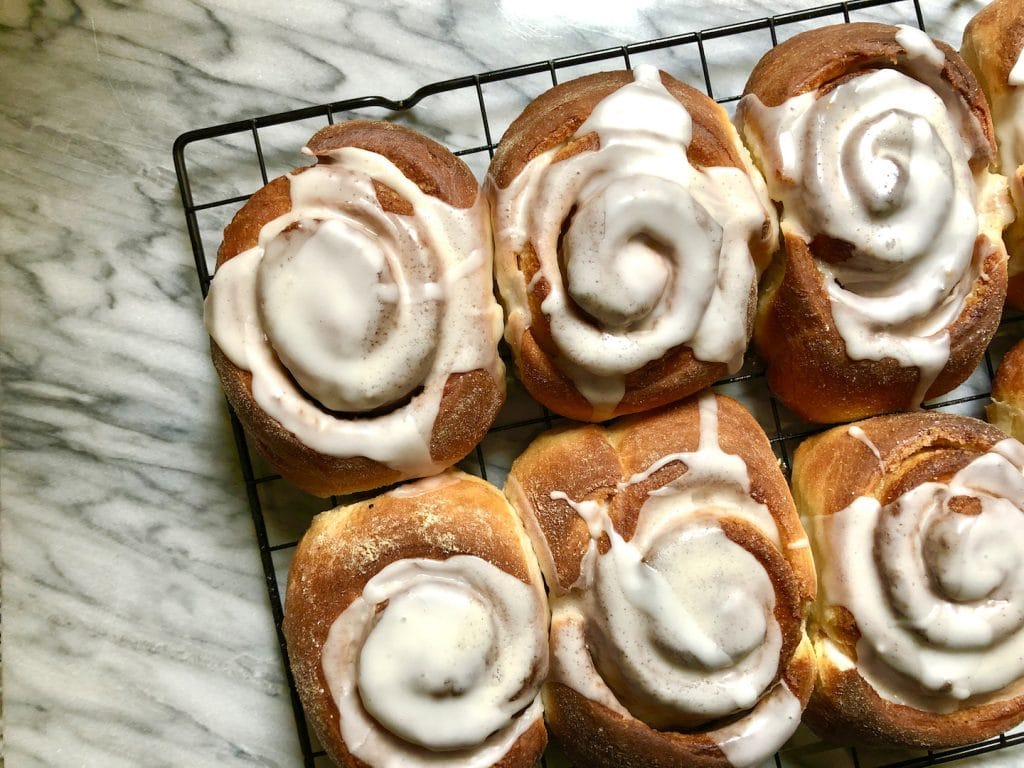
Requiring minimal ingredients and no physical exertion other than exercising your sugar-sprinkling muscles, these Lazy Girl Cinnamon Rolls are your new weekend best friend. A soft and fluffy dough enriched with butter, sugar and eggs. A pinwheeled filling of butter, sugar and cinnamon. A thick, melting glaze flavoured with proper maple syrup and sweet vanilla. You know exactly how tasty these rolls are, and you haven’t even made them yet.
Have you tried these Gingerbread White Chocolate Bars?
Just how can these Lazy Girl Cinnamon Rolls turn out so well without the dough being punched and kneaded into a malleable pulp? Time, my friends. Time. By resting the dough in a warm place for a little longer than usual, you can recreate the springy texture of freshly kneaded dough without having to break a sweat. Minimal effort for maximum reward.
Want to save these Lazy Girl Cinnamon Rolls for later? Pin the image below!
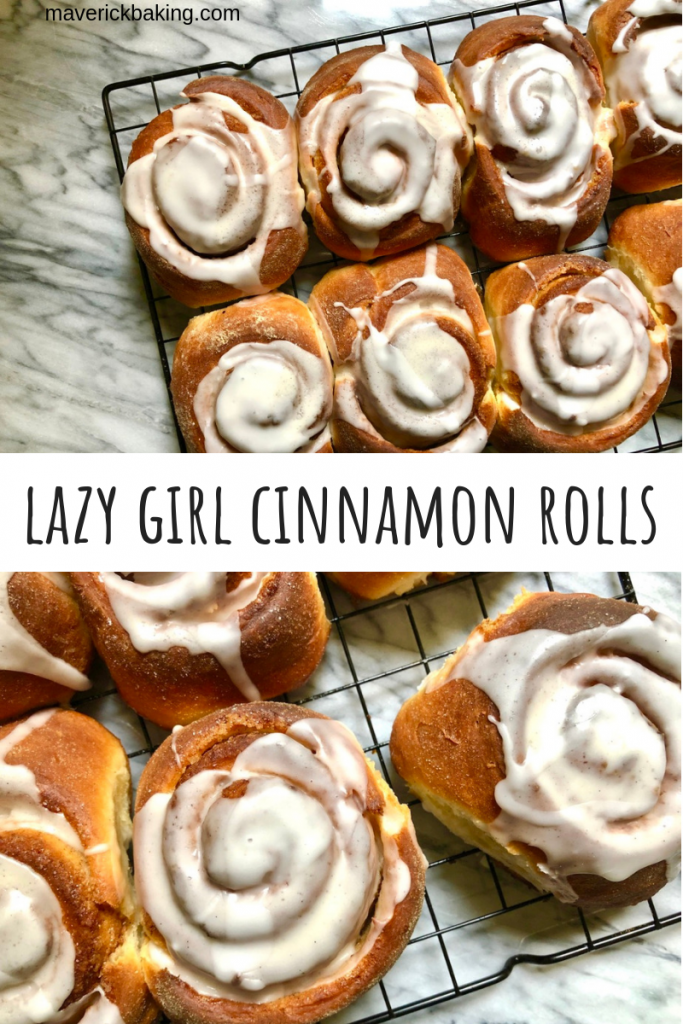
Scroll down for the full recipe to make these Lazy Girl Cinnamon Rolls!
Lazy Girl Cinnamon Rolls
Lazy Girl Cinnamon Rolls; fluffy enriched bread swirls with a sweet and buttery cinnamon filling and maple vanilla glaze, minimal effort for maximum reward!
Notes
BE A MAVERICK: why not swap the cinnamon filling for a generous amount of Nutella or another chocolate spread?
Ingredients
For the rolls:
- 215g (1 ¾ cups) plain flour (plus extra for dusting)
- 215g (1 ¾ cups) strong white flour
- 75g (⅓ cup) caster sugar
- Pinch of salt
- 1 (7g) sachet fast-action dried yeast
- 1 tsp vanilla extract
- 200ml (¾ cup + 2 tbsp) milk, full fat preferably
- 75g (2 ½ oz) butter
- 1 large egg, beaten
For the filling:
- 80g (2 ½ oz) softened butter
- 80g (⅓ cup) light soft brown sugar
- 2-3 tsp ground cinnamon
For the maple vanilla glaze (optional):
- 400g (2 cups) icing sugar
- 2 tbsp maple syrup
- 1-2 tbsp cold water
Instructions
For the rolls:
- Sift your two flours into a large bowl. Pour your sugar and salt into one side of the bowl and your packet of yeast into the other. Mix everything together.
- Meanwhile, heat your butter, milk and vanilla in a small pan until all melted together.
- Pour this into your dry ingredients.
- Mix well to form a stiff dough before adding your beaten egg to loosen it. It should be a fairly sticky dough.
- Tip the dough into a lightly oiled bowl and cover with some clingfilm. Tuck this away somewhere warm or just in a cosy room for at least 50 minutes until the dough has risen noticeably.
- Once risen, use your hands to squash the air out and fold the dough over itself a couple of times.
- Cover again and leave to rest for a further 50 minutes.
- After the dough has risen again, tip it out onto a lightly floured surface and use your fists to punch it flat.
- Use a rolling pin to roll out your dough into a rectangle no thinner than a centimetre. The rectangle should be landscape with a long edge closest to you.
For the filling:
- Use a spatula or knife to lightly cover the whole rectangle of dough with a nice lick of butter.
- Mix your sugar and cinnamon together and sprinkle them evenly all over the dough.
- Grabbing the two corners of the long edge furthest away from you, slowly and tightly roll your dough up towards you into a sausage.
- Before slicing the rolls, prepare a large baking tray, tin or casserole dish by greasing/lining it.
- Cut the sausage into 8-12 fairly equal slices and fit the rolls into your prepared baking tray/tin/dish swirl-side up. These will need to rest for another 50 minutes or so.
- Meanwhile, preheat your oven – 200 C / 180 C fan /
- Once the rolls have risen again, bake them in the preheated oven for 30-35 minutes until they are puffed up and a nice medium brown. Note they will appear darker than regular bread due to the butter and sugar in the dough!
For the glaze:
- In a small bowl, combine all your ingredients and mix them until smooth.
- While the rolls are still warm, spoon your glaze onto each one, making sure they all get a nice lick of it.
- Serve warm or at room temperature.
- Enjoy!

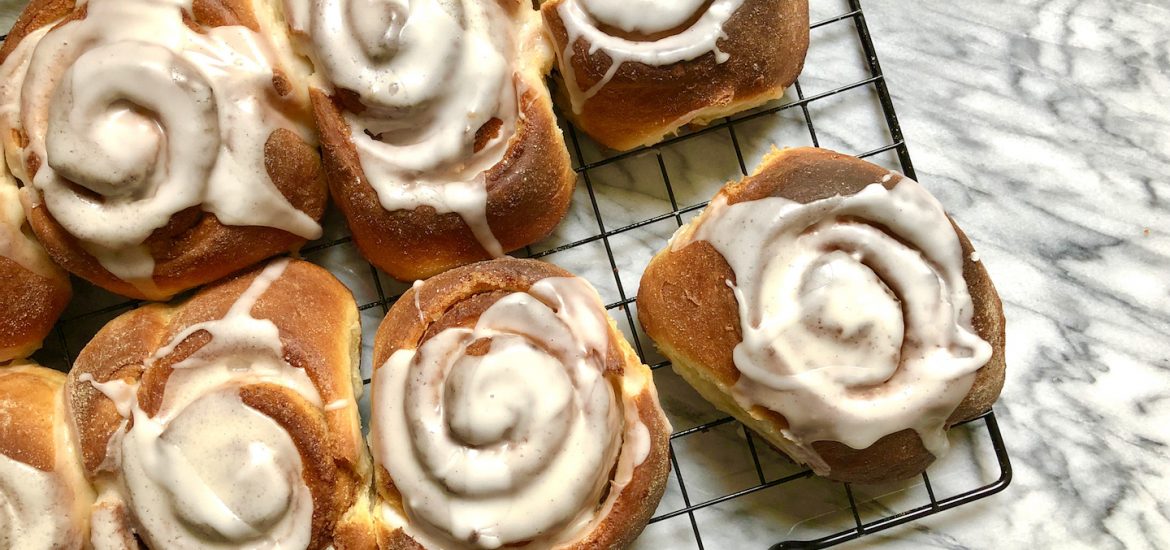

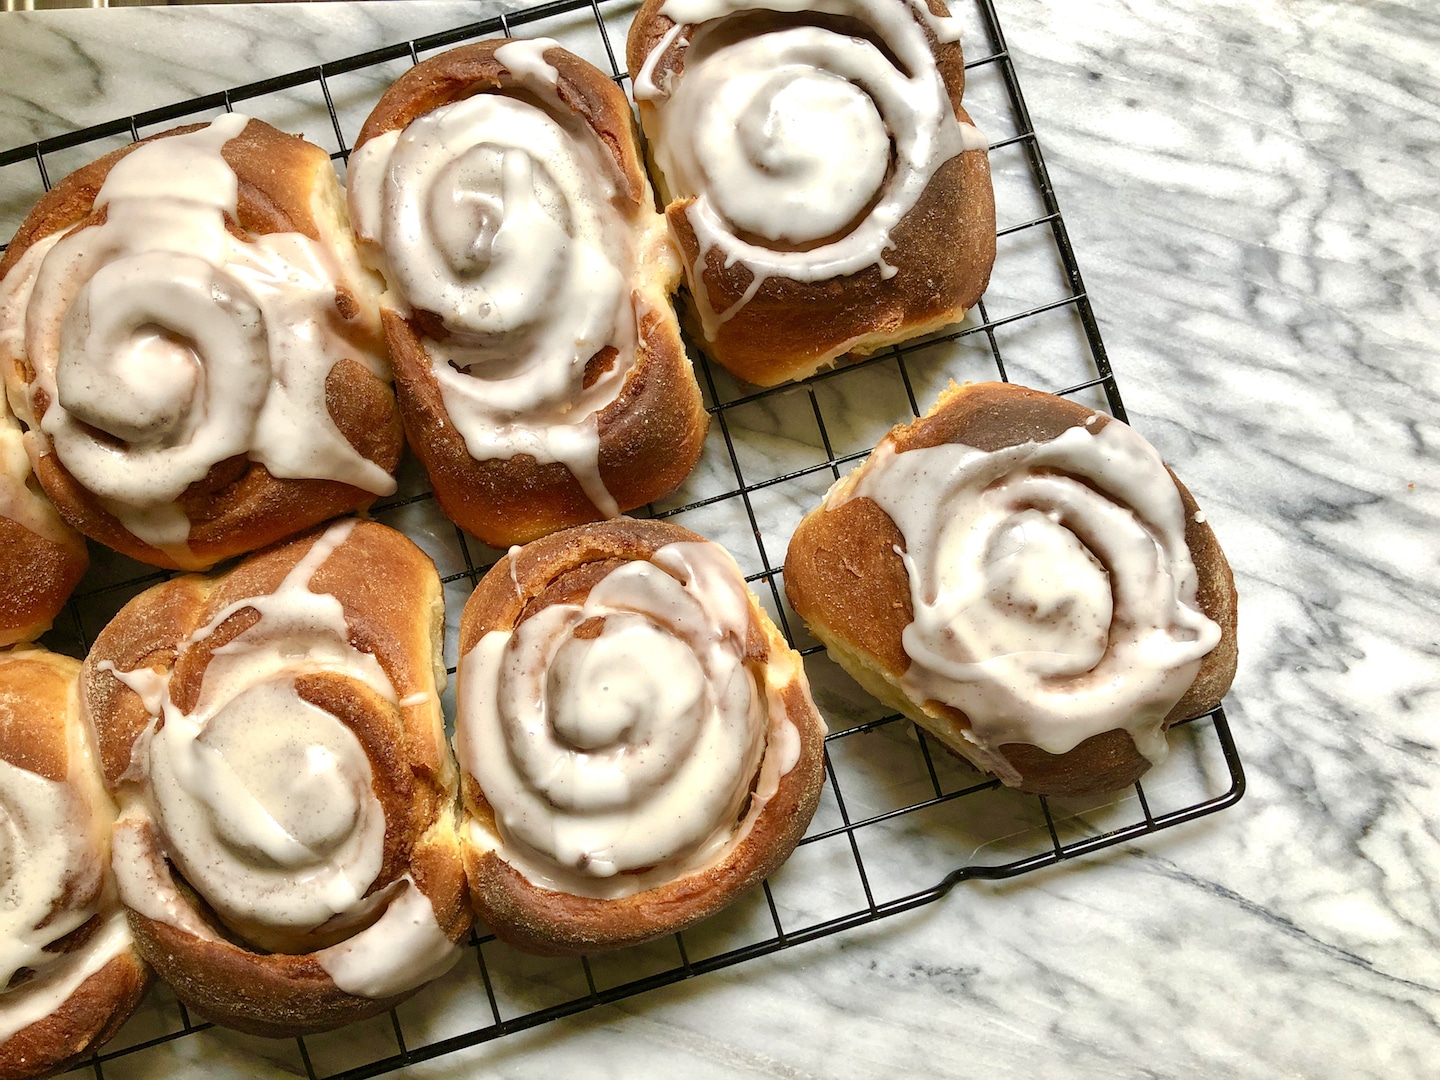
Loved making these. Will be a firm favourite for the weekend bake to make sure that there’s enough to grab for breakfast in the week.
Yay I’m so happy to hear that! The only reason I make these is to have excellent breakfast plans haha!