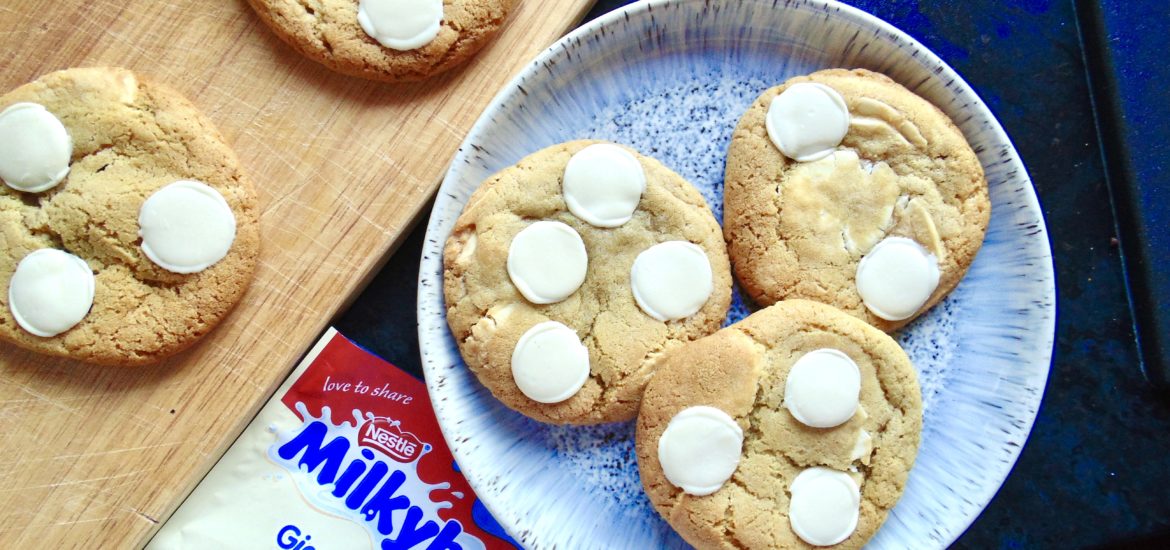
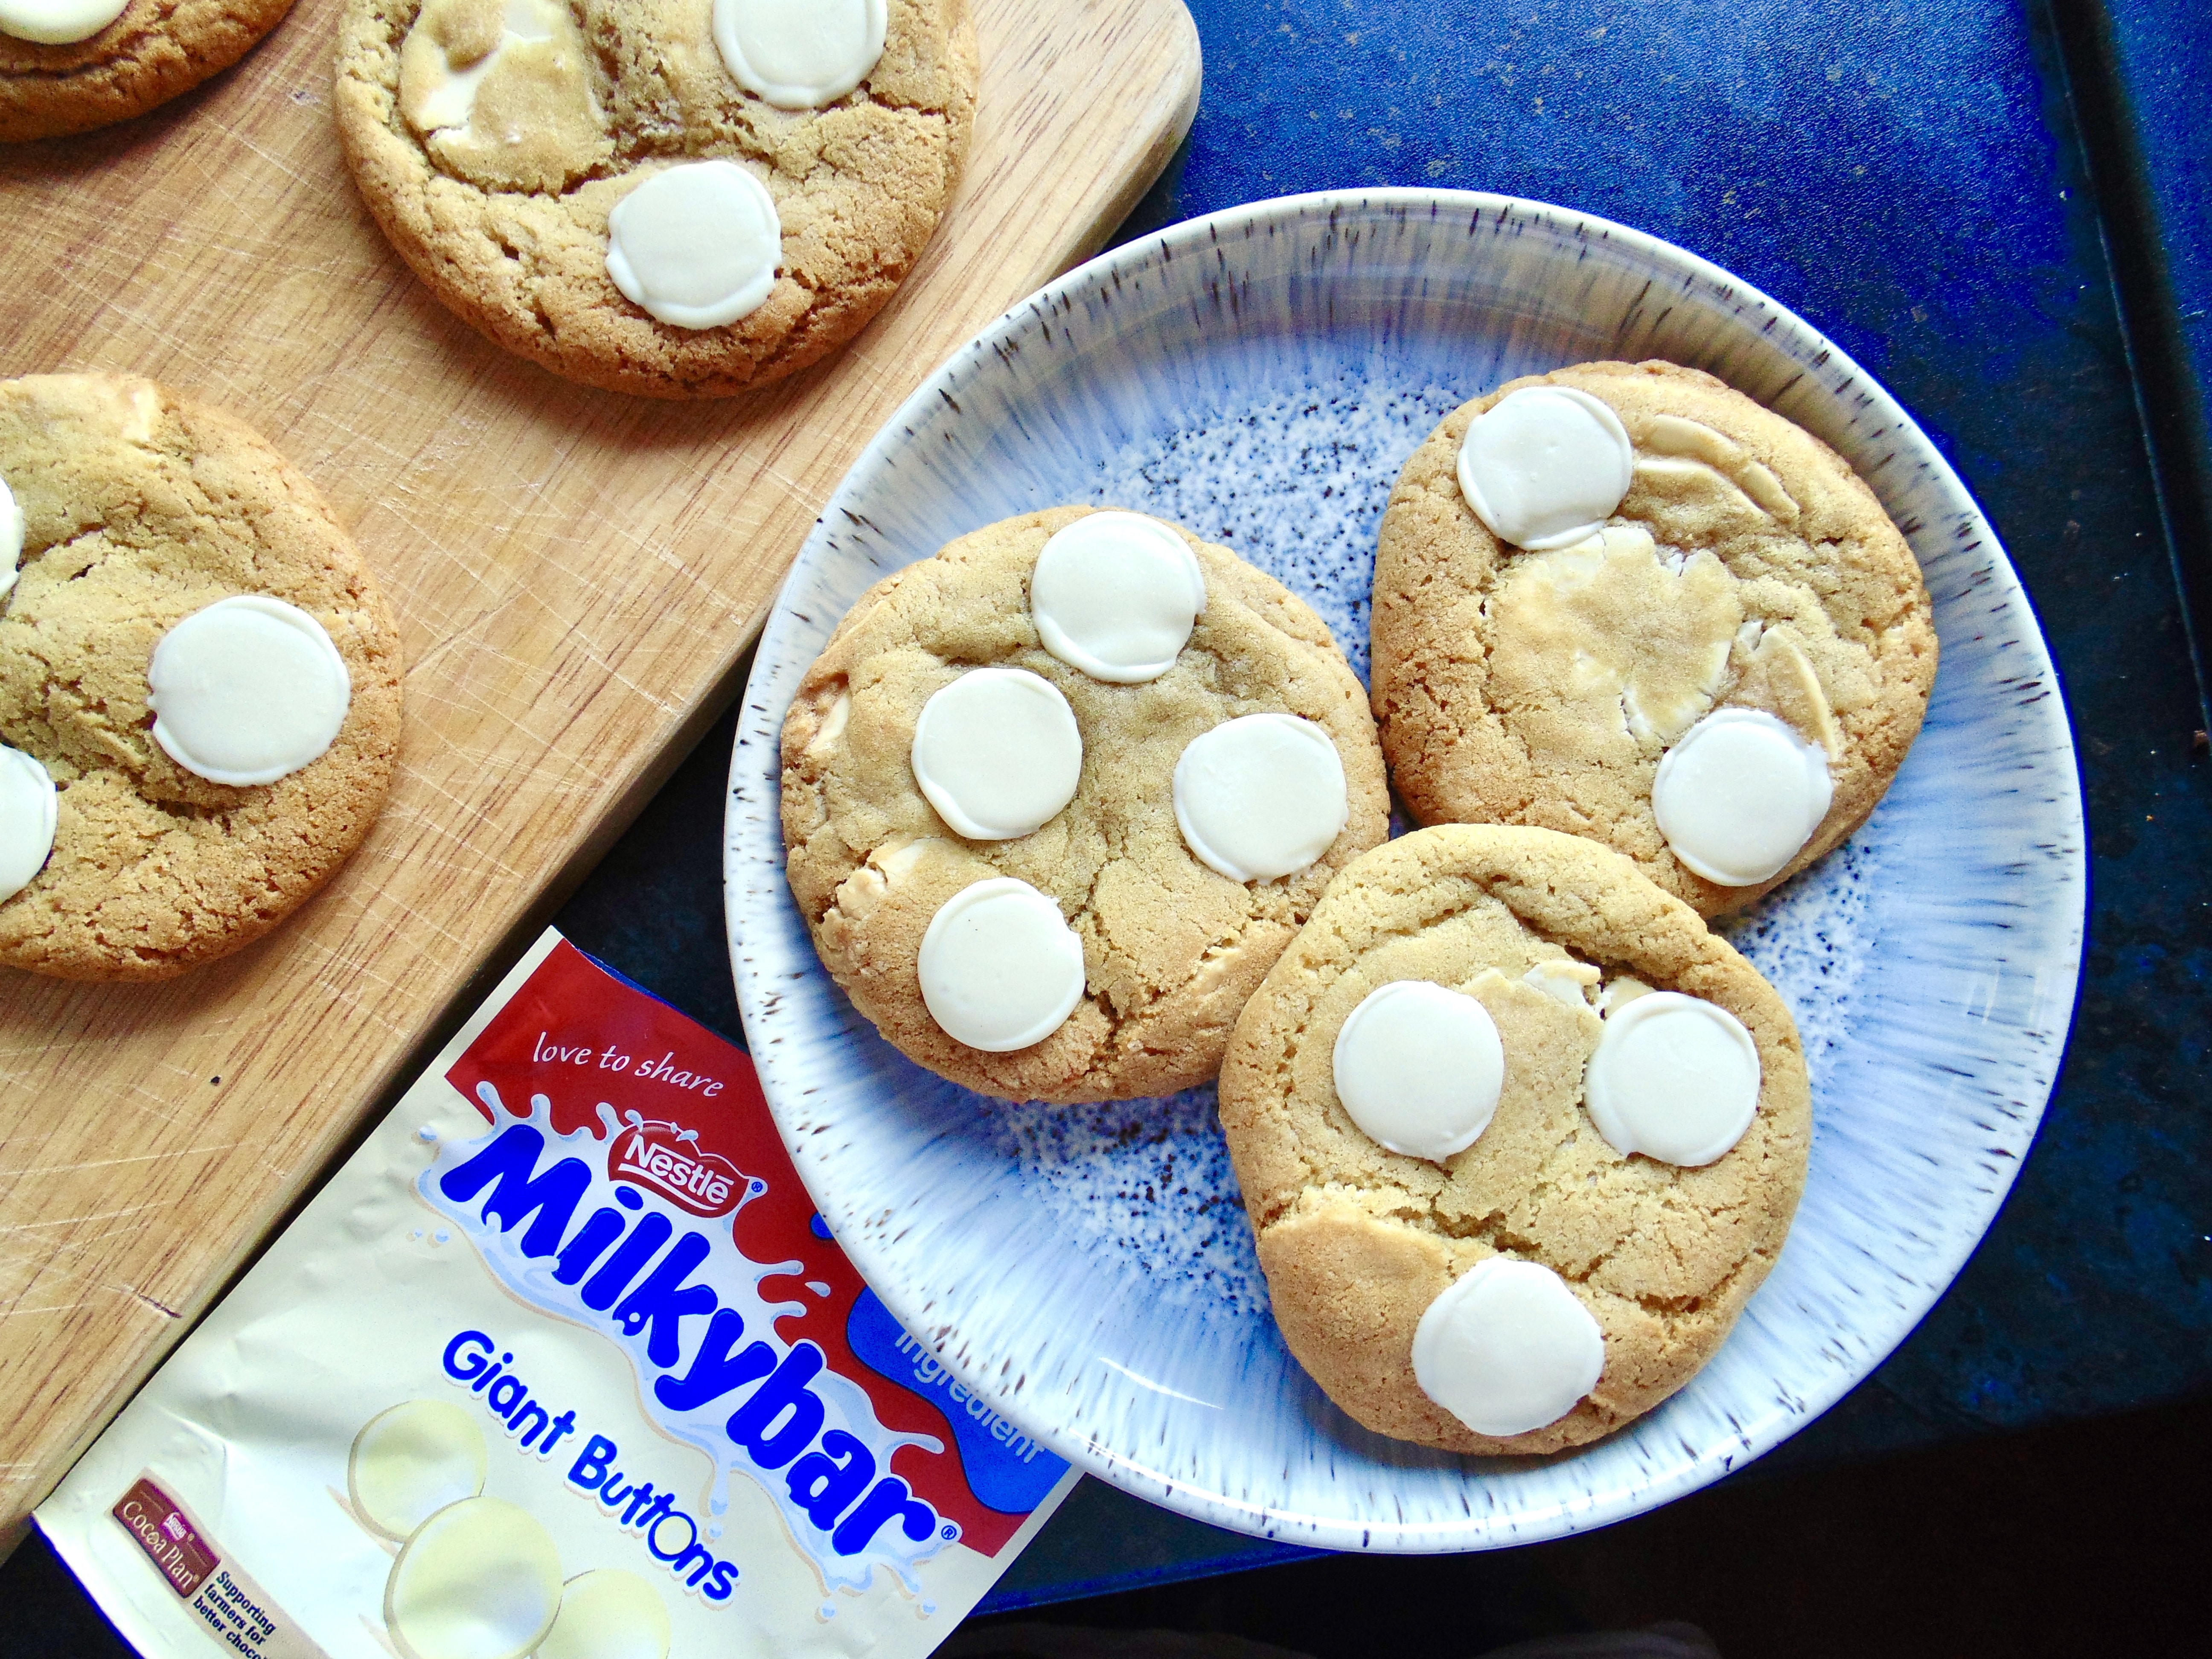
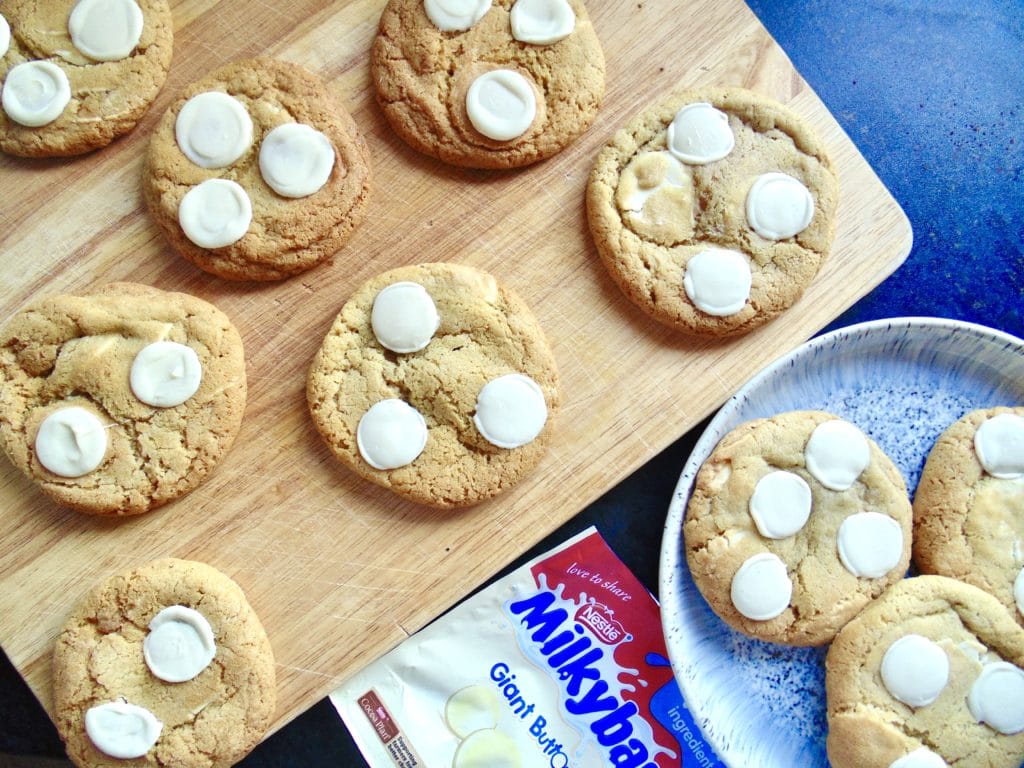
Milky Bar Cookies; easy-to-make soft and chewy cookies loaded with chunks of the classic creamy Milky Bar white chocolate!
It’s a bit of a thing amongst foodies and food critics to really hate on white chocolate.
“It’s too sweet!” “It’s not real chocolate!” “It’s for children!” (yawn)
Well, you know what? I LOVE white chocolate.
Yes it’s very sweet, and tastes nothing like good quality dark chocolate in all its bittersweet cocoa rich fanciness. That doesn’t mean it isn’t fxckin’ delicious.
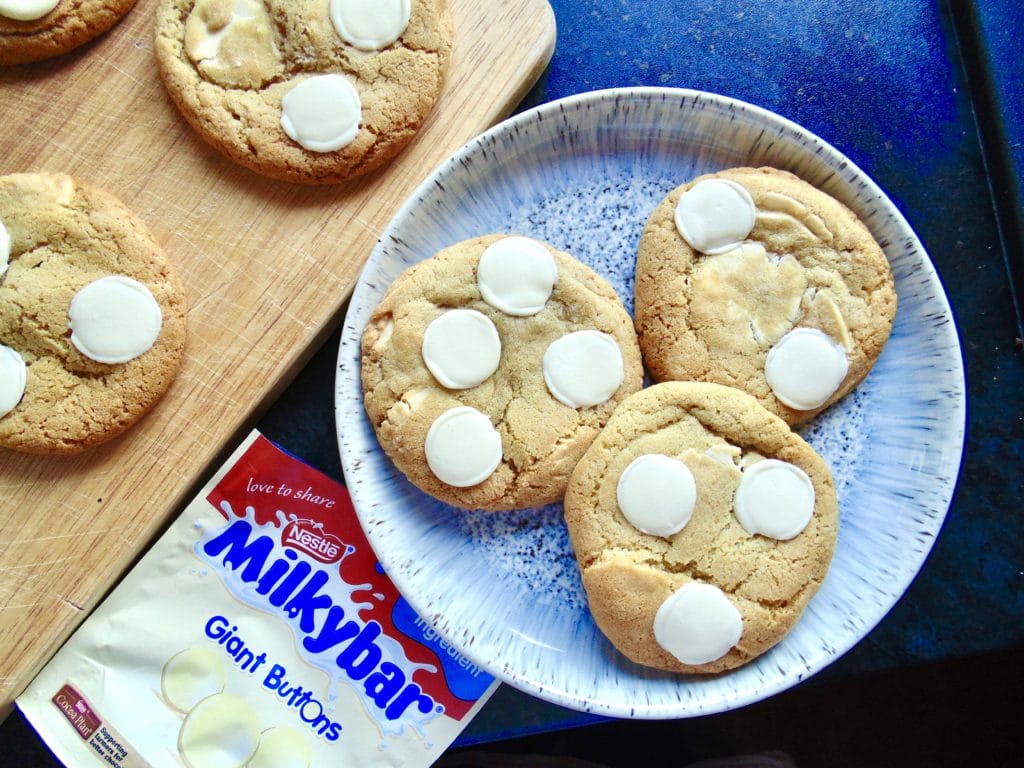
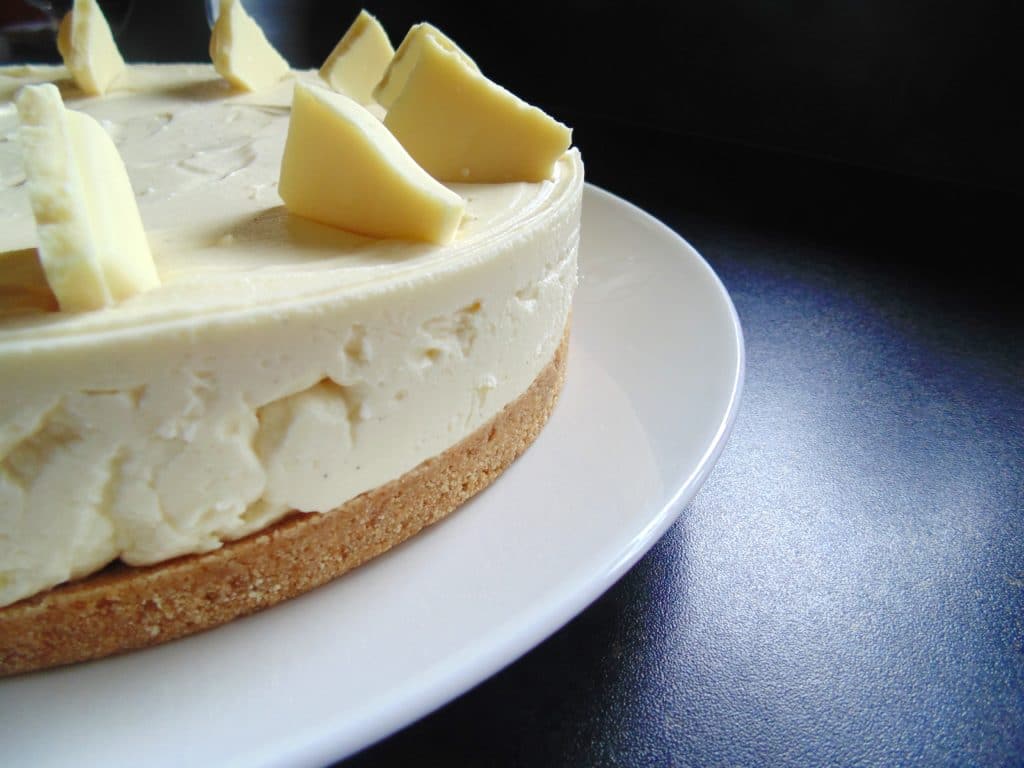
Milky Bar is the standard white chocolate here in the UK, many try to imitate it, but it just seems to always taste the best. With the exception of the now deceased Cadbury Dream bar (RIP baby). My Milky Bar Cheesecake has proved EXTREMELY popular because of this. Either that, or people just like a little childhood nostalgia with their desserts.
White chocolate is delicious just on its own, snapped from that big, creamy, vanilla-laced bar, but it is often a fantastic addition to sweets and desserts. These Milky Bar Cookies are a real testament to that!
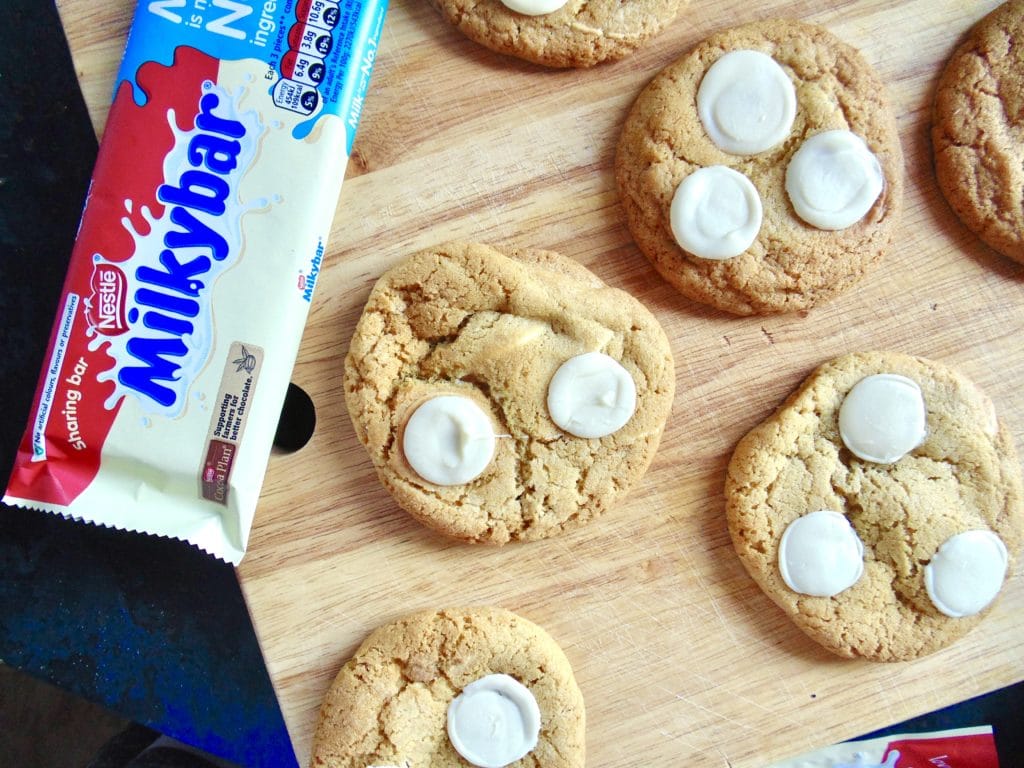
I used to, and still do, regularly get those huge soft white chocolate chunk cookies from M&S as a treat, and I’d never really tried to replicate them before. This seemed like a huge flaw in my life, and I think these Milky Bar Cookies are the closest I’ve ever gotten.
Wonderfully soft and chewy cookies, absolutely brimming with big creamy chunks of white chocolate.
These aren’t your crappy little crunchy cookie-from-the-packet, these are the big bakery style cookies that you dream of while munching on an old Kit Kat on your lunch break.
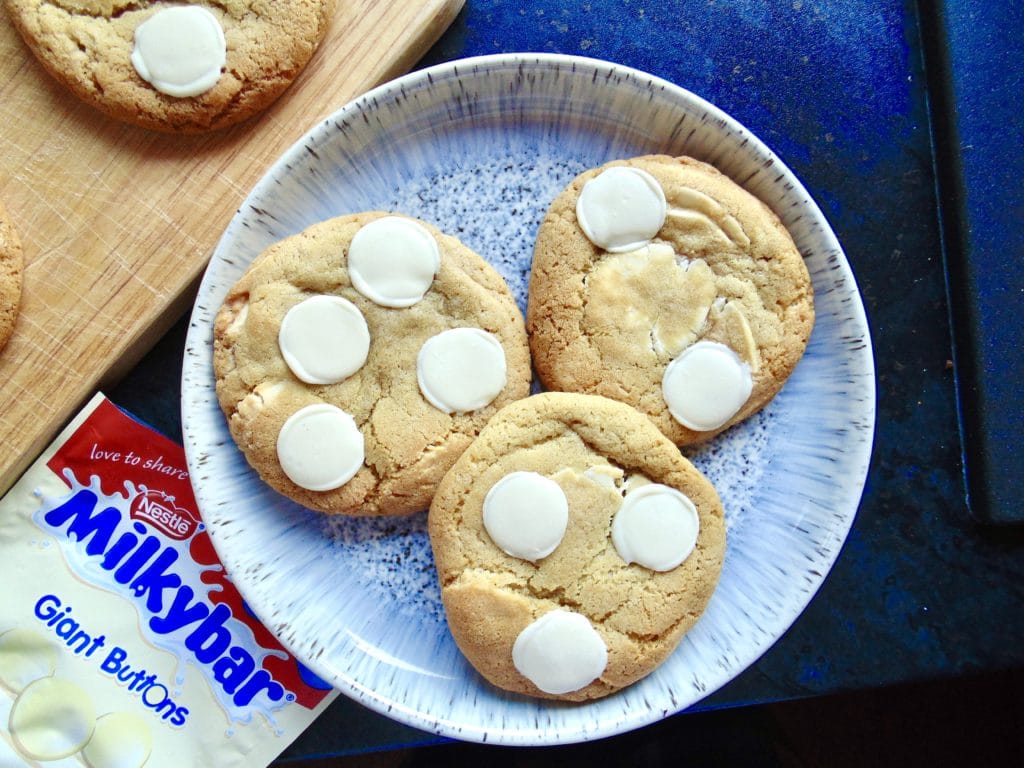
These cookies even helped in our office MacMillan Cancer Coffee Morning fundraising bake sale!
So if, like me, you want to swish your hair in the face of the white chocolate haters, whip up a batch of these Milky Bar Cookies!
To make them, you’ll need to start by lining 2-3 baking trays with greaseproof paper.
In a large bowl, beat together your butter, sugars and vanilla extract until smooth and combined. It doesn’t quite need to reach the fluffy stage!
Add you eggs one at a time, beating well between each one to thoroughly mix them in.
Add your flour, bicarbonate of soda and salt and stir well to combine.
Add your chunks or buttons of Milky Bar white chocolate and stir through.
Scoop dollops of the thick cookie dough onto your prepared trays, leaving AT LEAST 7cm (over 3 inches) between them to allow for spreading in the oven. You should get anywhere between 16-24 lumps of cookie dough from this mixture, depending on how large you would like your cookies to be. I tend to get 18-20.
Once scooped, use your hands to roll the cookie dough lumps into round balls and place them back on the baking tray. This helps keep a nice even shape when baked.
Pop your trays of cookie dough into the fridge to chill for at least 1 hour, or as long as you can, really. This helps the cookies bake to a wonderfully soft and chewy texture, and gives a chance for all that sweet vanilla cookie flavour to develop. I chilled the pictured batch overnight for about 9-10 hours.
While your dough chills, preheat your oven.
Bake the cookies one tray at a time for 13-16 minutes, at this stage they should be a fairly even golden colour. They may look underbaked but this is normal! Smaller cookies will need less time than larger cookies. If you prefer softer, chewier cookies, then less time is better too!
Once baked, pop a few extra Milky Bar chunks or buttons on top to make them look even more inviting. Then allow the cookies to cool completely on a wire rack. (If you can wait that long!)
Seriously guys, you need to try these. Obviously I’m biased, but that doesn’t mean I’m wrong!
Thanks for stopping by, have a great week!
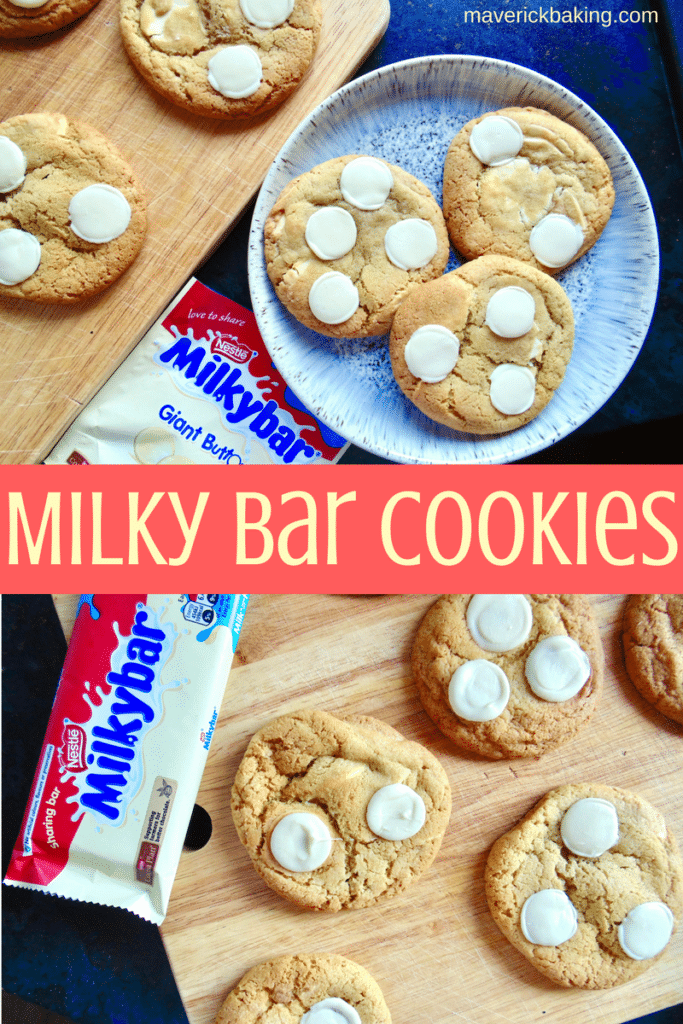
Milky Bar Cookies
Milky Bar Cookies; easy-to-make soft and chewy cookies loaded with chunks of the classic creamy Milky Bar white chocolate!
Notes
BE A MAVERICK: why not bake this cookie dough into a cast iron pan or cake tin to make a giant cookie dessert instead?
These Milky Bar Cookies will keep well in airtight container or on a covered cake stand for up to 5 days. No need to refrigerate unless you prefer eating them cold!
Ingredients
- 150g (10 tbsp) soft butter
- 100g (½ cup) soft light brown sugar
- 100g (½ cup) caster sugar
- 2 tsp vanilla extract
- 1 egg
- 1 egg yolk
- 280g (2 ¼ cups) plain flour
- 1 tsp bicarbonate of soda
- Pinch of salt
- 250g (9 oz) Milky Bar buttons or chunks of Milky Bar (or your favourite white chocolate)
Instructions
- Line 2-3 baking trays with greaseproof paper.
- In a large bowl, beat together your butter, sugars and vanilla extract until smooth and combined. It doesn't quite need to reach the fluffy stage!
- Add you eggs one at a time, beating well between each one to thoroughly mix them in.
- Add your flour, bicarbonate of soda and salt and stir well to combine.
- Add your chunks or buttons of Milky Bar white chocolate and stir through.
- Scoop dollops of the thick cookie dough onto your prepared trays, leaving AT LEAST 7 cm (over 3 inches) between them to allow for spreading in the oven. You should get anywhere between 16-24 lumps of cookie dough from this mixture, depending on how large you would like your cookies to be.
- Once scooped, use your hands to roll the cookie dough lumps into round balls and place them back on the baking tray. This helps keep a nice even shape when baked.
- Pop your trays of cookie dough into the fridge to chill for at least 1 hour, or as long as you can, really. I chilled the pictured batch overnight for about 9-10 hours.
- While your dough chills, preheat our oven - 190°C / 170°C fan / 375°F / gas mark 5.
- Bake the cookies one tray at a time for 13-16 minutes, at this stage they should be a fairly even golden colour. They may look underbaked but this is normal! Smaller cookies will need less time than larger cookies. If you prefer softer, chewier cookies, then less time is better too!
- Once baked, pop a few extra Milky Bar chunks or buttons on top to make them look even more inviting. Then allow the cookies to cool completely on a wire rack. (If you can wait that long!)
- Enjoy!
