How to make the Milk Bar Birthday Cake; make your own version of the world famous insane Birthday Cake from Milk Bar bakery in New York City, with all its layers of cake, crumb and frosting, Maverick Baking style!
I have truly never been so excited about a cake.
Having come across the Momofuku Milk Bar (as it was then known) on a TV show years ago, I’ve been aching to taste some of their now world-famous baked goods ever since. From their Crack Pie to their Compost Cookie to their towering unique cakes, I want it all. Sadly I have never been fortunate enough to visit New York City, or anywhere in North America for that matter, so it’s an opportunity I’ve yet to experience.
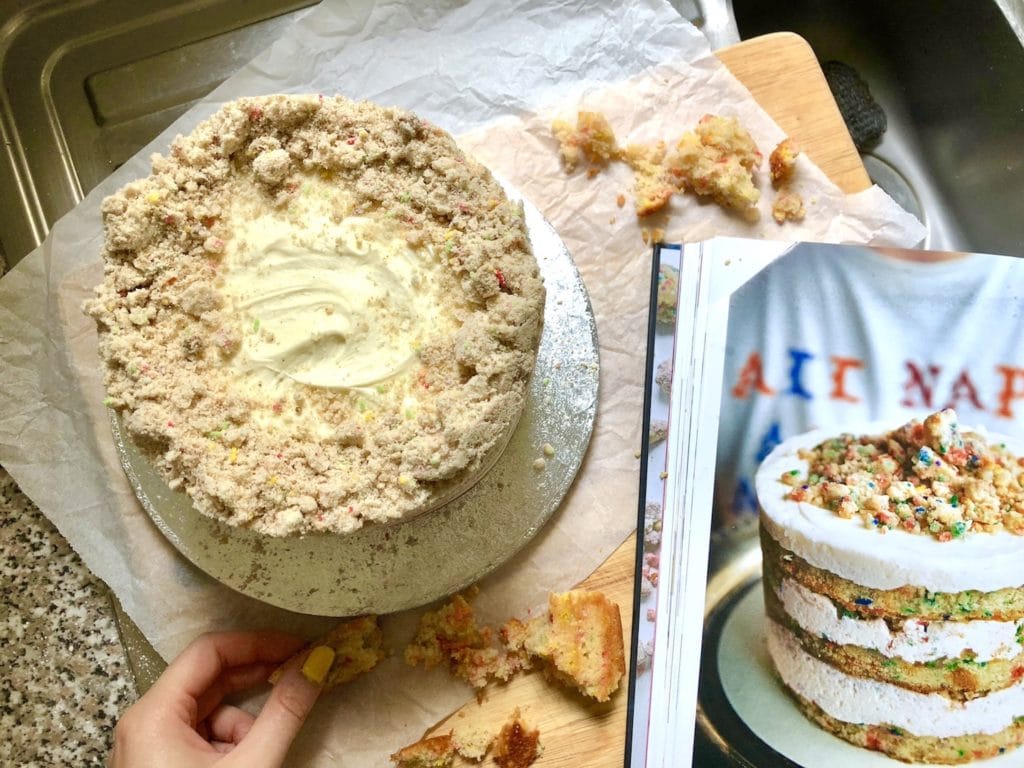
Fortunately, Milk Bar released a recipe book that I have had earmarked for purchase for a good few years now. It wasn’t until I watched Christina Tosi’s (founder of Milk Bar) episode of Chef’s Table on Netflix last month that I felt my passion for these goodies reignited. Within the hour, I had purchased the book, an adjustable cake ring, a roll of acetate, and popped a batch of blondies into the oven. I was alight with sugar fuelled creativity and inspiration.
A few days passed and all of my purchases had been delivered. It was time to get baking.
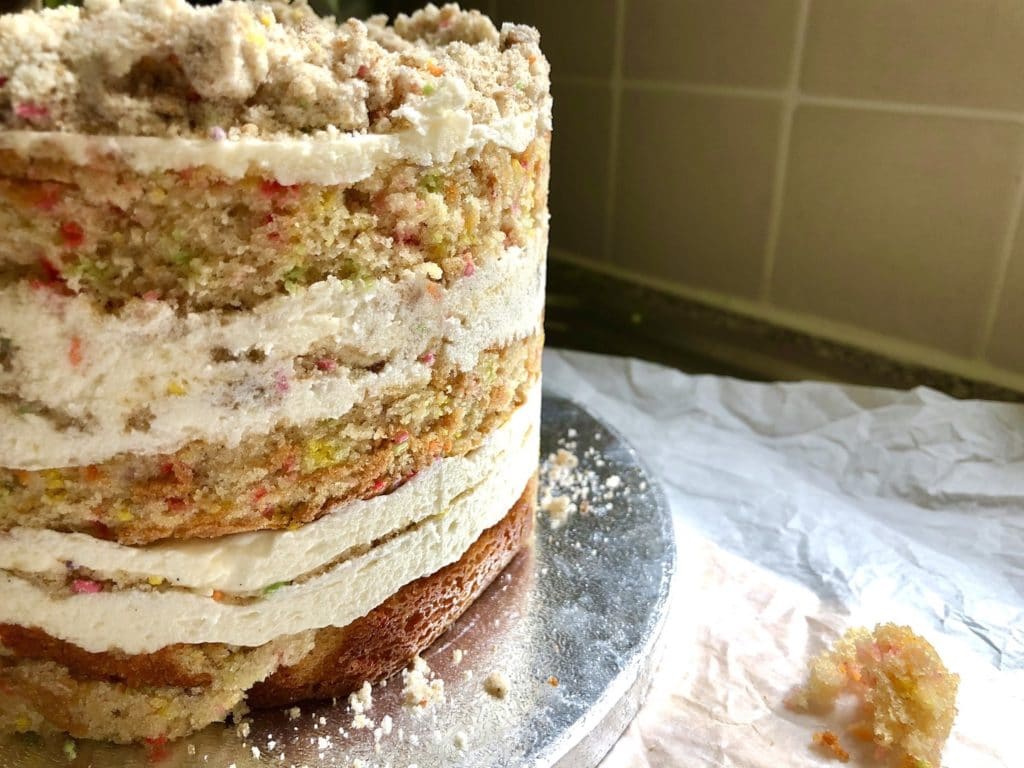
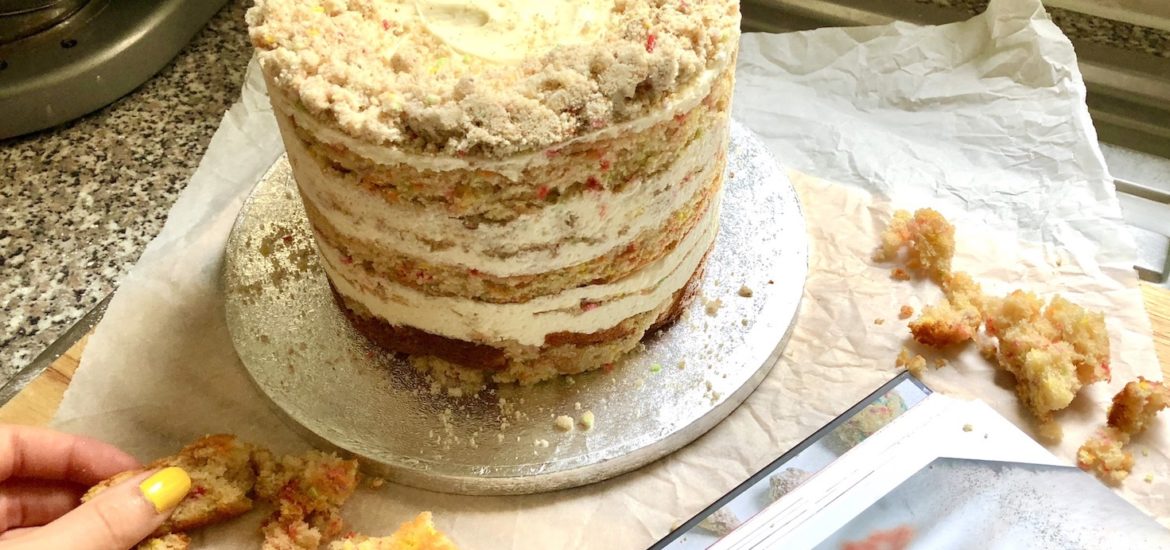
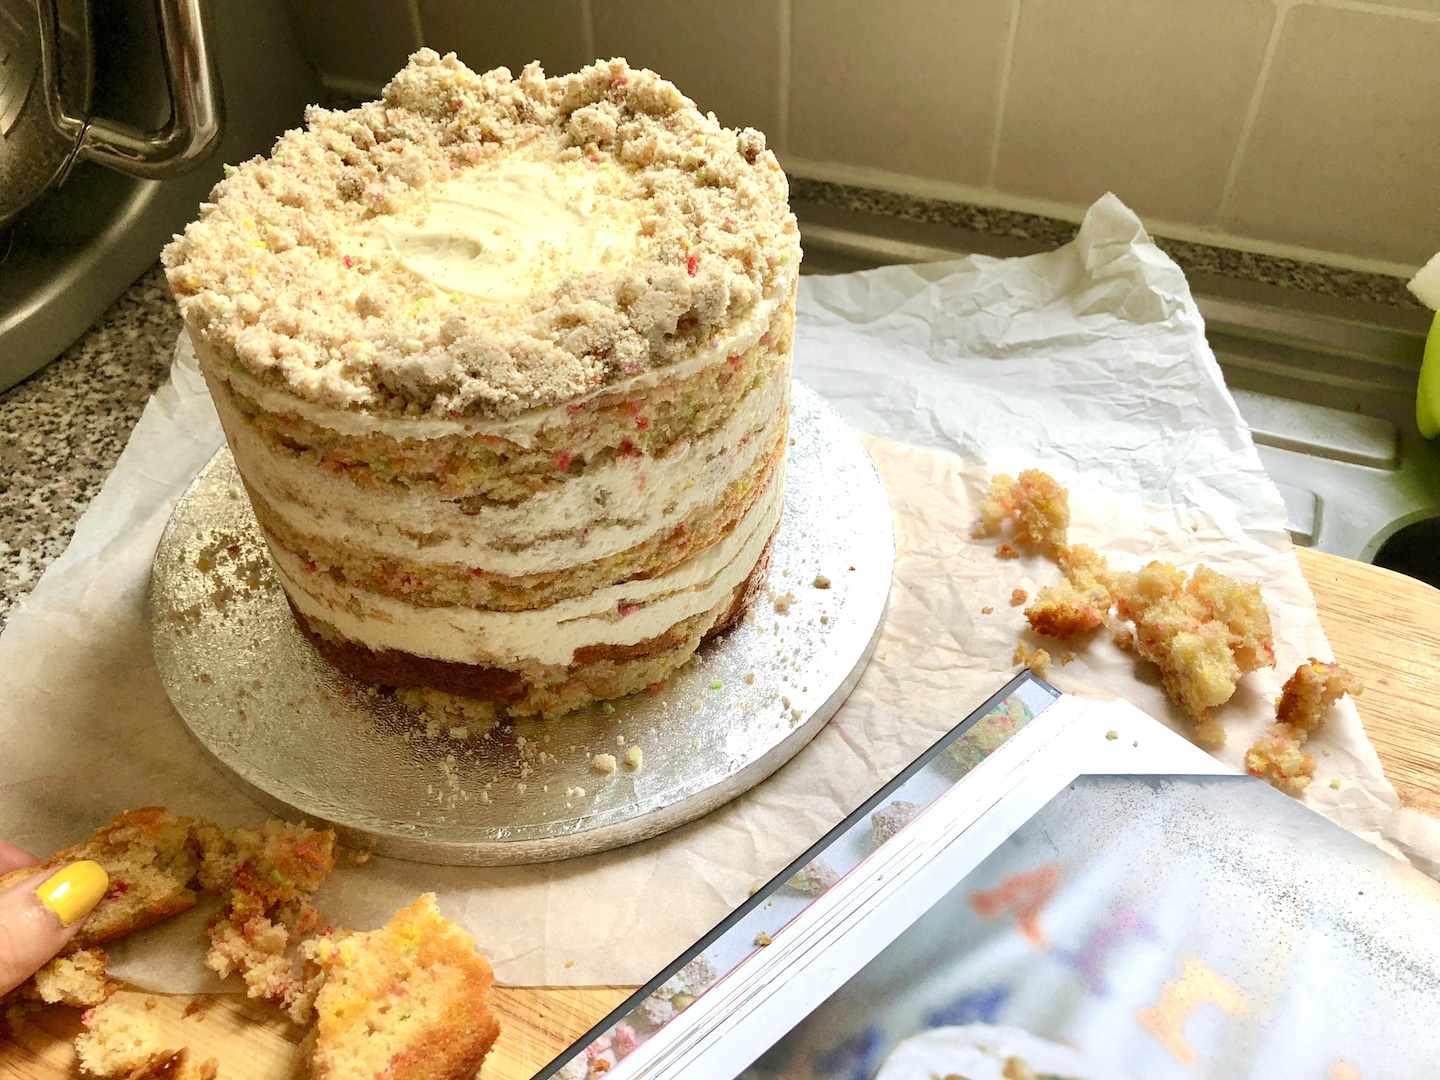
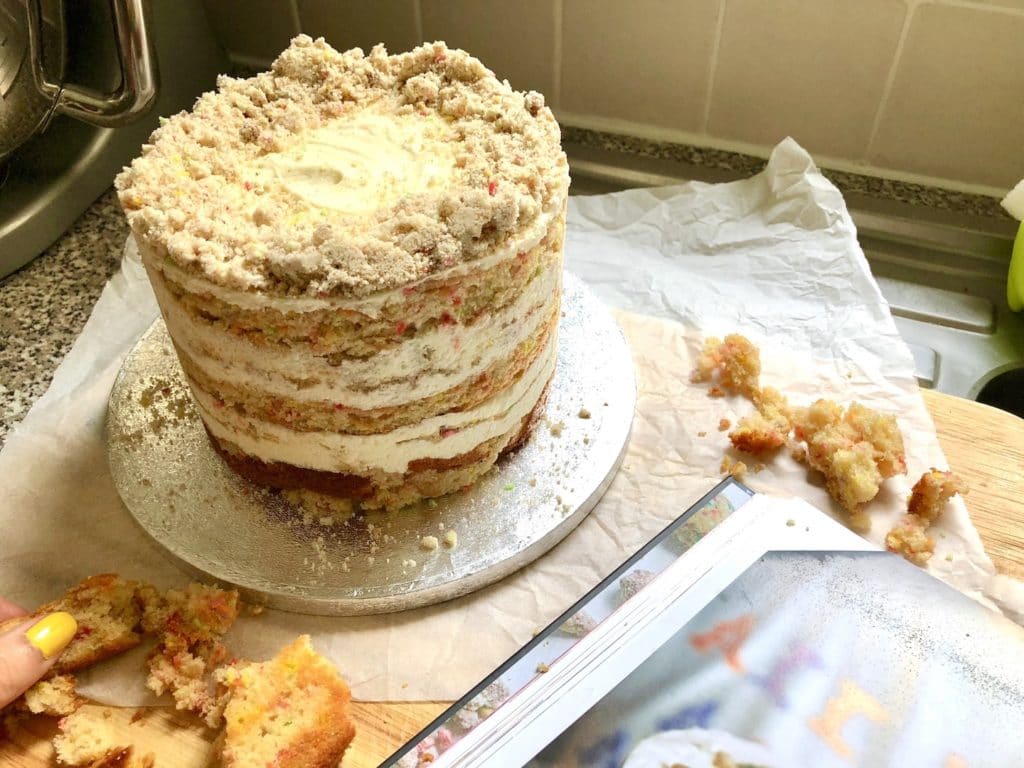
It only felt right to first tackle their famous Milk Bar Birthday Cake. Three layers of vanilla confetti cake, dressed with cake soak, and sandwiched between levels of fluffy vanilla cream cheese frosting and crisp vanilla cake crumbs. HELL. YES.
These cakes are not known for their simplicity, and it was definitely fiddly to bake and construct but oh my WORD it was worth every minute.
Watch the video below from my YouTube channel to see how to make the Milk Bar Birthday Cake, and to see my review of how it tastes! Keep scrolling for the full recipe.
I am delighted with how well this turned out on my first attempt, especially considering that I am far from patient in the kitchen!
Can you believe this cake costs roughly £50 to buy from their store??
Naturally, as this is Maverick Baking, I made a few tweaks to the Milk Bar Birthday Cake recipe.
For the cake:
- I reduced the sugar in the recipe by 50g (roughly ¼ cup) as I felt it didn’t need that much sweetness in relation to the flour content
- I used all butter instead of using “white baking fat” simply because I really dislike using Trex or other shortening
- I used a light olive oil in place of the grapeseed oil because that’s what I had in the cupboard
- I used a good quality vanilla bean paste instead of the clear vanilla extract because it’s what I normally use, and it just tastes so much better, even if Christina Tosi disagrees!
- I baked the cake for a shorter time than recommended, simply because it was ready
For the crumb:
- Again, I used olive oil in place of grapeseed oil
- Again, I used vanilla bean paste instead of clear vanilla extract
- I baked the crumb for just a few extra minutes to ensure crunchiness
For the frosting:
- I only used half the stated amount of glucose, to maintain a nice consistency
- I didn’t use any baking powder as I didn’t like the idea of the chemical taste, even if that is the intention
- I couldn’t find citric acid, so I used white wine vinegar
- Again, I used vanilla bean paste instead of clear vanilla extract
Ok, so I realise that when written down, that looks like a lot of tweaks! Aside from these though, I followed the recipe exactly, to truly wonderful results.
By the way, you will need an adjustable cake ring and some acetate to make this cake!
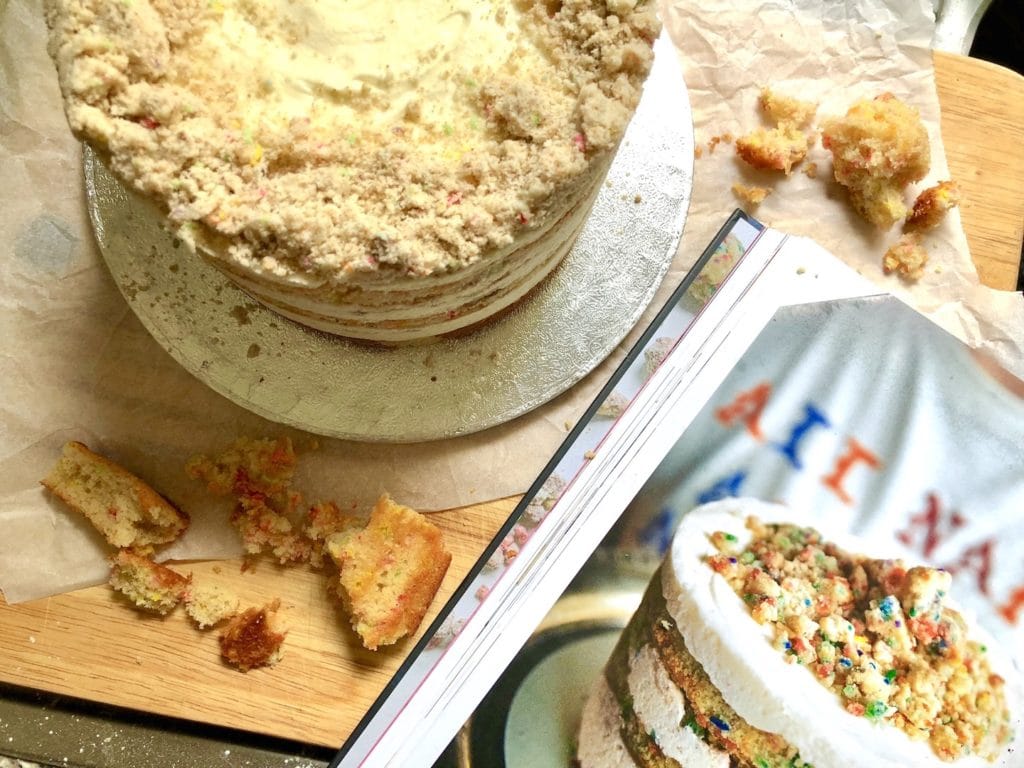
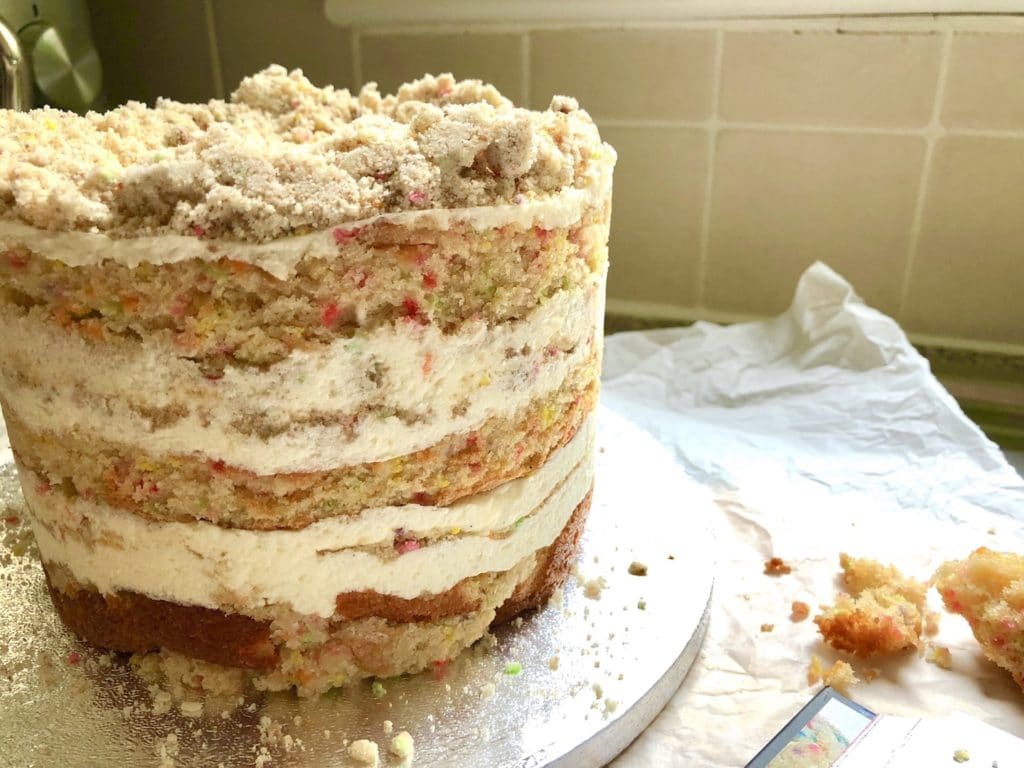
The layers of cake were sweet, moist and deliciously flecked with all the colours of the rainbow sprinkles. The simple cake soak permeated through the cake with an extra punch of vanilla flavour. The cake crumbs added a surprising amount of crunch, melting away in your mouth to a sandy shortbread-like texture and adding a great contrast to the soft cake. The frosting brought everything together, a perfect balance of sweet and tangy thanks to the addition of cream cheese and vinegar, it saved everything from being too saccharine and yet made it addictively tasty at the same time.
I just finished off the leftovers of this cake and I already want more. I urge you to try it at least once, or to at least buy yourself a slice if you ever happen to be in any of their American locations. This cake is too good to miss.
You can buy the Milk Bar recipe book here.
I’m thinking Crack Pie next week?
Scroll down just a little further, where I’ll show you how to make the Milk Bar Birthday Cake, Maverick Baking style!
Momofuku Milk Bar Birthday Cake
Milk Bar Birthday Cake; layers upon layers of moist confetti cake, vanilla cream cheese frosting and cake crumb. Learn how to make this iconic cake, Maverick Baking style!
Notes
BE A MAVERICK: why not try this cake using bake-stable chocolate sprinkles for a pretty bi-colour look and chocolatey flavour?
Ingredients
For the cake:
- 115g soft butter or margarine
- 200g caster sugar
- 50g light brown sugar
- 3 large eggs
- 120ml buttermilk
- 80ml vegetable oil (I used a light olive oil)
- 2 tsp vanilla extract or vanilla bean paste
- 245g plain flour
- 1 ½ tsp baking powder
- Pinch of salt
- 50g rainbow sprinkles, plus an extra 25g for scattering on top
For the cake crumb:
- 100g caster sugar
- 25g light brown sugar
- 90g plain flour
- ½ tsp baking powder
- Pinch of salt
- 25g rainbow sprinkles
- 4 tbsp vegetable oil (I used a light olive oil)
- 2 tsp vanilla extract or vanilla bean paste
For the frosting:
- 165g soft butter
- 55g cream cheese
- 25g liquid glucose
- 1 tbsp vanilla extract or vanilla bean paste
- 250g icing sugar
- ½ tsp white wine vinegar
- Pinch of salt
For the cake soak:
- 60ml milk
- 1 tsp vanilla extract
Instructions
For the cake:
- Preheat your oven - 180 C / 160 C fan / 350 F / gas mark 4.
- Grease and line a 25cm x 31cm (10in x 12in) baking tray or roasting tin.
- In a large bowl, beat together the butter and sugars for 2 minutes until fluffy.
- Add the eggs one at a time, beating well between each.
- Add the buttermilk, oil and vanilla and beat for a further 4 minutes. If it looks a little curdled, don't worry, it should be fine once you add the flour!
- Gently stir in the flour, baking powder, salt and 50g sprinkles, until just combined into a smooth cake mix.
- Pour the cake mix into your prepared tray and scatter over the remaining sprinkles.
- Bake for 20-30 minutes until risen, golden and firm to the touch. A skewer inserted into the centre of the cake should be removed cleanly once it is baked.
- Remove from the oven and allow to cool.
- Keep the oven on for you to bake your cake crumb.
For the cake crumb:
- In a large bowl, stir together the sugar, flour, baking powder, salt and sprinkles.
- Stir in the oil and vanilla until you have a clumpy but sandy consistency.
- Spread the crumbs across a greaseproof-paper lined baking tray.
- Bake for 20 minutes until slightly golden. They may still feel moist but will firm and crisp up as they cool.
- Set aside to cool completely.
For the frosting:
- Beat together the butter and cream cheese until soft.
- Add the glucose and vanilla and beat for 2 minutes. This may be easier with an electric mixer!
- Add the sugar and vinegar and beat for a further 2 minutes until white and fluffy.
- Set aside.
For the cake soak:
- Stir together the milk and vanilla.
- Set aside.
To assemble:
- Once the cake and crumb is cool and you have made the frosting and soak, it's time to assemble!
- Use your cake ring (adjusted to 15cm if it is adjustable) to cut out two circles of cake. Gather up the scraps as this will form the bottom layer of your cake.
- Clean and dry the cake ring and place it either on a board, baking tray or the plate you want to serve it on.
- Line the ring with a strip of 7.5cm x 50cm acetate.
- Put the cake scraps inside the ring and use your hand to press them down into a flat even layer.
- Use a pastry brush or a clean paintbrush to moisten the cake with one-third of the cake soak.
- Spread one-fifth of your frosting on top.
- Scatter over one-third of the cake crumbs, pressing them down gently into the frosting.
- Spread another fifth of the frosting carefully over the crumbs.
- Place a second piece of acetate between the first piece and the cake ring, to help support the higher layers.
- Repeat the entire assembly process again for the second and third layer. You should have used up all of your cake, crumbs, soak and frosting.
- Place the cake in the fridge to chill for 3-4 hours until the frosting is firm.
- Gently remove the cake ring and peel off the acetate.
- Slice up and enjoy!
[THIS POST CONTAINS AFFILIATE LINKS]
