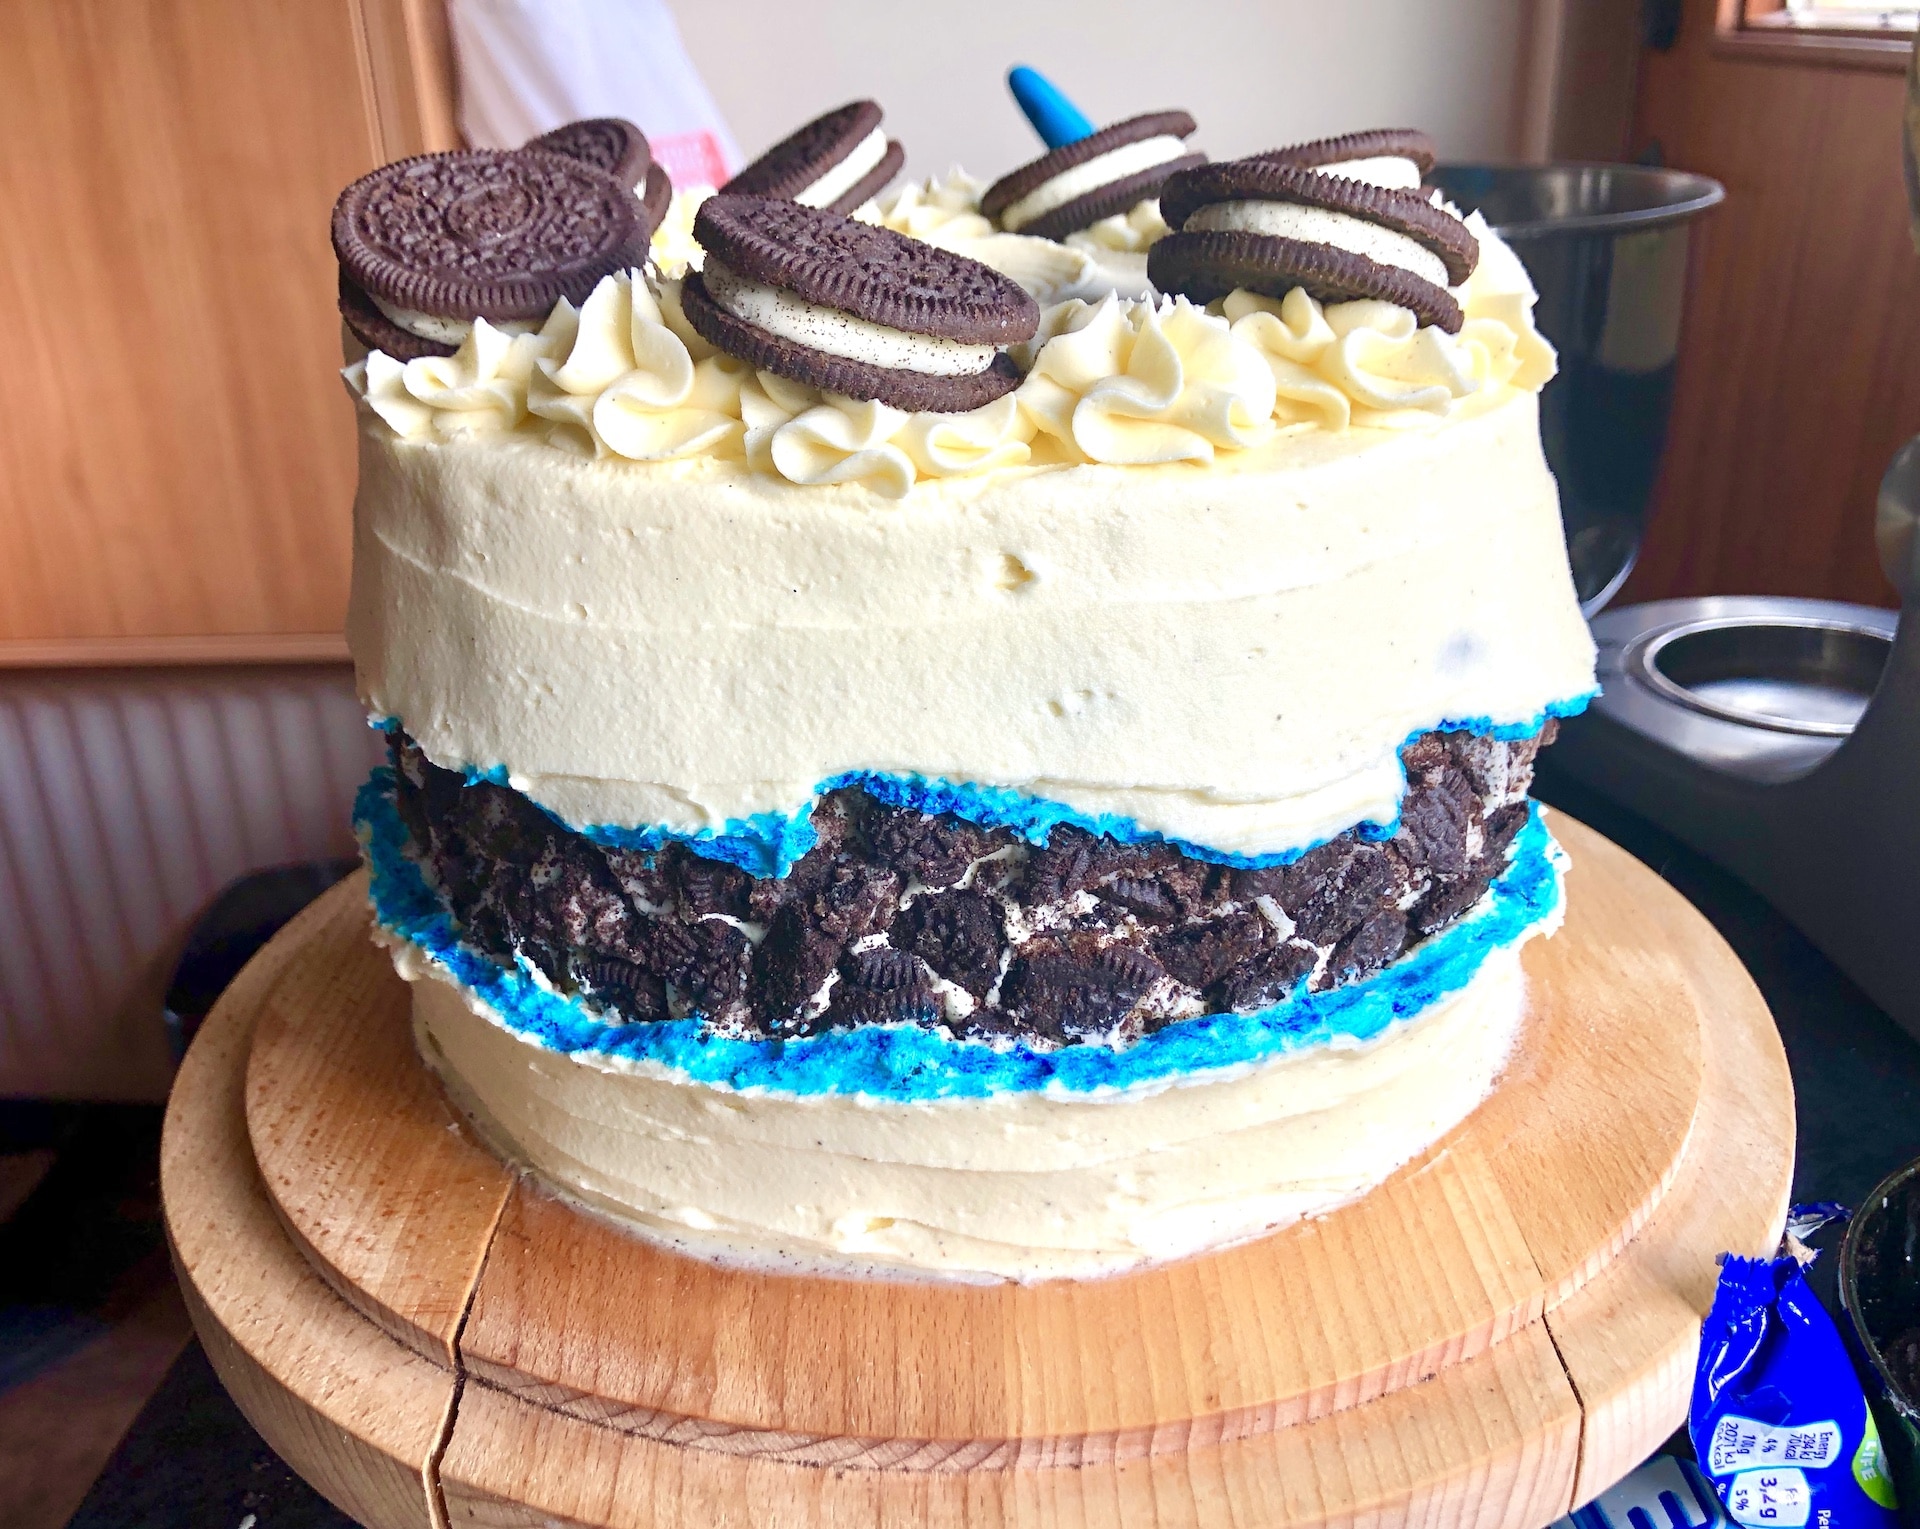
Oreo Fault Line Cake; a decadent four-layer chocolate cake with whipped vanilla frosting, revealing a cracking crushed Oreo fault line.
TO WATCH A VIDEO WHERE I BAKE AND ASSEMBLE THIS CAKE – CLICK HERE!
Despite being a baker, and an avid fan of all things cake, I rarely jump to try out the latest cake trends.
Ombre cakes, drip cakes, and all of their various trendy cousins, would appear in droves on my Instagram and Pinterest feeds but I’d do little more than look for a few seconds. I don’t know whether it’s the knowledge that they’ll disappear as quickly as they appear, or my laziness. Actually, it’s definitely my laziness. Anyway…
When I first came across a fault line cake, my attitude was somewhat swayed. When I saw a few fellow British bakers on Twitter trying it out, my attention was truly stolen. I had to try this thing out.
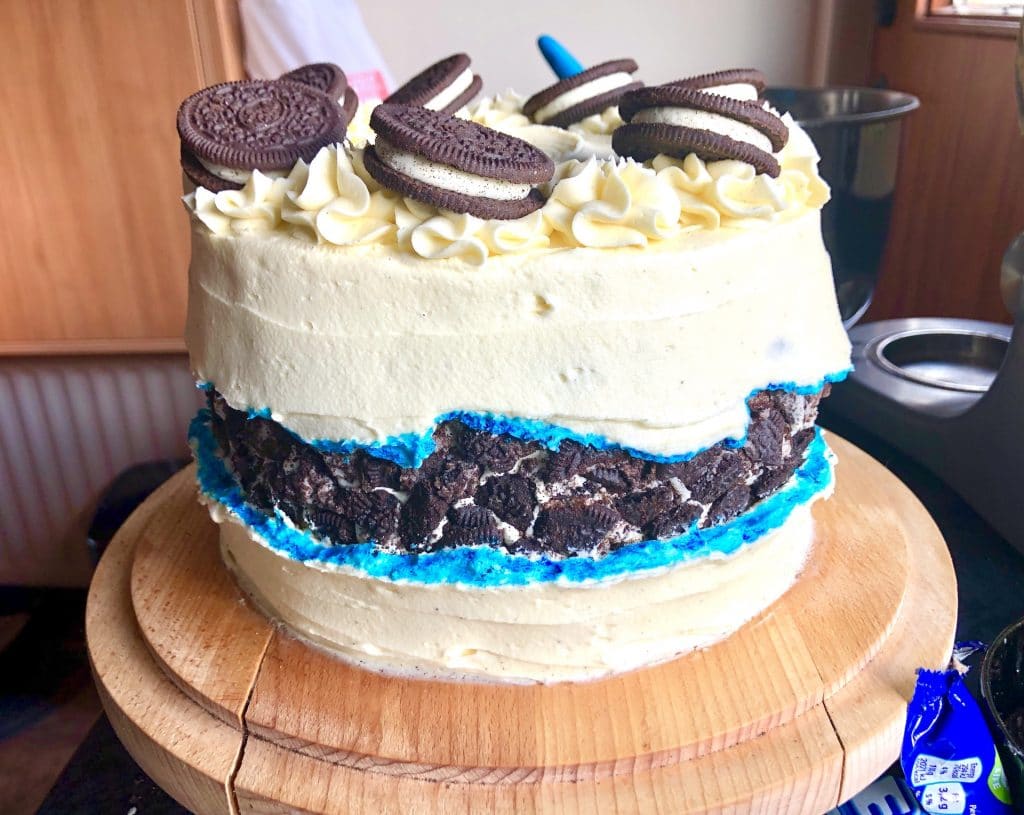
Fault Line Cake; a cake that almost looks like it’s splitting in half at the centre to reveal a whole new cake underneath. While tectonic natural disasters aren’t exactly the first thing you associate with a delectable dessert, these cakes really do grab your focus.
I decided to try out an Oreo Fault Line Cake. The first kind I’d ever seen had crushed Lotus Biscuits peeking through its fault line so it seemed the effect would work. Thankfully, despite the fact I’m a messy bitch, it turned out not too bad!
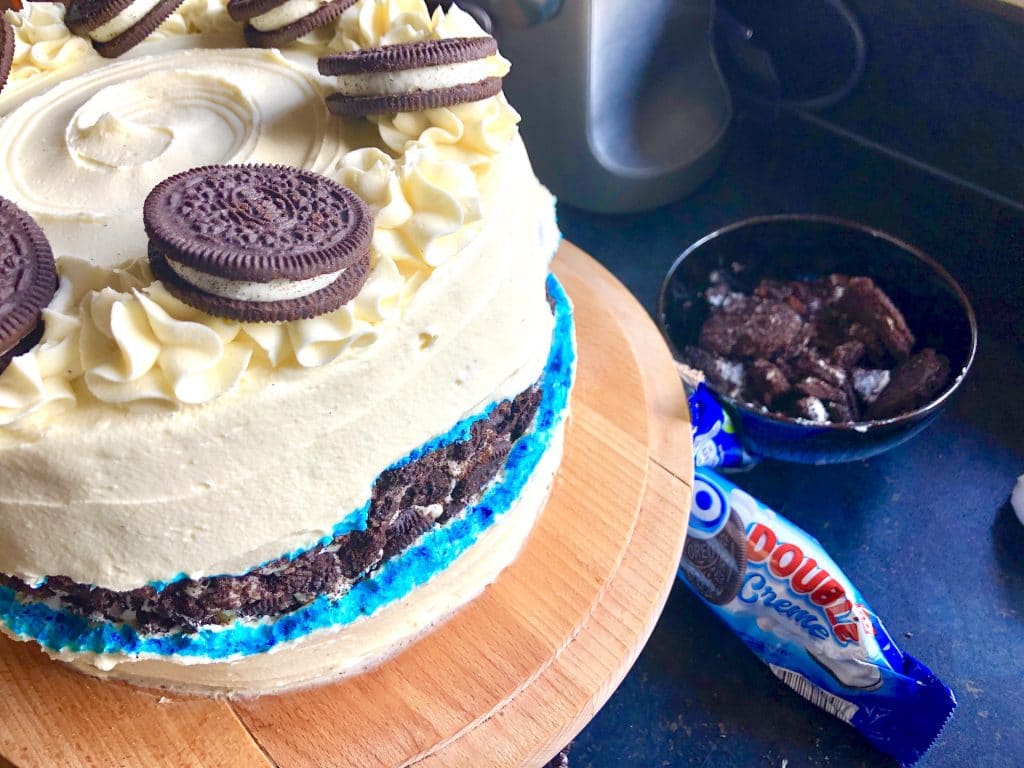
Now, obviously this isn’t my finest work. It’s a little rough around the edges (yes, I realise that has to be the case to a certain extent!), and it definitely isn’t perfect. However, it tastes good, and it’s a perfect representation of what a home baker can achieve without fancy tools! So don’t be put off by how fancy these fault line cakes can look, it really isn’t too challenging to achieve in your own kitchen.
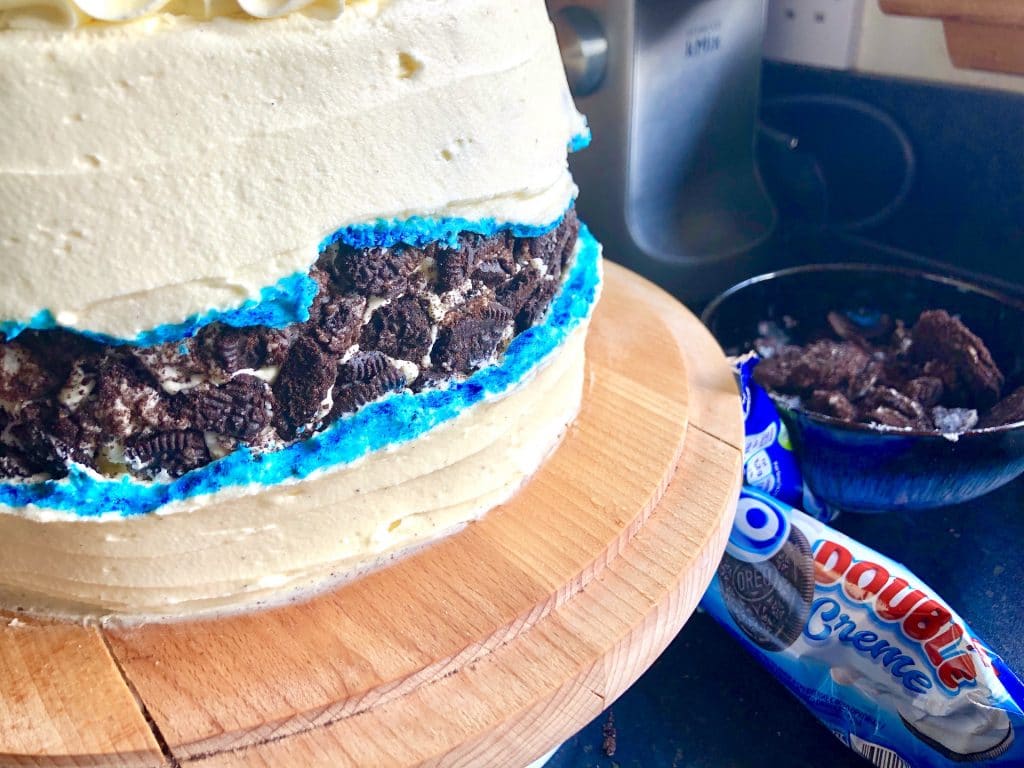
This particular Oreo Fault Line Cake hides four layers of classic fluffy chocolate cake under a sweet blanket of whipped vanilla frosting with a crushed Oreo fault line around the centre.
To get the best idea of how a cake like this is made and assembled, check out this video from my YouTube channel.
For the full ingredients list and method, check out the proper recipe for this Oreo Fault Line Cake below!
Oreo Fault Line Cake
Notes
*BE A MAVERICK: use your favourite Oreos in this cake, such as Mint or Peanut Butter to add extra flavour!
Ingredients
For the chocolate cake:
- 300g (20 tbsp) soft butter or margarine
- 300g (1 ½ cups) soft brown sugar or caster sugar
- 2 tsp vanilla extract
- 4 large eggs
- 1 egg yolk
- 230g (2 cups) self-raising flour
- 70g (¾ cup) cocoa powder
- 2 shots of espresso (or 3 tbsp instant coffee mixed with 2 tbsp boiling water)
- Pinch of salt
For the vanilla frosting and decoration:
- 500g (34 tbsp) soft unsalted butter
- 900g (7 cups) icing sugar
- 2 tsp vanilla extract
- 2 packets of your favourite Oreos, you may not need them all (I used the double stuffed ones!)
- Blue food colouring (or any colour of your choice)
Instructions
For the chocolate cake:
- Preheat your oven – 180 C / 160 C fan / 350 F / gas mark 4 – and grease/line two 20-23cm (6-8 inch) cake tins.
- In a large bowl, beat together the butter/margarine, sugar and vanilla until pale and fluffy.
- Add the eggs and egg yolk, one at a time, beating thoroughly between each.
- Add the flour, cocoa, coffee and salt. Gently mix together until you have a smooth chocolate cake batter.
- Divide the cake batter between the two prepared tins, smoothing the tops of each.
- Bake in your preheated oven for 35-40 minutes until risen, and a skewer inserted into the centre can be removed cleanly.
- Once baked, allow to cool in the tins for 15-20 minutes before removing and cooling completely on a wire rack.
- Meanwhile, prepare your frosting!
For the vanilla frosting and decoration:
- Use either your hands in a bowl, or a freezer bag and rolling pin, to bash and crush your Oreos into chunky rubble. Set aside.
- Use a sharp serrated knife to halve your two cakes into a total of four thinner cake layers. Set aside. (Watch video to see how I did it!)
- In a large bowl, beat together your butter with half of the icing sugar until completely incorporated.
- Add the remaining sugar and vanilla and beat again until smooth. At this stage, I highly recommend using a wooden spoon or electric whisk to vigorously beat the frosting for a further 1-2 minutes until paler and fluffier. This is not essential, just makes for a lighter and whiter frosting.
- Once the cakes are cool, you can begin assembling!
- Place one cake layer onto your serving plate.
- Spread a generous amount of frosting over the top of the cake layer.
- Scatter a handful of crushed Oreos over the frosting.
- Place another cake layer on top and repeat the process until your have four layers of cake sandwiched with frosting and Oreo bits.
- Now slather frosting all over the top and sides of the cakes, smoothing it out as best you can. It doesn’t have to be neat!
- Stick a few handfuls of Oreo bits around the edge of the cake. You don’t want them all over, just in a 1-2 inch sort of ring around the centre. (Watch video to see how I did this!)
- Refrigerate the cake for at least 30 minutes to allow the first layer of frosting to firm up.
- Once chilled, spread your remaining frosting over the sides of the cake that aren’t covered in Oreos. The more rough edges the better! Any leftover frosting can be used to decorate the top of the cake, along with more Oreo bits if you like!
- Mix your food colouring with just a splash of water to make it into a sort of watercolour-paint-like consistency.
- Use a very small brush, such as a thin paintbrush or clean eyeshadow brush, to dab some colour along the rough edges of your frosting fault line. (Watch video to see how I did this!)
- Feel smug with your achievements, post that Instagram picture, slice it up and enjoy!
