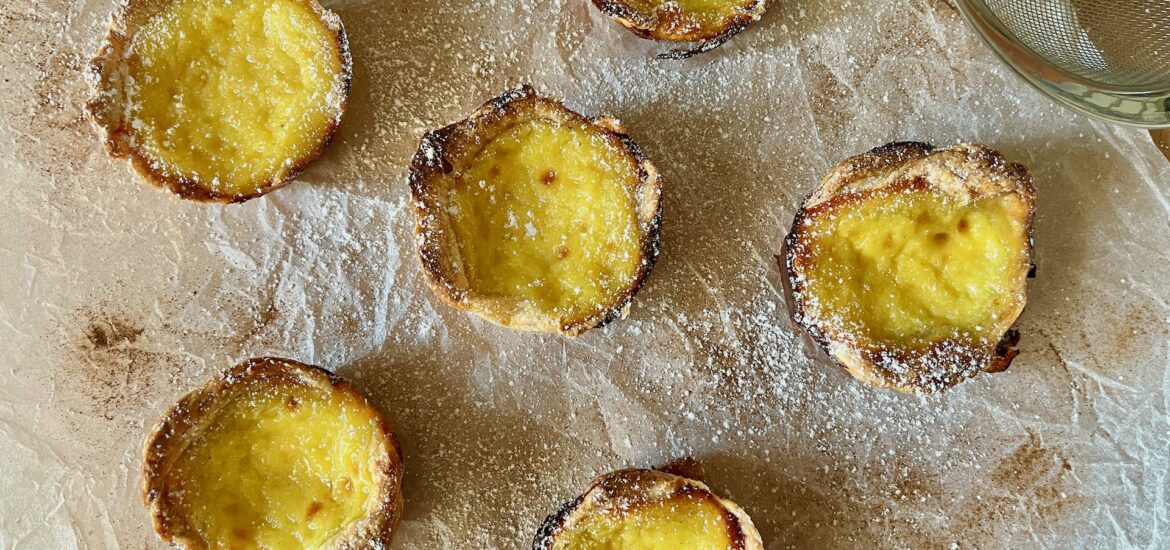
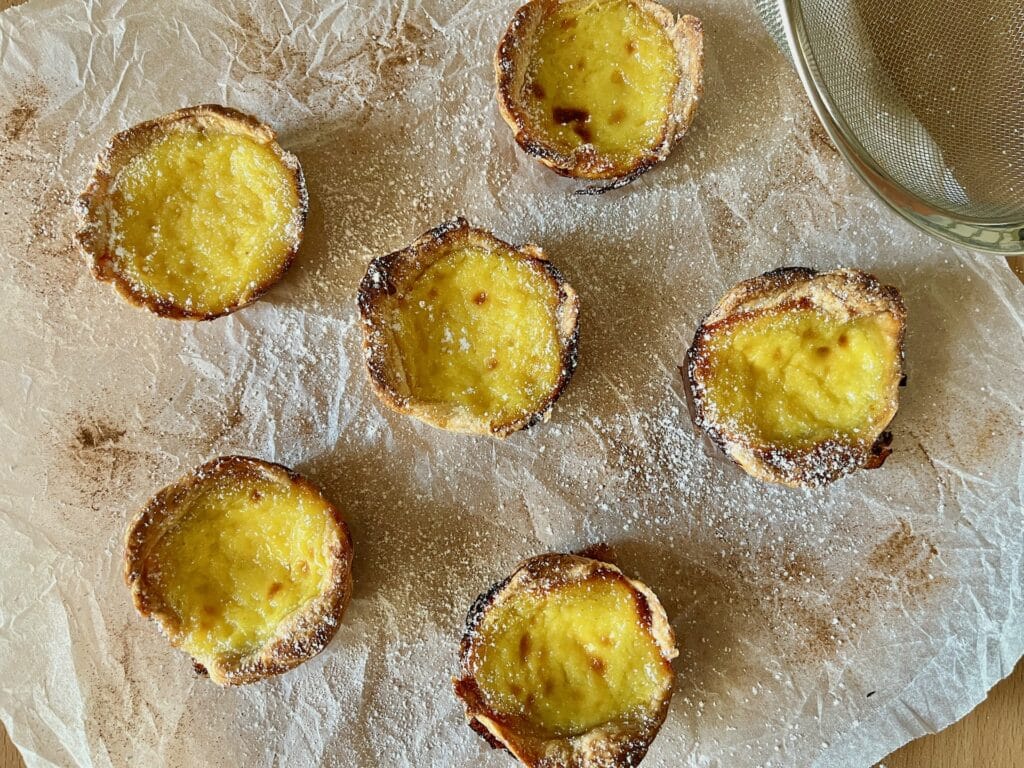
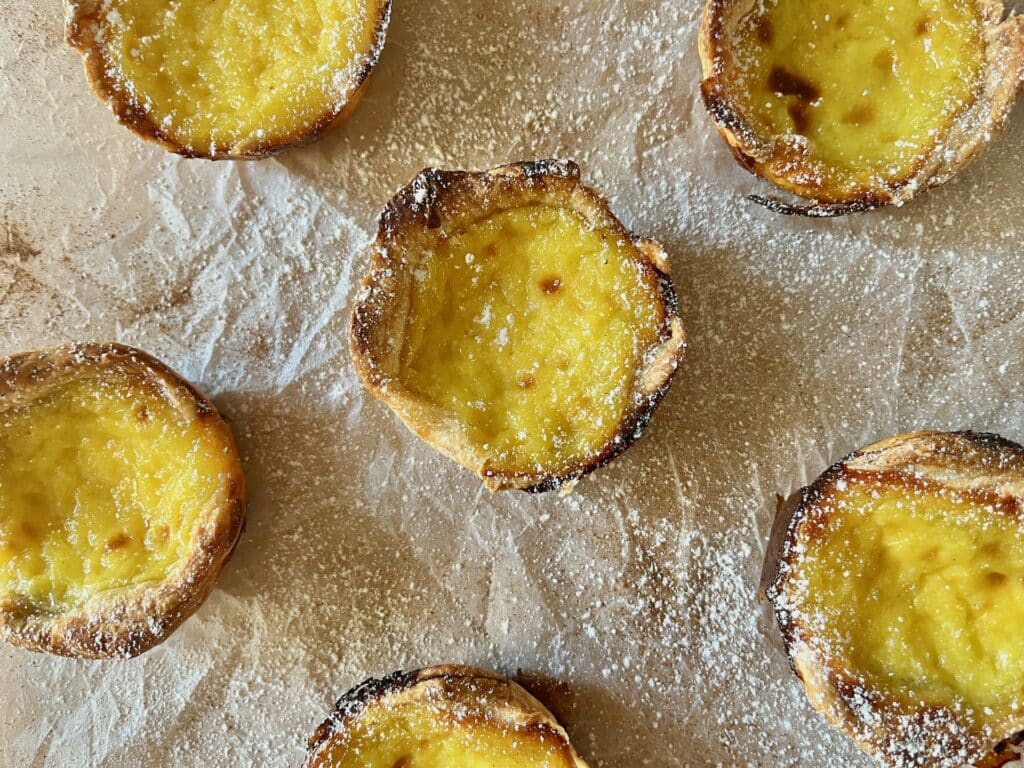
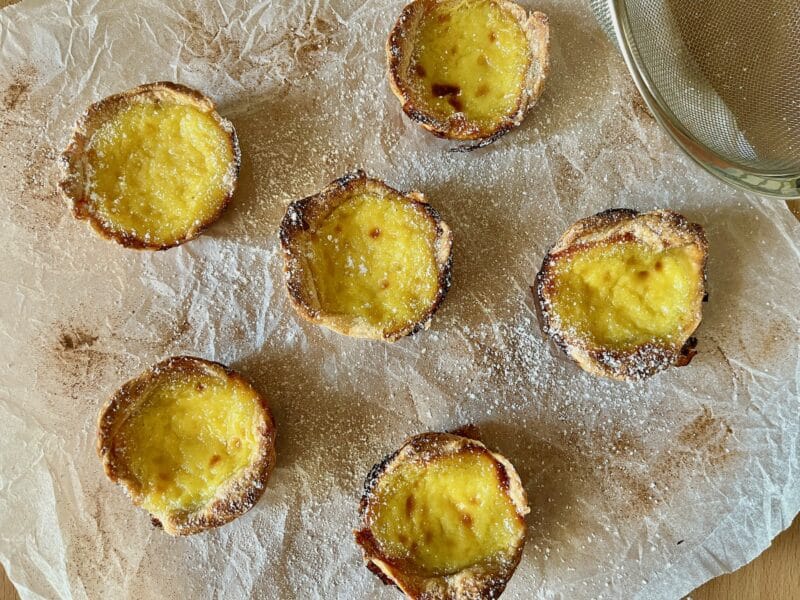
Pasteis de nata; Portuguese-style tarts made with buttery flaky pastry and a caramelised pocket of creamy custard.
Portugal. A small country with big influence.
Famous for its beautiful cities and landscapes, its world-class sportsmen, and its wine, this nation does a lot of things and does them very well. Its food, from an outsider’s perspective, is no exception.
With a wealth of diversity in its dishes and their respective ingredients, Portugal’s cuisine takes influence from all over the globe. The country’s colonial past and far-reaching travel has brought everything from Scandi-style preserved fish to African spices to fill its Southern European table. Today we can see a bit of that influence in a very old-fashioned Portuguese treat, pasteis de nata.
Pasteis de nata (or pasteis de Belem) are tiny treat-sized Portuguese custard tarts. Flaky buttery leaves of puff pastry are filled with a rich egg and vanilla custard, then baked at an incredibly high heat until they reach that golden brown perfection we love all across the world.
Want to watch how these are made? You can find the video on my YouTube channel here!
These little treats have been around for longer than any of us among the living can remember, supposedly with origins in the monasteries of the country’s capital of Lisbon. It’s no surprise, given the quality of other European pastries as desserts in neighbouring nations too, that these are so popular in their home country and also in far-flung foreign countries. Pasteis de nata even appear to be the origin of popular Chinese-style custard tarts in East Asia.
But just what makes them so good? Blistered black bubbles of caramelised custard sit atop a creamy pocket of custard in fabulously flaky pastry, inviting you back for more than just one at a time.
These tiny tarts take a bit more effort than other recipes of the Desserts of the World series so far, thanks to the intricacy of the custard recipe. I’ve saved us all some time and effort by shamelessly using ready-made puff pastry rather than homemade, but do feel free to make your own. Honestly, after failing in my first couple of attempts, I’m very glad I chose the faster option!
Once the cinnamon-laced pastry pieces have lined your tin, you can pour in the syrup-spiked custard in. A little more advanced in its technique than classic English or French custard, this recipe uses a lemon-infused sugar syrup to sweeten the creamy mixture in place of regular sugar. Don’t worry though, I’ll take you through it step-by-step!
Your patience in making these treats will absolutely be rewarded, as the finished pasteis de nata are decidedly delicious. Best eaten on the same day they’re made, either still warm from the oven, or cooled to achieve that heavenly cold-custard consistency.
I hope you love these every bit as much as we have.
Want to save these pasteis de nata for later? You can pin the image below!
To make these pasteis de nata, simply follow the recipe below:
Ingredients
For the custard:
- 250g (1 ¼ cups) granulated or caster sugar
- Skin of 1 regular lemon
- 150ml (⅔ cup) cold water
- 2 tbsp plain flour
- 2 tbsp cornflour
- 275ml (1 ⅙ cups) milk
- 2 tsp vanilla extract
- 6 large egg yolks
For the pastry:
- 1 roll of ready-made puff pastry
- Pinch of ground cinnamon
Instructions
For the custard:
- In a small saucepan, weigh out your sugar, lemon peel, and water.
- Over a medium-high heat, allow it to come to a boil without stirring it. Once bubbling, turn off the heat. Set aside to cool for a few minutes.
- Meanwhile, in a medium heatproof bowl, whisk together your flour and 75ml of the milk until smooth.
- Pour the remaining 200ml of milk and the vanilla into another small saucepan and warm it over medium-high heat until gently steaming and hot to the touch.
- Whisk the hot milk into the milky flour mixture.
- Carefully remove the lemon peel from the still-warm syrup and pour it slowly into the warm milk mixture, whisking constantly.
- Still whisking, drop in the yolks one at a time until well-combined into the mixture.
- Sieve the custard mixture into a large bowl or jug (this helps remove any lumps of flour or egg yolk) and cover with clingfilm or a clean teatowel. Set this aside and allow to cool at room temperature while you prepare your pastry, or chill for up to 2 days in the fridge until ready to use!
For the pastry:
- Place a large flat tray into the oven, and preheat it – 240 C / 220 C fan / 450 F / gas mark 9. Ideally, the hotter the oven the better for this recipe.
- Look out a 12-hole standard cupcake or muffin tin. Lightly grease it with oil or butter, and line each hole with a thin strip of greaseproof paper or aluminium foil. This isn’t absolutely essential, but makes the removal of the tarts MUCH easier!
- Unwrap your puff pastry sheet and lay it flat on your work surface.
- Sprinkle over a pinch of ground cinnamon, enough to gently dust the whole face of the sheet.
- From one side, roll the sheet up into a tight log, cinnamon-side inside.
- Use a sharp knife to slice the log into 10-12 evenly-sized mini logs.
- Between your fingers, squish all the pastry logs flat, with the cut sides vertical.
- Place one flattened pastry disc in the bottom of each hole of your prepared tin.
- Lightly wet your fingers with cold water, then use them to pull and flatten the pastry up the sides of the holes they sit in. This should create a rustic pastry case with a thin base and raised sides. Try to ensure the sides are as even as possible, and not to have too much pastry at the base!
- Carefully fill your pastry cases with the custard, making sure not to overfill.
- Place the fully filled tin into the oven on top of the tray you’ve been preheating. This ensures a nice crisp pastry crust on the bottom of each tart.
- Bake for 15-18 minutes or until the pastry is puffed and the custard is browning in spots on top. Using the grill setting on your oven (if you have one) for the last few minutes will help achieve that lovely burnt effect.
- Once baked, allow the tarts to cool for 15 minutes in their tin before removing to cool completely on a wire rack.
- Enjoy!
BE A MAVERICK: why not try adding other spices such as ground cardamom or ground ginger to the pastry before rolling?
These pasteis de nata will keep well in an airtight container for up to 2 days but are best eaten fresh!
You may also like:

