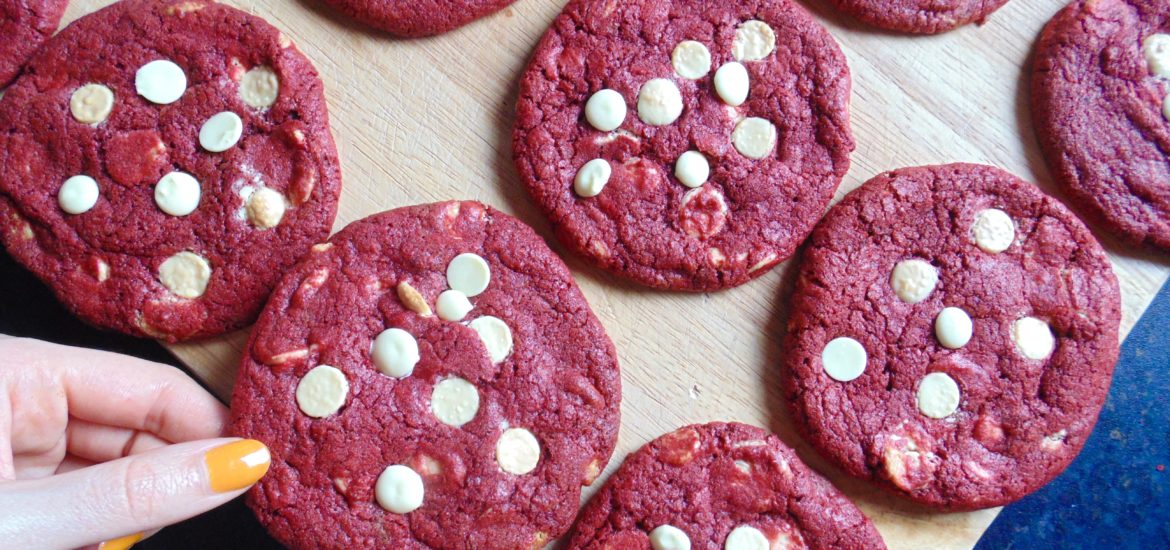
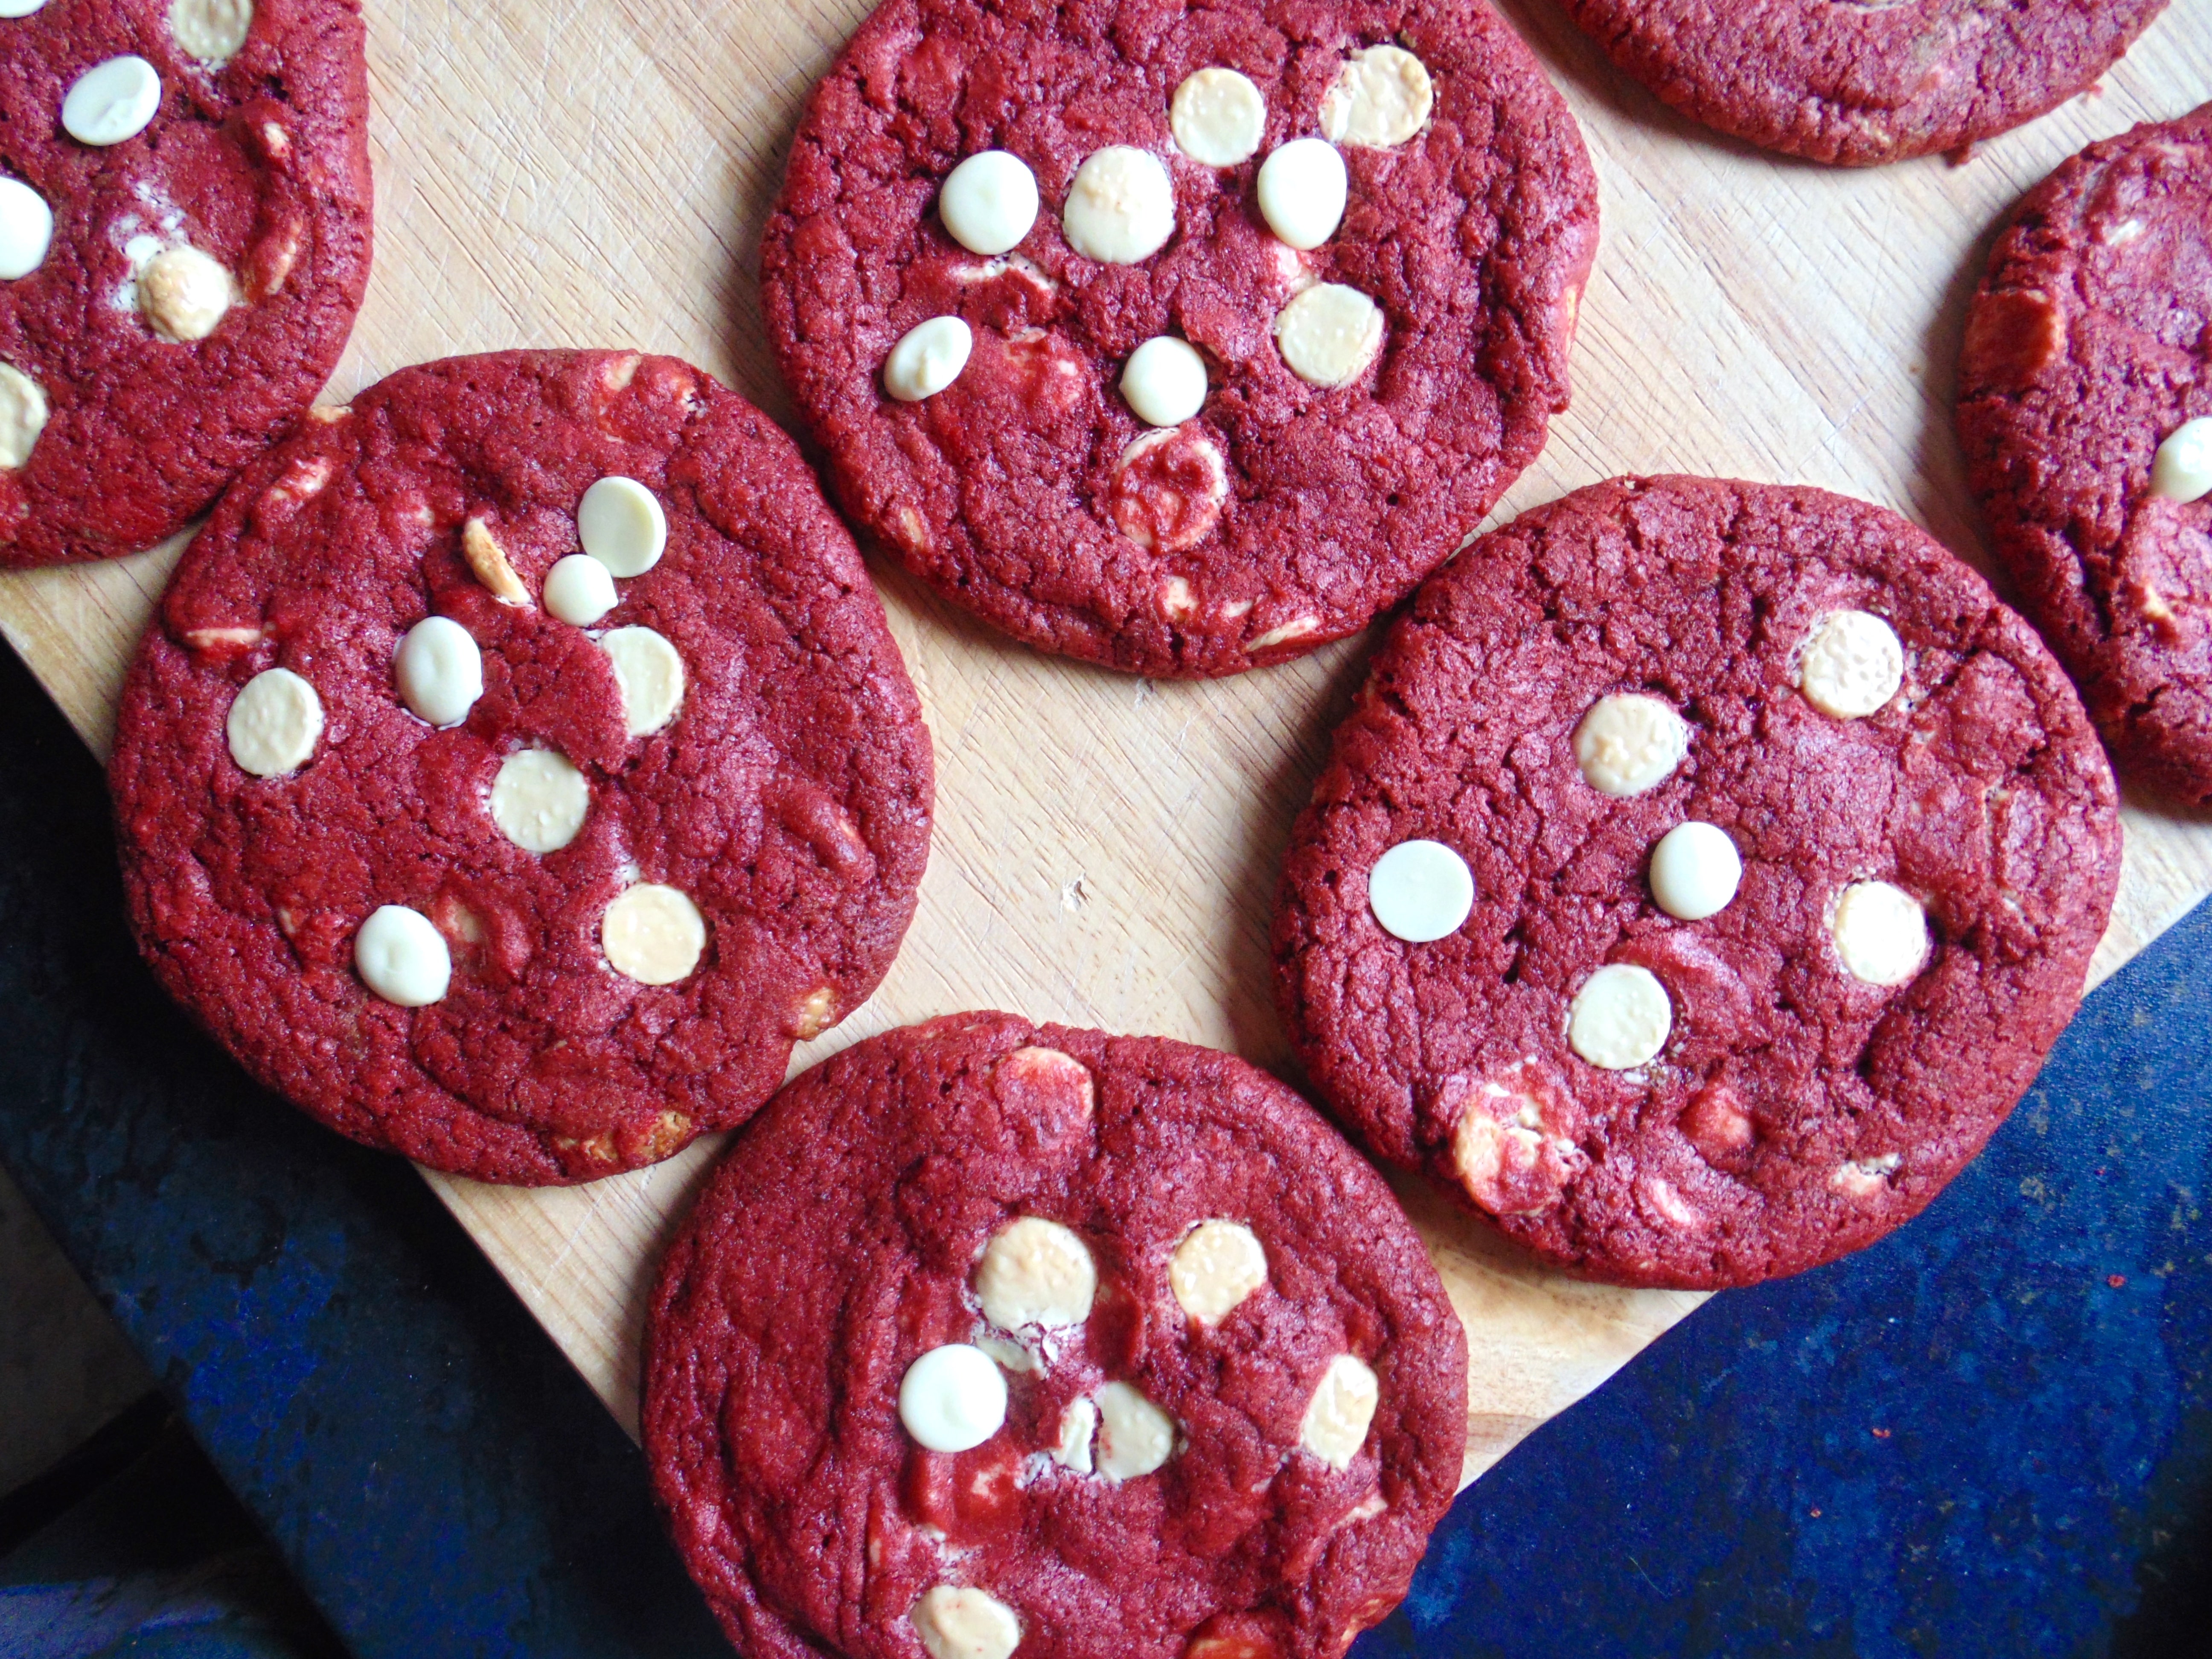
Red Velvet Cookies; ruby red cookies with crisp edges, chewy centres and loads of creamy white chocolate chips!
February, that month after January when everyone is still a bit skint, still not happy with the weather, and probably still hanging on to some diet or other that promised it would change their life.
I can help you with that last problem.
Irrespective of February’s shortcomings, it does bring some positivity back to our desk calendars. Sadly we have to wait until the end of the month before Pancake Day (my second favourite day of the year) rolls around, but we do have the heavily commercialised and patronising Valentine’s Day to look forward to first! I know, I know, it’s still a week away, but you can’t say you haven’t seen heart-shaped chocolates and alarmingly red knickers hanging up in shops yet? Gimme a break.
It only seems right to post a Valentine’s recipe, after all, second to those expensive flowers and uncomfortable lingerie sets, an edible gift is likely to be on the minds of lovers young and old this month! In my opinion all gifts except for video games should be edible, but I digress.
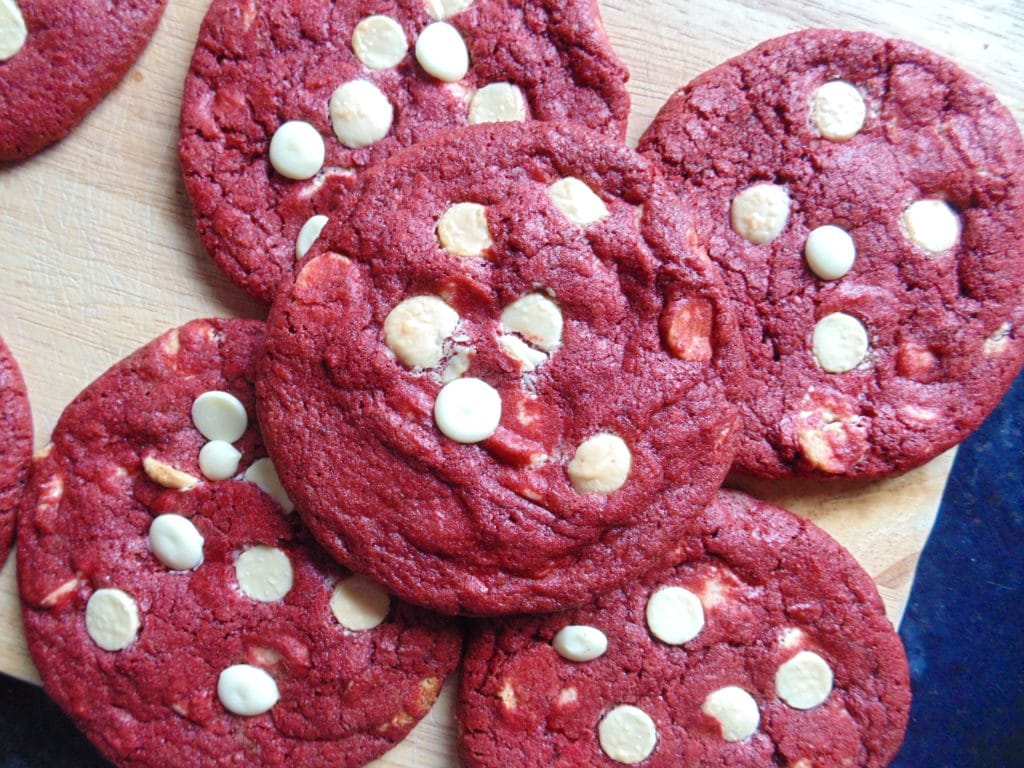
These Red Velvet Cookies seem like the perfect bake for this romantic occasion. They’re unavoidably ruby red in colour, they’re soft, they’re sweet, and they’re likely to get you more than a cuddle. You get me.
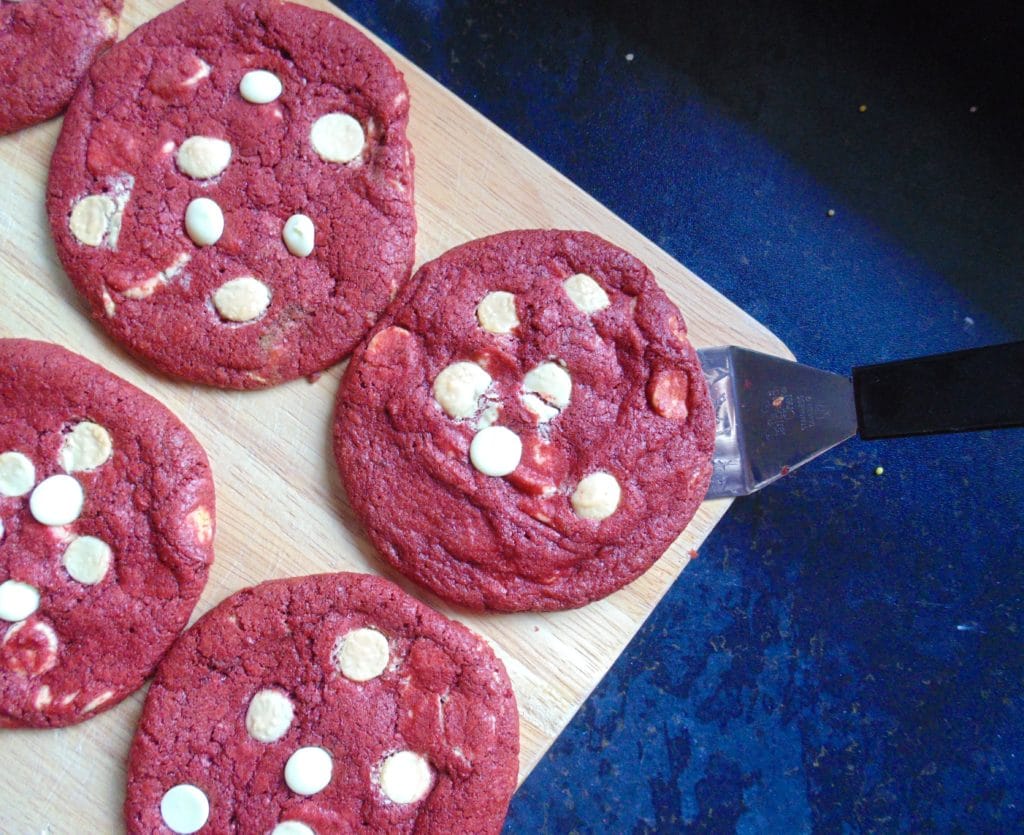
So red velvet is a little out of fashion now, I know. I still think there’s something very striking about that red-and-white combination in a foodstuff though. Plus if people can still order a restaurant plate of gammon and pineapple in 2017 then I can most definitely still make Red Velvet Cookies, ok?!?
Oh, by the way, the absolute BEST food colouring for these Red Velvet Cookies is available here!
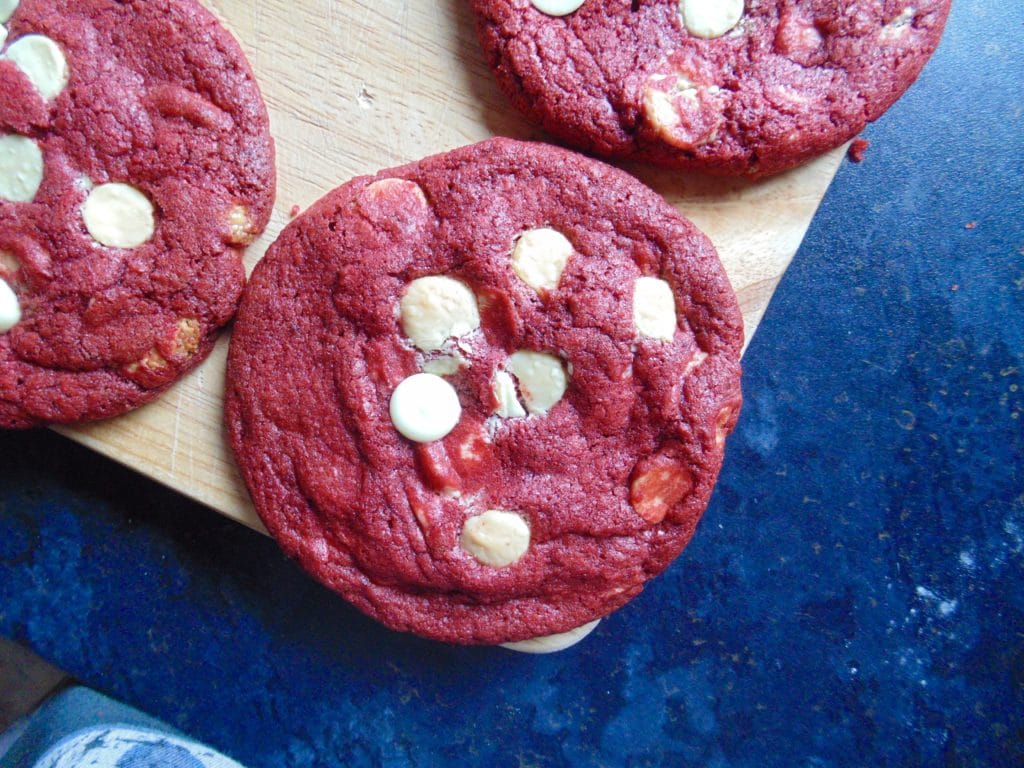
Crisp edges, soft chewy centres, and bundles of meltingly creamy white chocolate await you in these Red Velvet Cookies. I could promise you no less. Fashionable or not, these cookies are a winner.
To make these, preheat your oven and grease/line 2-3 baking trays.
Beat together some butter, sugars and vanilla in a large bowl until very light and fluffy.
Add an egg and an egg yolk one at a time, along with as much food colouring as you need to create a vivid red colour, mixing thoroughly in between.
In a separate bowl, mix together some flour, bicarbonate of soda and salt.
Add these dry ingredients to the wet ingredients and mix until a stiff dough forms.
Chop some white chocolate into chunks, or grab some white chocolate chips, and add them to your dough and mix well to incorporate fully.
Use a tablespoon or small ice-cream scoop to scoop out lumps of dough onto your prepared trays, spaced at least 5cm apart to allow for spreading.
Psst – these are the best chocolate chips to use!
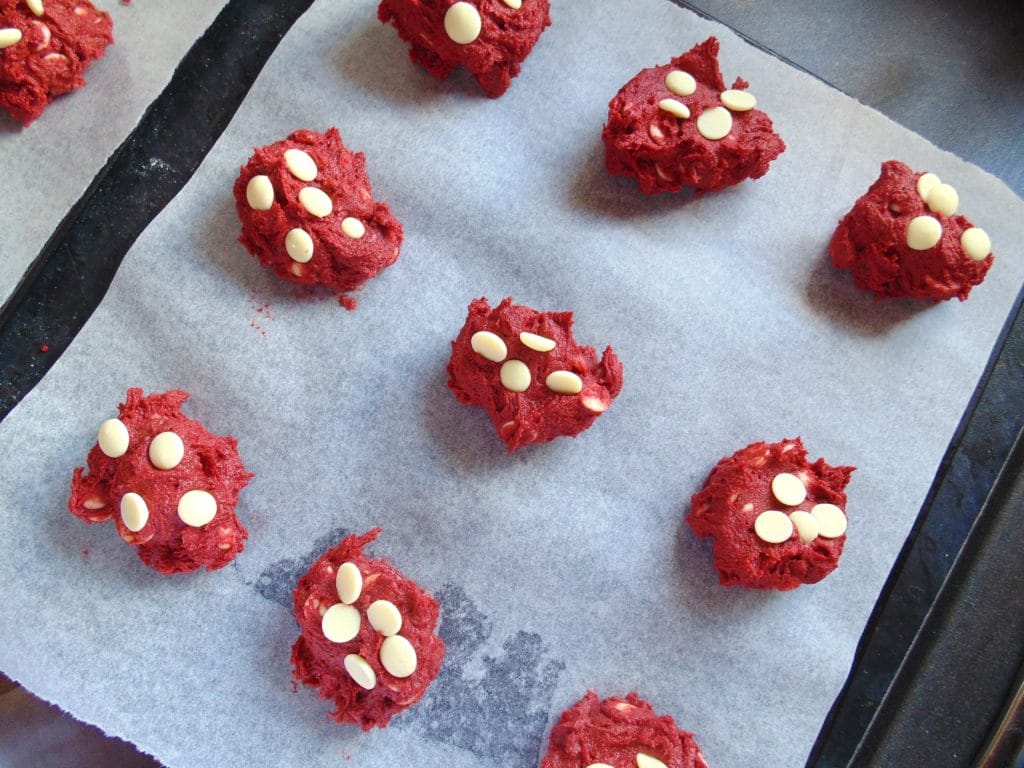
At this stage, chilling the dough balls for at least 30 minutes will help produce lovely soft cookies that don’t spread too much, but it’s not essential! I like to chill mine for about an hour if I can.
Bake each tray one at a time for best results for 15-16 minutes. (The cookies may look or feel undercooked when they come out, this is normal!)
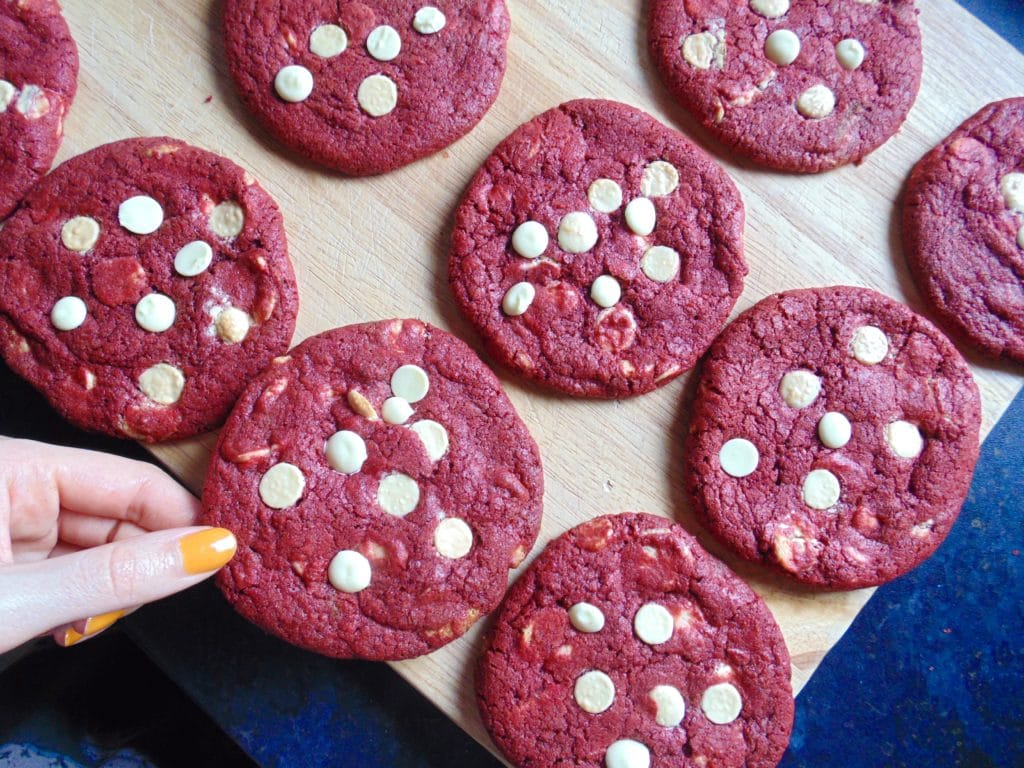
Once all baked, cool your cookies on wire racks, you might like to gently drop a few extra white chocolate chunks onto the cookies while they’re still hot, it helps make them look pretty!
I hope you get a chance to make these cookies, or any others for your loved one this Valentine’s Day, or just for yourself, because not everyone has/needs a companion to shower with edible love, so why not shower yourself in it?
Hmmm…maybe I should think about a single serving cookie recipe for all the single folks out there, or just the ones too greedy to share!
Have a good week everyone!

Red Velvet Cookies
Red Velvet Cookies; ruby red cookies with crisp edges, chewy centres and loads of creamy white chocolate chips!
Notes
BE A MAVERICK: Switch the white chocolate chips for regular milk or dark chocolate chips. Why not change the colour, how about pink or blue velvet cookies?
These Red Velvet Cookies will keep well in an airtight container or on a covered cake stand for up to 5 days.
Ingredients
- 160g (10 ½ tbsp) softened butter
- 125g (⅔ cup) white caster sugar
- 125g (⅔ cup) golden caster sugar or soft light brown sugar
- 2 tsp vanilla extract
- 1 egg
- 1 egg yolk
- Red food colouring pasta, enough to create a vivid red colour
- 260g (2 cups) plain flour
- 20g (2 tbsp) cocoa powder
- 1 tsp bicarbonate of soda
- ½ tsp salt
- 300g (10 ½ oz) white chocolate or white chocolate chips
Instructions
- Preheat your oven - 190°C / 170°C fan / 375°F / gas mark 5 - and grease/line 2-3 baking trays.
- Beat together your butter, sugars and vanilla in a large bowl until very light and fluffy.
- Add the egg and egg yolk one at a time, along with as much food colouring as you need to create a vivid red colour, mixing thoroughly in between.
- In a separate bowl, mix together your flour, bicarbonate of soda and salt.
- Add these dry ingredients to the wet ingredients and mix until a stiff dough forms.
- Chop the white chocolate into chunks (if necessary), add it to your dough and mix well to incorporate fully.
- Use a tablespoon or small ice-cream scoop to scoop out lumps of dough onto your prepared trays, spaced at least 5cm apart to allow for spreading.
- At this stage, chilling the dough balls for at least 30 minutes will help produce lovely soft cookies that don’t spread too much, but it’s not essential!
- Bake each tray one at a time for best results for 13-16 minutes. (The cookies may look or feel undercooked when they come out, this is normal!)
- Once all baked, cool your cookies on wire racks, you might like to gently drop a few extra white chocolate chunks onto the cookies while they’re still hot, it helps make them look pretty.
- Enjoy!
[THIS POST CONTAINS AFFILIATE LINKS]
