

Mistakes are part of being human, and no matter what our kitchen skill or confidence level may be, we’ve all had kitchen mishaps. In just the past few months I can admit I’ve burned food, undercooked food, burned myself, cut myself, added too little or too much of something, and most recently I set my microwave on fire, causing significant distress before tucking into dessert! So I thought I’d share some tips that I’ve learned over the years to help me avoid at least some of my clumsy errors, to help all you lovely people bake better cakes. Without further ado, here are my top 10 tips for baking better cakes!

1. Use room temperature ingredients:
Allowing your butter, margarine, eggs, buttermilk or cream cheese to sit for a little while out of the fridge will makes all the difference in baking. Room temperature ingredients mix more effectively, minimising the risk of your mixture splitting or curdling into little lumps, which can look nasty and cause an uneven bake. It also means that your cake should definitely be baked well and risen properly in the allocated time, as nothing is cold when going into the oven. I know this is a pain, if you’re in a hurry, cold ingredients won’t ruin a cake, but you should definitely try to allow them to warm up a little before using them if you can!
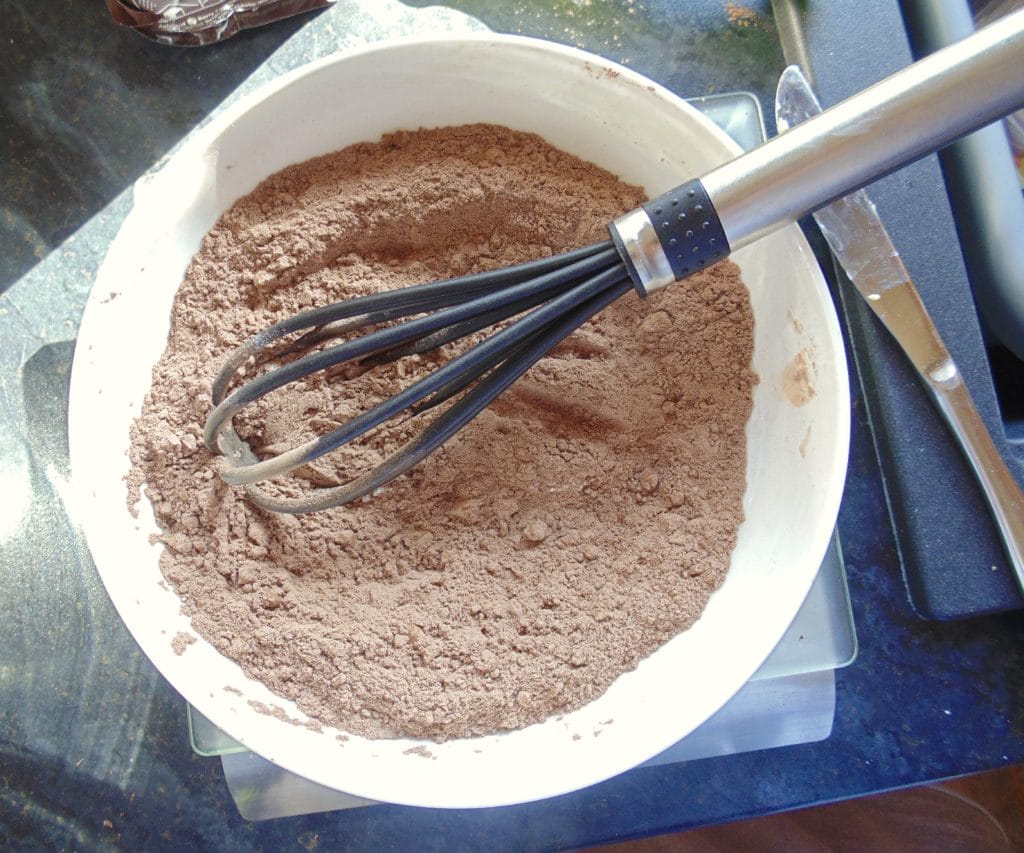
2. Sift your flour:
Dusting your flour, cocoa powder or other dry ingredients such as icing sugar through a sieve (sifting) will help to remove any visible or hidden lumps. This means no one will get any chalky mouthfuls of flour in any bite of their cake! Sifting also helps to add a little more air into the dry ingredients, helping towards a lighter cake.
3. If using the creaming method, always beat the butter and sugar really well:
If a recipe tells you to beat butter and sugar until fluffy, it usually isn’t just saying it for fun! This doesn’t mean you have to hurt your arm mixing it for like ten minutes, just make sure the mixture is paler than when you started, and that the sugar is all mixed into the butter. Doing this helps to make your cake lighter and fluffier.
4. Once you’ve added flour, mix as little as possible:
Over-mixing a cake mix once the flour has been added can cause the gluten in the flour to build up, and can result in a weak rise and a tough, chewy texture when baked. While you should mix everything together well so there are no lumps or streaks, try not to mix for more than a minute, as you may do more harm than good, I speak from experience!
5. If using cocoa powder, add a little milk too:
Cocoa powder can be quite drying, think back to some of those dreadful shop bought or homemade chocolate cakes that fill your mouth with dry, tasteless chocolate sponge, alleviated only by piles of icing or cream. No more. For every tablespoon of cocoa powder I use, I sometimes find adding an equal amount of milk, yoghurt, sour cream or buttermilk can help prevent this nasty dry result.
6. Make sure your oven is preheated:
Every oven is different, and some take longer to produce good results than others. Too high a temperature will burn the outside or the cake before the middle is cooked, and too low a temperature can result in a really long bake will tough, dry results. Making sure your oven is preheated to the right temperature can help ensure your cakes rise and bake beautifully. If your oven doesn’t have a little setting or light somewhere to show you when it’s prehreated (or you just don’t know where it is), buying an oven thermometre can really help, you can find one here.
7. Grease your baking tins/pans:
Many of us have been there, you take a gorgeous smelling cake out of the oven, it’s risen beautifully and you can’t wait to taste it, and it’s stuck like concrete to the side of the tin. Bummer. I always use margarine or butter to grease my tins, getting a dab of it on a paper towel and wiping it all around the base and sides of the cake tin until it all looks greased. You can double up on cake security by using greaseproof paper too, this is especially helpful for the bottom of the cake!
8. Use a cocktail stick or skewer:
When testing if a cake is cooked through, pressing on it gently with your finger can help, if the cake springs back when touched then it’s usually cooked. However if you want to be absolutely certain, insert a cocktail stick, skewer or even a thin sharp knife right into the centre of the cake, if it comes out clean or with very few crumbs then it’s definitely cooked! This applies to cakes, but I wouldn’t recommend using this for brownies, blondies, cheesecakes or tarts, as different rules apply!
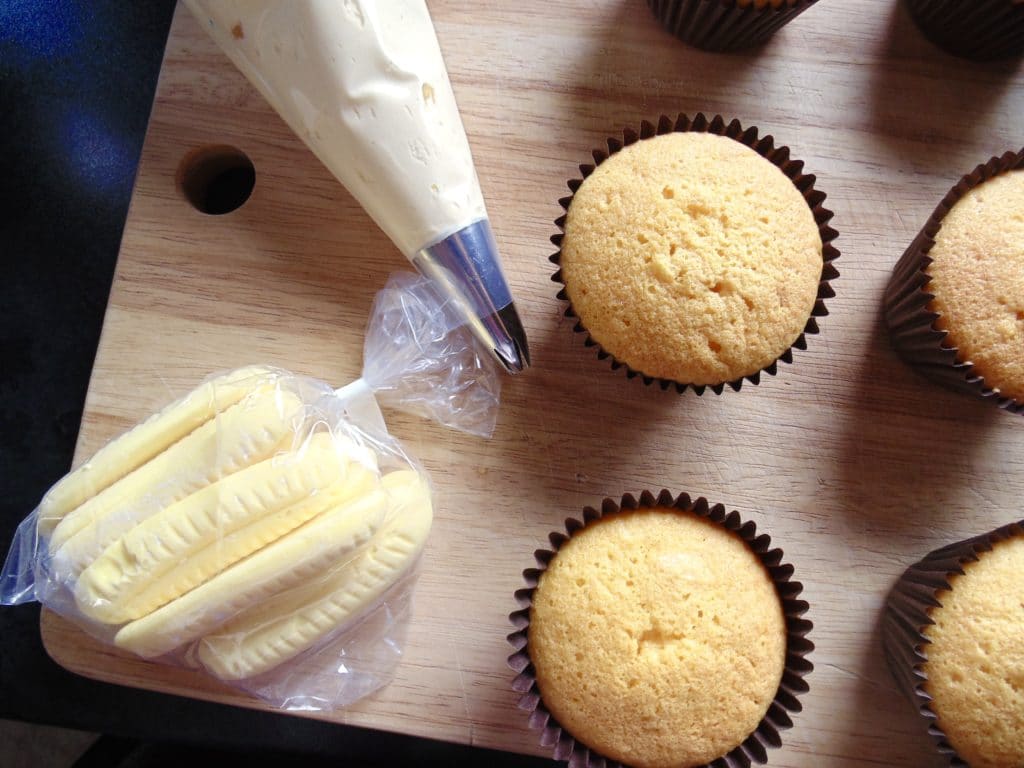
9. Allow cakes to cool before you ice them:
Putting lovely fluffy buttercream icing or billowing fresh whipped cream on top of a hot, or even warm, cake is a recipe for disaster. Cream, butter and most icings/frostings will very likely melt when in contact with anything warm, so for best results, always cool your cakes completely before icing and decorating them.
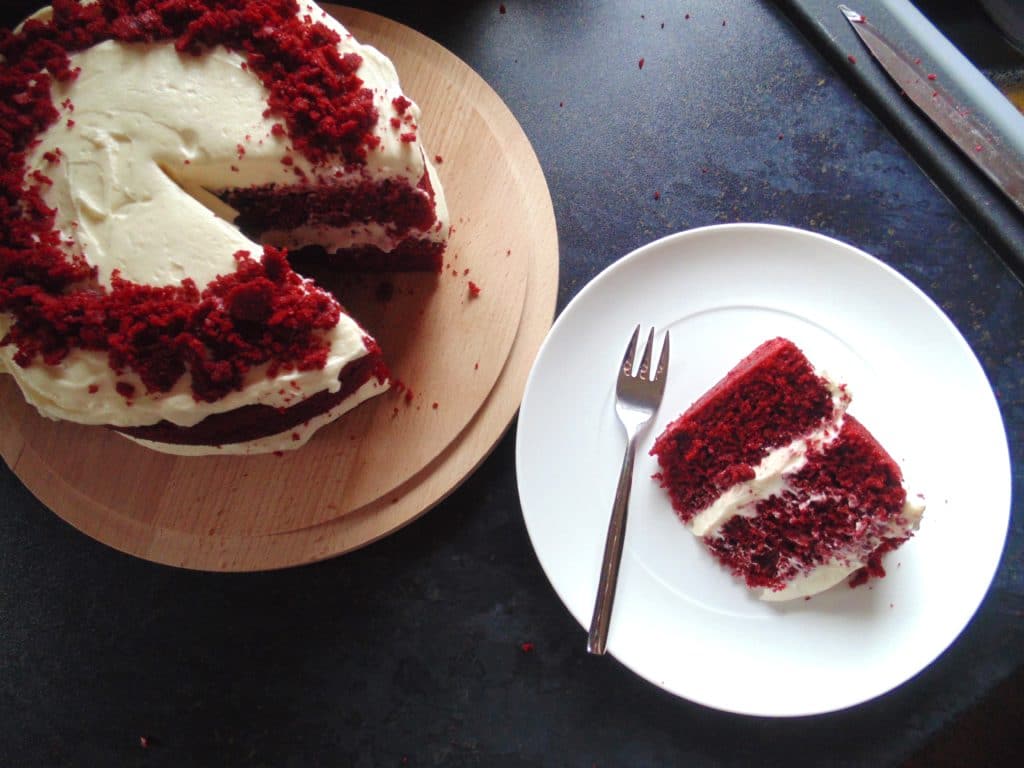
10. Store cakes at room temperature:
Unless a cake contains fresh whipped cream, there’s no need to keep it in the fridge. Cakes and their various icings, frostings, fillings and ganaches all have the best taste and texture when left at room temperature. Cold icing or ganache can become firm and crumbly, and cakes don’t deserve that, they deserve the best in soft, sweet fluffiness! Most cakes will last 3-4 days at room temperature, so don’t worry about them spoiling, plus, they’re usually eaten by then anyway!
I hope these tips can help you out in future, whether you’re a budding baker, a veteran cake maker or just someone looking to make a homemade treat for yourself, family or friends.
Have fun in the kitchen, enjoy cooking, baking and eating, and don’t worry if something goes wrong, there’s always next time!